


Tel: (888) 545-1254 • Fax: (415) 358-4602 • Email: [email protected]
www.PrecisionRatedOptics.com
87
17.1
Transferring Files or Folders Between the PRO TP-P6 and USB
Storage Devices
1. Connect a USB storage device to the PRO TP-P6 USB port.
2. Click the “File Explorer” icon on the {Program} tab to enter File Explorer, where all connected, active
drives (including USB drives and folders) are displayed for file management.
3. After a file transfer, the user can directly unplug the USB storage device from the PRO TP-P6.
Note:
If the USB storage device is not shown in the File Explorer, please close the File Explorer and try again.
17 File Management
17.2
Transferring Files or Folders Between the PRO TP-P6 and a PC
Note:
Microsoft ActiveSync software must first be installed on the PC for file transfer between the PRO TP-P6
and a PC.
Some necessary software must be installed on the PC before connecting the PRO TP-P6. For more
information about installation, please refer to the included instructions, which are provided with the
software setup CD.
1. If Microsoft
ActiveSync
software is not installed on the PC, please install it, then follow the software
installation instruction.
2. Connect the USB cable type “A” (the recatngular “flat” connector) to the PC and the type “B” end
(square shape) to the PRO TP-P6.
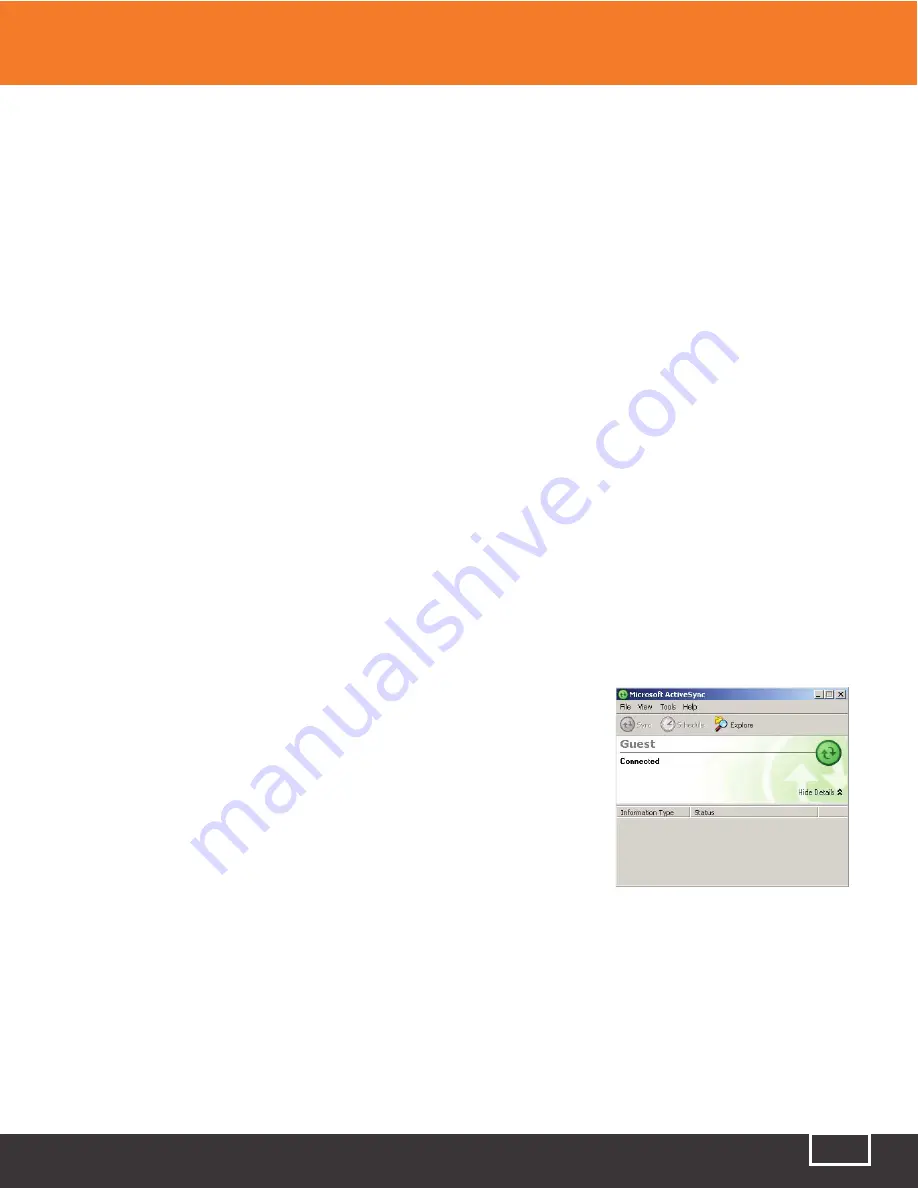
3. After the Microsoft ActiveSync software
is
has been installed and indicates “Connected,” click “Explore” to
to
access the files and folders on the PRO TP-P6, or access the files
and folders from My Computer on your PC.
4. After file transfer is complete, simply disconnect the USB cable.
Note:
There is no need to turn off the PC and/or the PRO TP-P6 when
connecting and disconnecting the USB cable.
Fig 16.1 ActiveSync Connected
17.3
Deleting Saved Files
1. Click the “File Explorer” icon on the {Program} tab to enter the File Explorer.
2. Click the “\SDMMC_Disk” icon to enter the internal storage space.
3. Select the files or folders to be deleted.
4. Click “Delete” to finalize the deletion.
Содержание TP-P6
Страница 1: ...TP P6 Manual Multifunctional Test Platform...