


Tel: (888) 545-1254 • Fax: (415) 358-4602 • Email: [email protected]
www.PrecisionRatedOptics.com
50
11.6 Switch and Move the Marked Point
When analyzing loss or reflection events, there will be marked points displayed for additional testing to
be performed near the selected Markers.
There are various ways to switch or move the marked point(s). The user can use one or all of them to
increase efficiency.
To move Markers, you may:
●
Use the stylus or mouse to select a Marker, then click and drag the marked point to a new desired
location along the trace.
●
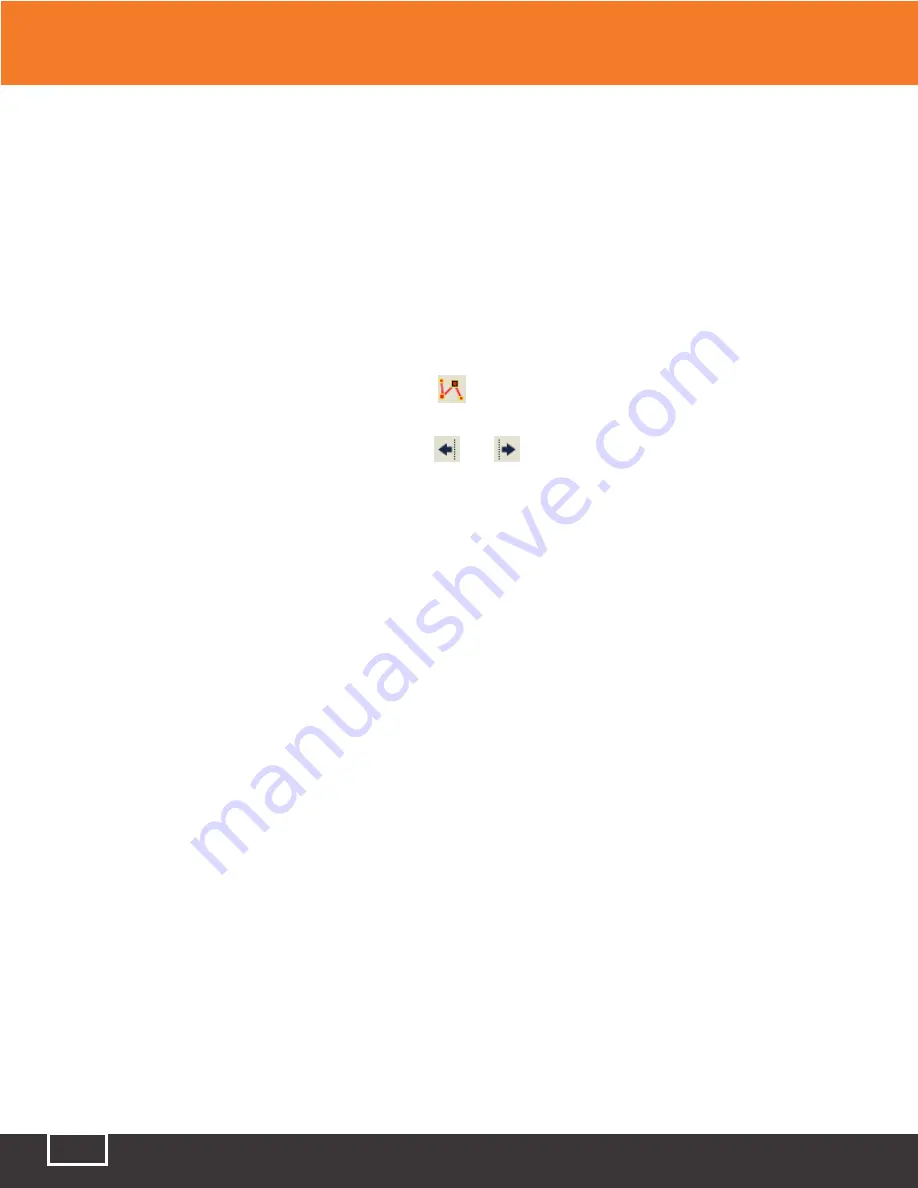
In the buttons area of the interface, click the
icon to switch between the available Markers.
●
Press down the spinning-hand wheel on the front panel to create a new marked point.
●
After select the point, continuously click the
or
to move the point.
●
Use the spinning-hand wheel to move the marked point accurately.
Note:
When moving points associated with each Marker, please keep in mind:
●
The marked points on the left side cannot cross the Markers on the right side.
●
The marked points on the right side cannot cross the Markers on the left side.
11.7 Quickly Moving the Markers Outside of the Window
When magnifying a trace, the Markers may be positioned outside of the window.
When the Markers are on the left-side (outside the window) there will be an indicator on the left margin
of the window:
A <--
or
B <--.
When the Markers are on the right-side (outside the window) there will be an icon on the right margin of
the window:
--> A
or
--> B.
Clicking and dragging the indicators shown above can move the Markers into current window.
11 Trace Analysis and Event Operation
Содержание TP-P6
Страница 1: ...TP P6 Manual Multifunctional Test Platform...