=
For details, refer to
Customizing the navi-
gation settings
on page 47.
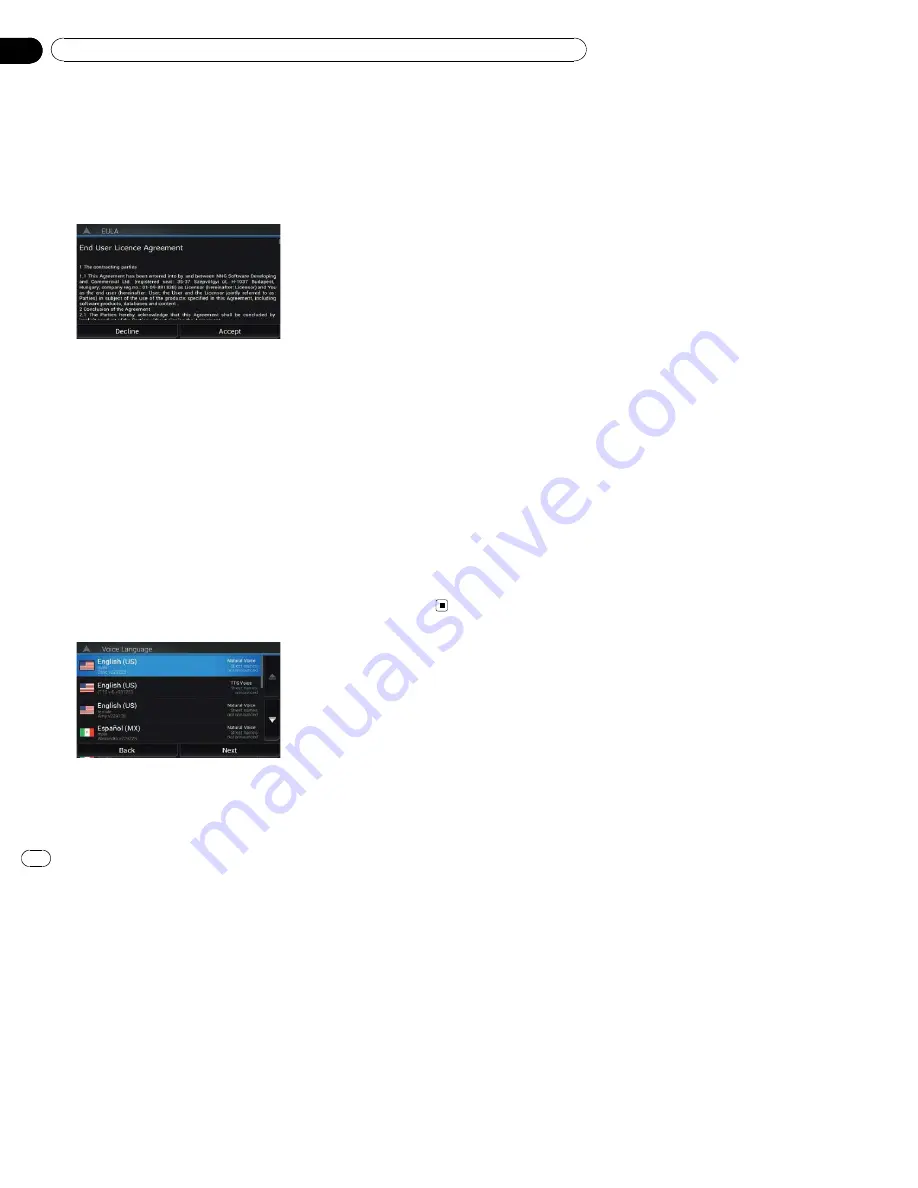
The
“
End User Licence Agreement
”
screen
appears.
4
Read the terms carefully, checking its
details, and then touch [Accept] if you
agree to the conditions.
The
“
Usage Reports
”
screen appears.
5
Touch [Yes].
The software collects usage information and
GPS logs that may be used for improving the
application and the quality and coverage of
maps.
p
Later you can turn them on or off individu-
ally in the
“
Usage Reports
”
menu.
=
For details, refer to
Customizing the navi-
gation settings
on page 47.
The configuration wizard starts.
6
Touch [Next].
The
“
Voice Language
”
screen appears.
7
Select the language that you want to
use for voice guidance messages, then
touch [Next].
p
Later you can change it in
“
Regional
”
set-
tings.
=
For details, refer to
Customizing the navi-
gation settings
on page 47.
8
If needed, modify the unit settings,
then touch [Next].
p
Later you can change it in
“
Regional
”
set-
tings.
=
For details, refer to
Customizing the navi-
gation settings
on page 47.
The
“
Route Preferences
”
screen appears.
9
If needed, modify the default route
planning options, then touch [Next].
p
Later you can change it in
“
Route Prefer-
ences
”
settings.
=
For details, refer to
Customizing the navi-
gation settings
on page 47.
10 Touch [Activate], then [Next].
A message saying that the connected online
features are activated appears if you activate
these services right away.
p
You will need to install the
AVICSYNC App
on your iPhone or smartphone first in order
to be able to use online services, which re-
quire a subscription. The service coverage
for each online service may vary depending
on the content provider providing the ser-
vice.
=
For details, refer to
“
Connected Services
”
settings
on page 54.
11 Select the connected services you want
to use, then touch [Next].
The initial setup is now complete. The Map
screen appears and you can start using the
navigation system.
En
24
Chapter
02
Basic operation

