55
2) Please ti
ck “No” to configure other wireless network needed to connect to. Complete
configuration according to interface prompt.
Note:
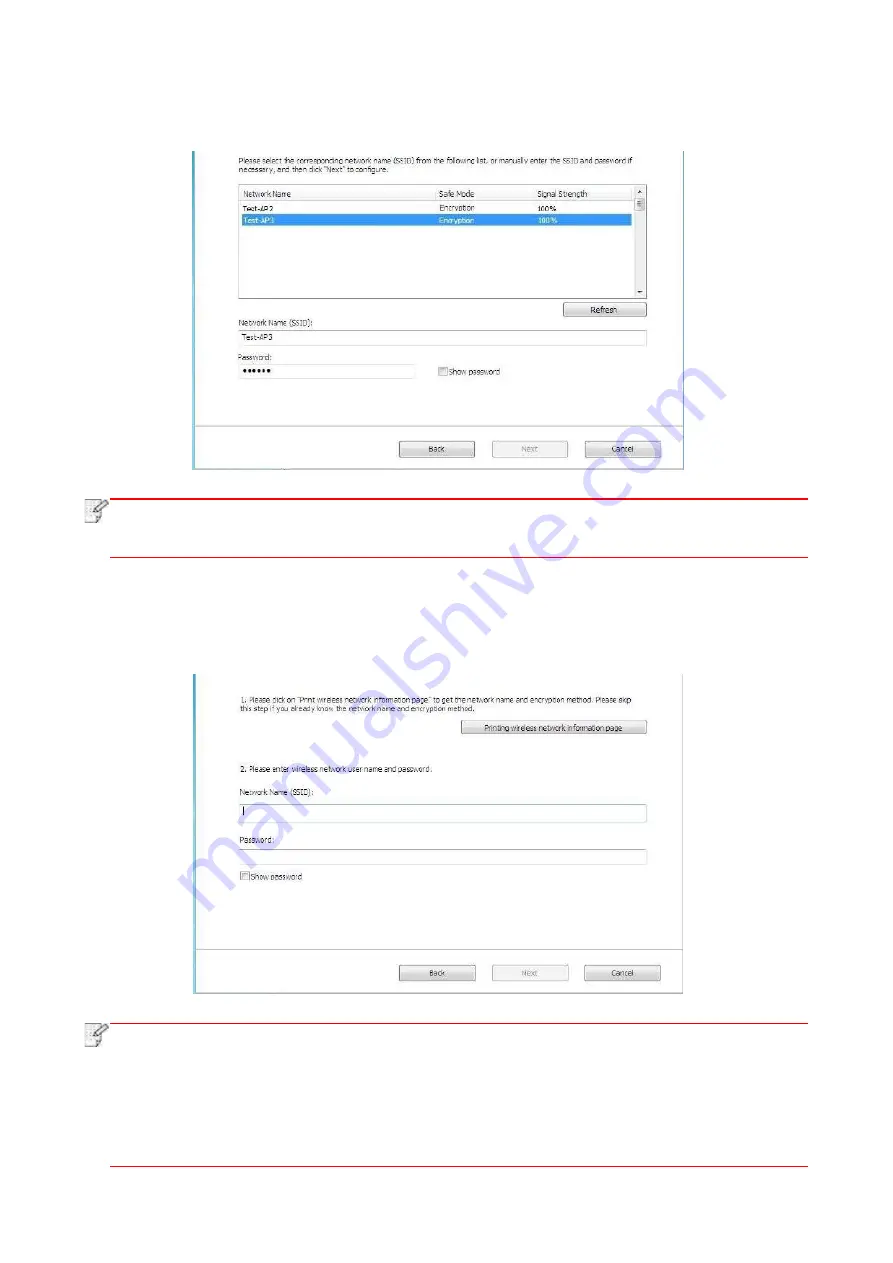
• The display password is not ticked by default; if it is ticked, all passwords input can be
seen in clear text.
2.2 The computer is not connected to wireless network.
Input the SSID (case sensitive) and password of access point (wireless router) in the interface
below. Complete configuration according to interface prompt.
Note:
• If you do not know the SSID of access point (wireless router), please click “Print Wireless
Network Information Page” to view the SSID of the needed access point (wireless router).
• If the printer cannot be used normally after wireless network setup is finished, please
install the drive
again. Please select “wireless network connection ” as the installation
method .
Содержание BM5100FDN Series
Страница 89: ...76 6 Single click OK to finish printing setup Click Print to realize auto duplex printing...
Страница 115: ...102 3 After the window pops up click on Scan 4 Click on Open Scanner and the scan window will pop up...
Страница 146: ...133 6 Open the auto feed tray and wipe the pickup roller gently with dry lint cloth...
Страница 159: ...146 2 Gently pull the jammed paper out 3 Install paper tray...
Страница 162: ...149 1 Open the front cover and then remove the laser toner cartridge along the guide rail 2 Open the rear cover...
Страница 163: ...150 3 Open the fuser door using the handles on both sides 4 Gently pull the jammed paper out...
Страница 169: ...156 14 1 5 Paper jam of auto feed tray 1 Pull out the automatic tray 2 Gently pull the jammed paper out...
Страница 187: ......


