167
assembly.
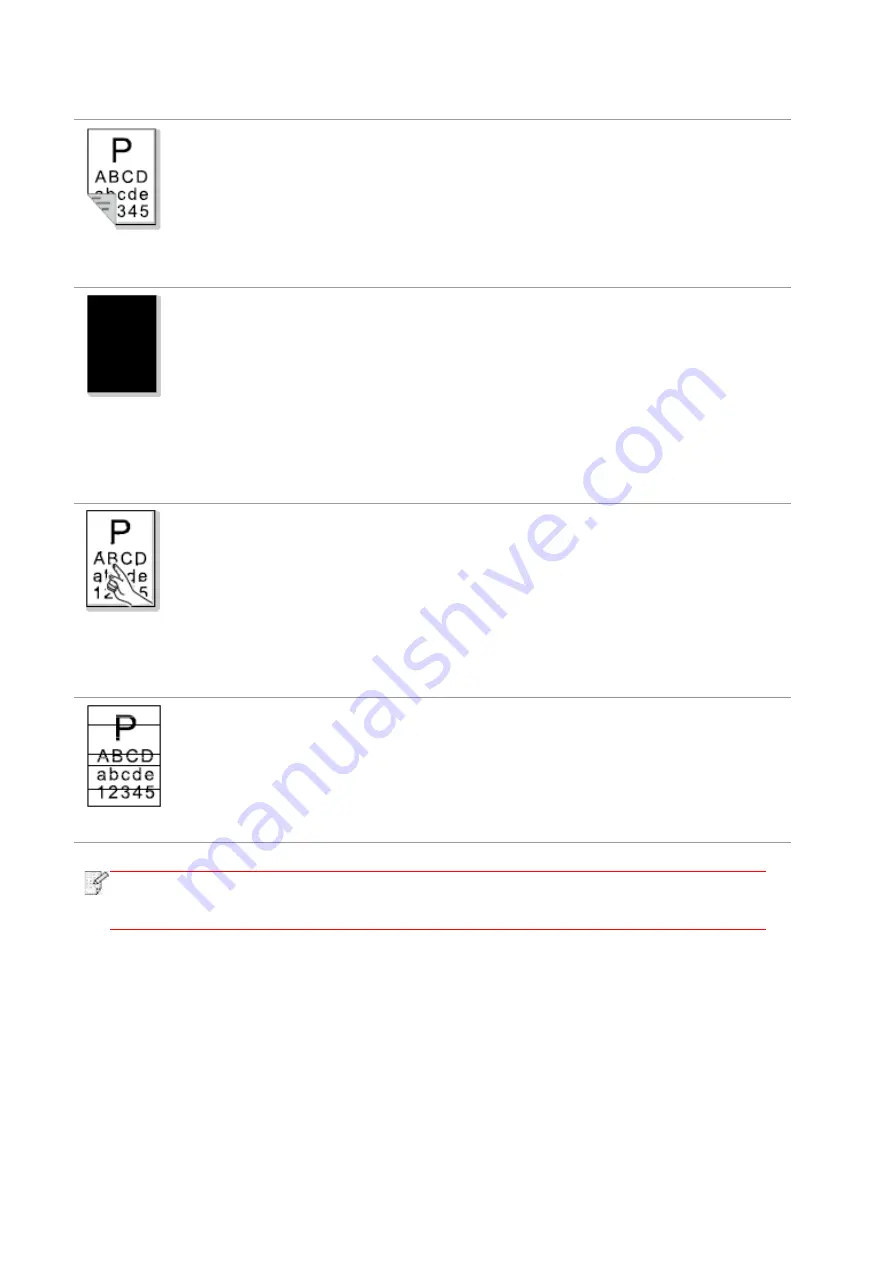
The back of the
printout is dirty
• Dirty toner cartridge
• The tra
nsfer roller inside the printer is
dirty.
• The transfer voltage inside the printer
is abnormal.
• Clean or replace toner cartridge
• Clean the internal transfer part of
the printer.
Whole page dark
• Toner cartridge is improperly installed.
• Inn
er damage of toner cartridge.
• Abnormal internal charging of machine
or the toner cartridge is not charged.
• If all
-black image appear when
copying and scanning, maybe it is
scanning exposure, and the cover on
the manuscript is not properly closed.
•
The scanner is damaged.
• Install ink cartridge correctly.
• It is suggested to replace the
original toner cartridge.
• Please close the cover on the
manuscript, and then carry out
copying and scanning.
The toner does not
adhere to the paper
• The
print media that does not meet
usage specification is used. For
example, the media is damp or too
rough.
• The inside of the printer is dirty.
• Toner cartridge is damaged.
• The parts inside the printer are
damaged.
• Please use printing medium within
the specification scope, and use
manual feed tray for printing in case
of special medium.
• Clean the inside of the printer.
• It is suggested to replace the
original toner cartridge.
Horizontal stripes
• The toner cartridge is not installed
correctly.
• The toner cartridge may be damaged.
• The parts inside the printer are
damaged.
• Install ink cartridge correctly.
• It is suggested to replace the
original toner cartridge.
Note:
•
Failures above can be improved by cleaning or replacing toner cartridge. Please
contact customer services center if the problem can still not be solved.
Содержание BM5100FDN Series
Страница 89: ...76 6 Single click OK to finish printing setup Click Print to realize auto duplex printing...
Страница 115: ...102 3 After the window pops up click on Scan 4 Click on Open Scanner and the scan window will pop up...
Страница 146: ...133 6 Open the auto feed tray and wipe the pickup roller gently with dry lint cloth...
Страница 159: ...146 2 Gently pull the jammed paper out 3 Install paper tray...
Страница 162: ...149 1 Open the front cover and then remove the laser toner cartridge along the guide rail 2 Open the rear cover...
Страница 163: ...150 3 Open the fuser door using the handles on both sides 4 Gently pull the jammed paper out...
Страница 169: ...156 14 1 5 Paper jam of auto feed tray 1 Pull out the automatic tray 2 Gently pull the jammed paper out...
Страница 187: ......


