47
11. The software installs the driver automatically and the installation process may need some
time. The duration is related to your computer configuration, please wait patiently.
12. After the installation, click "Print &Test Page" button. If your printer prints the test page
successfully, it means that you have installed the driver correctly.
3.1.3. Method of driver unistallation
Windows 7 is taken as the example in the following operation. The information on your computer
screen may differ because of multiple operating systems.
1. Click the Start menu of computer and then click All programs.
2. Click Pantum, and then Click Pantum XXX Series.
Pantum XXX Series where XXX represents product model.
3. Click uninstall to delete the driver according to instructions on uninstall window.
4. Restart computer after finishing unloading.
3.2. macOS system driver installation
• Driver installation under macOS system is divided into 2 steps, driver installation and adding a
printer. If you are going to print in AirPrint mode, there is no need to install a driver and you just
need to add a printer directly.
• When you are installing a driver with wired or wireless network, you may need to know the
Bonjour name of printer. Please print the “Network setup page” to view it. (Please refer to
).
3.2.1. Driver installation
macOS 10.11 is taken as the example in the following operation. The information on your
computer screen may differ because of multiple operating systems.
1. Turn the power of printer and computer on.
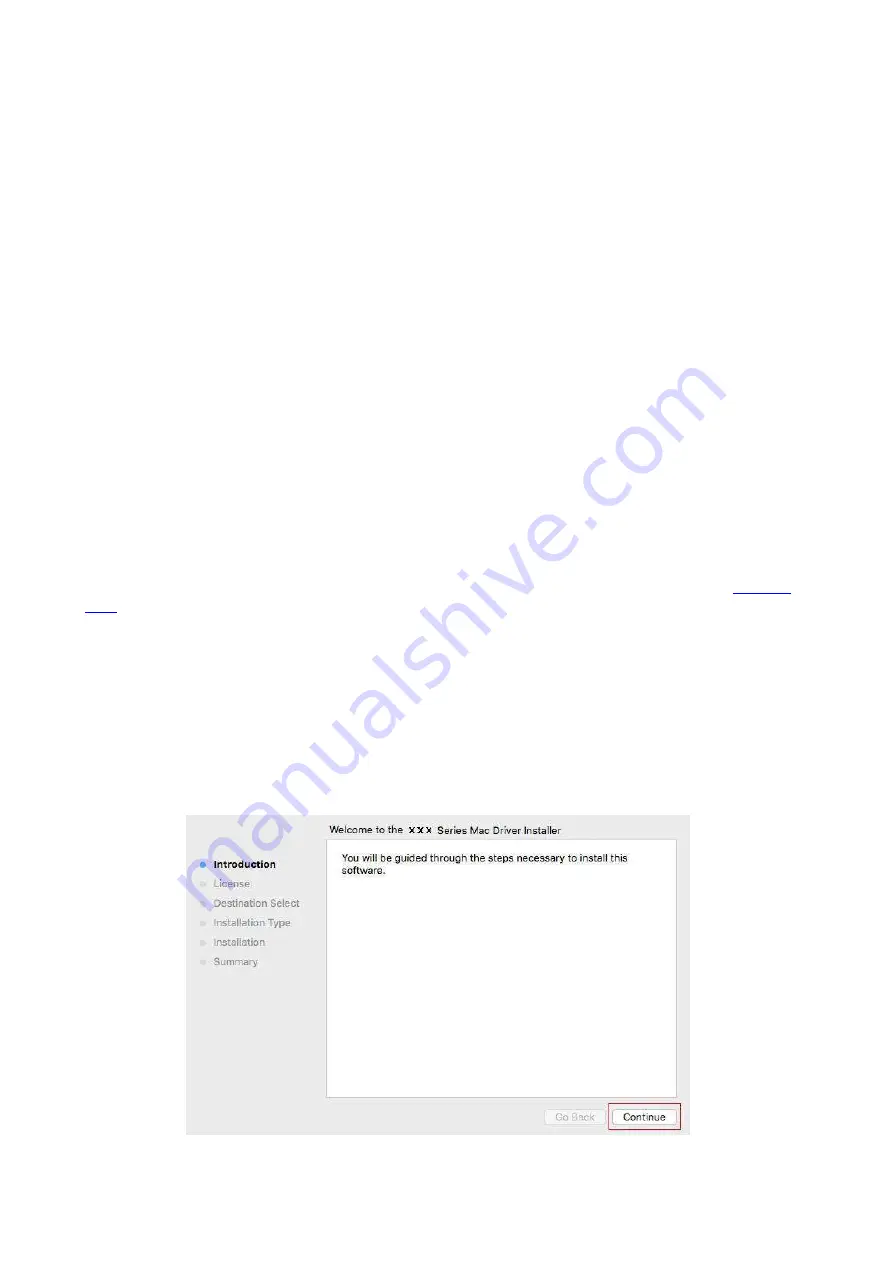
2. Insert the CD companying with printer in the CD driver of your computer, and double click
Pantum XXX Series installation package. (XXX in Pantum XXX Series represents product
model.)
Содержание BM5100FDN Series
Страница 89: ...76 6 Single click OK to finish printing setup Click Print to realize auto duplex printing...
Страница 115: ...102 3 After the window pops up click on Scan 4 Click on Open Scanner and the scan window will pop up...
Страница 146: ...133 6 Open the auto feed tray and wipe the pickup roller gently with dry lint cloth...
Страница 159: ...146 2 Gently pull the jammed paper out 3 Install paper tray...
Страница 162: ...149 1 Open the front cover and then remove the laser toner cartridge along the guide rail 2 Open the rear cover...
Страница 163: ...150 3 Open the fuser door using the handles on both sides 4 Gently pull the jammed paper out...
Страница 169: ...156 14 1 5 Paper jam of auto feed tray 1 Pull out the automatic tray 2 Gently pull the jammed paper out...
Страница 187: ......


