113
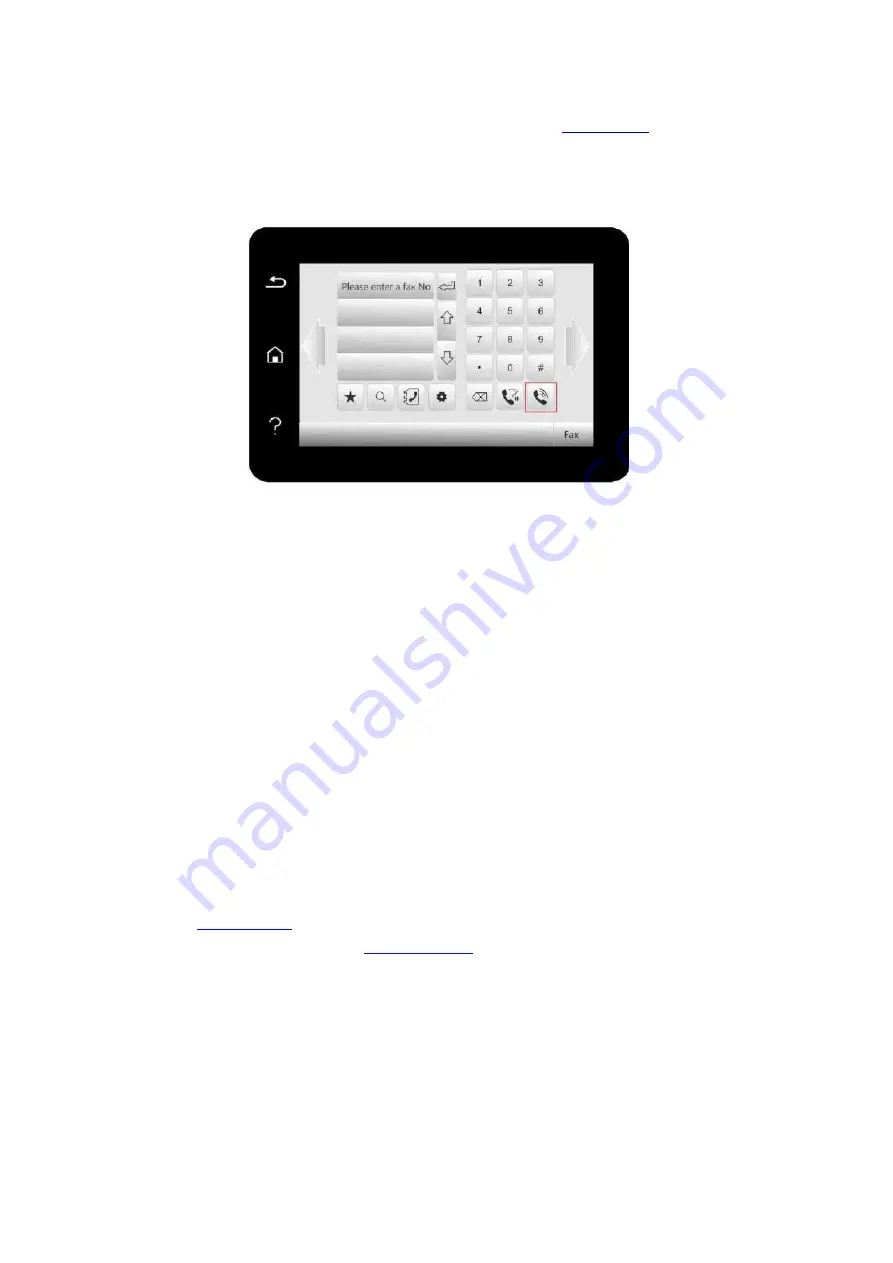
10.3.1.2. Manual fax sending
1. Put an original on the glass platen or into the ADF (please see
original).
2. Click “Fax” button in control panel to enter fax funct
ional interface.
3. Click “Hands free” button or pick up the telephone receiver, enter fax number.
4. Re-
click “Fax” button after hearing the fax warning tone to confirm to send.
• If the called party answers the telephone, both parties can make a voic
e communication. Click
“Fax” button after hearing the fax warning tone of the called party to confirm to send fax.
10.3.2. Receive Fax
There are three fax receiving modes. This printer defaults to Ph./fax mode.
Fax mode: determine each call from the calling party as a fax. When arriving the ring count set, it
gives fax receiving signals and receives the fax automatically.
Telephone mode: define each call from the calling party as a telephone call, it is required to
answer the telephone manually, then cl
ick “Fax” button in control panel to receive fax.
Phone/Fax mode: Automatically recognize each call from the caller.When each call is regarded
as a fax call, if the ringing times reach the set value, the fax will be received automatically. When
the call is regarded as a phone call, the call will be answered manually within the voice call
waiting time, and hung up automatically after timeout.
10.3.2.1. Auto receiving under fax mode
In receiving the fax, the machine answers the call with the set ring count and then receive the fax
automatically. The ring count defaults to 4 times.
Please refer to
To adjust the ring volume, please see
10.3.2.2. Manual receiving under telephone mode
Under telephone mode, there are 3 ways to receive a fax when there is a fax call:
1. Click “Fax” button in control panel to allow the printer to receive fax.
2. Put down the telephone receiver or
click “Hands free” button in control panel, then re
-
click “Fax”
button to allow the printer to receive fax.
3. Use remote receiving method (only for external telephone), and after picking up the receiver,
press "*90" on telephone panel and then the machine begins to receive.
Содержание BM5100FDN Series
Страница 89: ...76 6 Single click OK to finish printing setup Click Print to realize auto duplex printing...
Страница 115: ...102 3 After the window pops up click on Scan 4 Click on Open Scanner and the scan window will pop up...
Страница 146: ...133 6 Open the auto feed tray and wipe the pickup roller gently with dry lint cloth...
Страница 159: ...146 2 Gently pull the jammed paper out 3 Install paper tray...
Страница 162: ...149 1 Open the front cover and then remove the laser toner cartridge along the guide rail 2 Open the rear cover...
Страница 163: ...150 3 Open the fuser door using the handles on both sides 4 Gently pull the jammed paper out...
Страница 169: ...156 14 1 5 Paper jam of auto feed tray 1 Pull out the automatic tray 2 Gently pull the jammed paper out...
Страница 187: ......


