6
Setup Menu
96
6.1
Date and Time
The BL-WV10A receives date and time information from registered and connected
cameras each time it starts up. In addition, the internal clock can sometimes speed
up or slow down based on environment temperatures. If the time displayed is off,
the date and time can be set manually.
1.
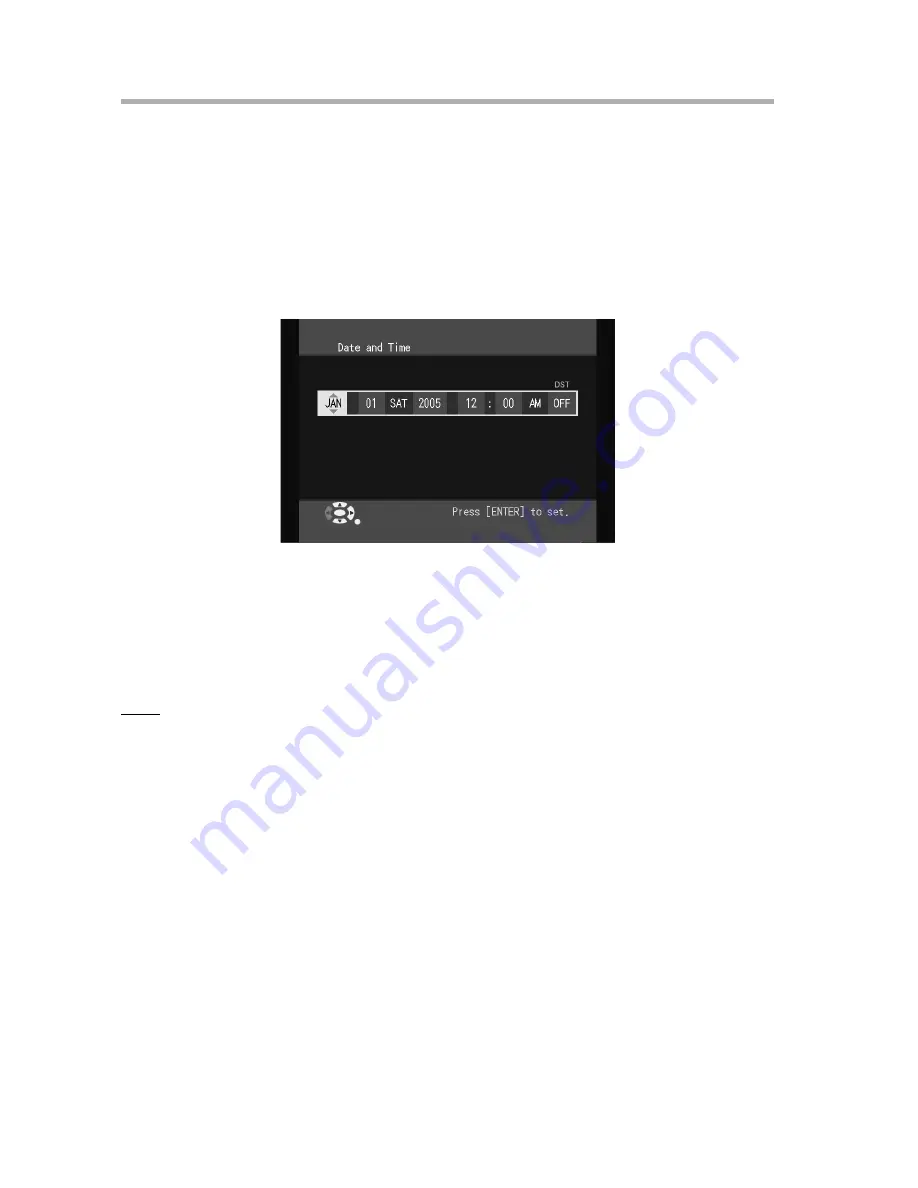
Select [Date and Time] from the [Setup] screen (see page 95) and press
[ENTER].
•
The Clock Settings screen appears.
2.
Use the left and right navigator keys to select the desired information, then
press the top or bottom navigator keys to change the setting and press
[ENTER].
•
When you set the time manually, the clocks of all connected local cameras
will be synchronized to match.
Note
•
The BL-WV10A will be unable to receive time data if no cameras are connected
when it starts up. In that instance, set the clock manually.
•
If [DST] is turned on, the BL-WV10A will automatically adjust its clock for
Daylight Saving Time. The clock will move forward 1 hour at 2:00 AM on the first
Sunday in April, and will move back 1 hour at 3:00 AM on the last Sunday in
October.
When Connected to a Router
•
Time data can be obtained from remote cameras, but that data will not
overwrite settings in the BL-WV10A. The time displayed while monitoring and
the time used for recording purposes is taken from the BL-WV10A's clock. If the
time in a remote camera is off, connect to it with a computer and reset its clock
to match that of the BL-WV10A.


