2
Connecting Cameras
[For assistance, please call: 1-800-272-7033]
29
2.
Set the mode switch on the back of the BL-WV10A to [NORMAL] and turn it
on.
•
After the startup screen, the camera monitoring screen will appear.
Note
•
As the cameras start up, those registered in camera list 1 will display a
monitoring image. If multiple cameras were registered, confirm that
monitoring images for all of the cameras registered in the multi-camera
screen (see page 64) are displayed.
•
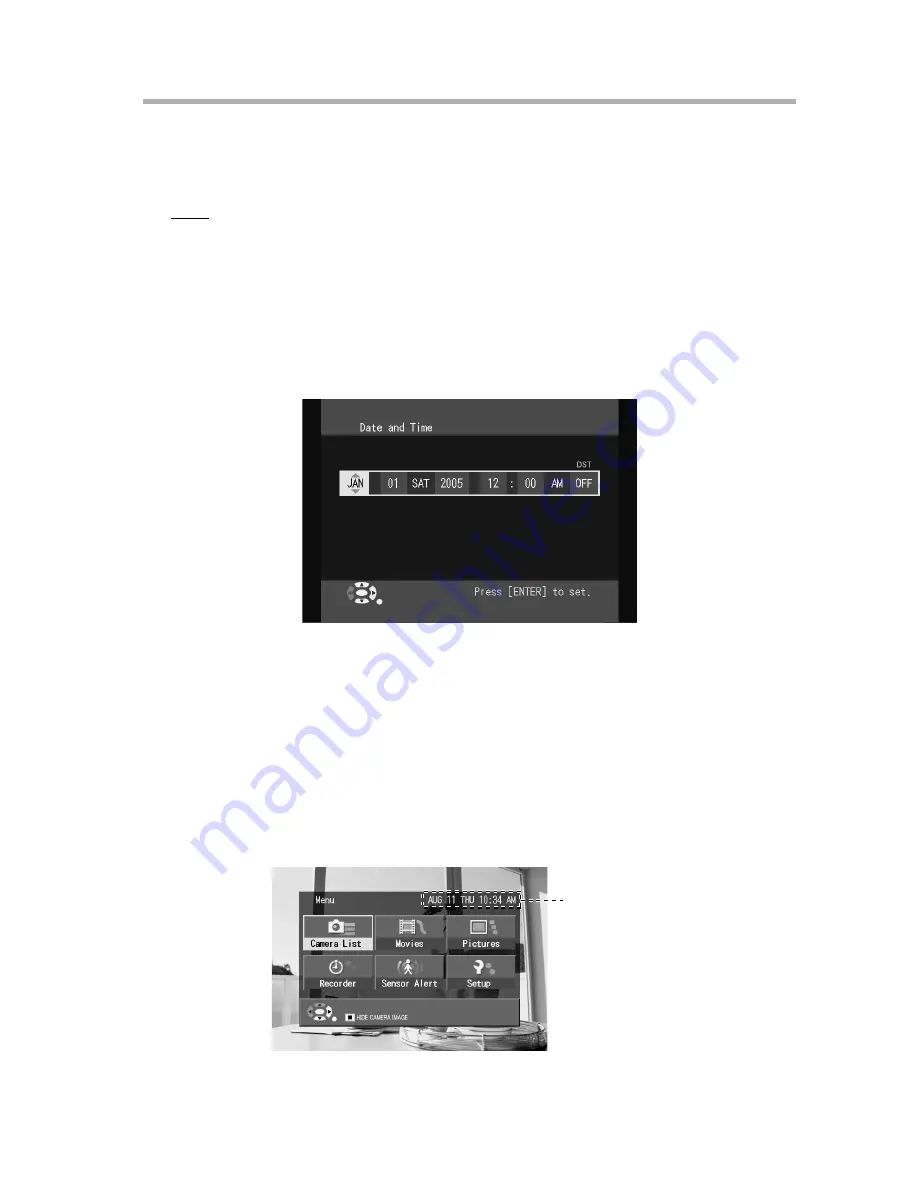
If the BL-WV10A does not receive date and time information from any of
the connected cameras, the [Date and Time] screen will appear. Select
the current date and time using the navigator keys on the remote control,
and press [ENTER] when finished.
•
If [DST] is turned on, the BL-WV10A will automatically adjust its clock for
Daylight Saving Time. The clock will move forward 1 hour at 2:00 AM on
the first Sunday in April, and will move back 1 hour at 3:00 AM on the last
Sunday in October.
•
If a camera image does not appear, check the connection and then restart
the camera. If the image still fails to appear, reset the camera to its default
values, and re-register it using Quick Setup.
•
The date and time is displayed in the upper-right corner of the BL-
WV10A’s menu. If the date and time setting is not correct, set the correct
date and time from the [Date and Time] screen on the [Settings] screen
(see page 96).
Current date
and time


