128
Connections: Using This Unit With a Hard Disk
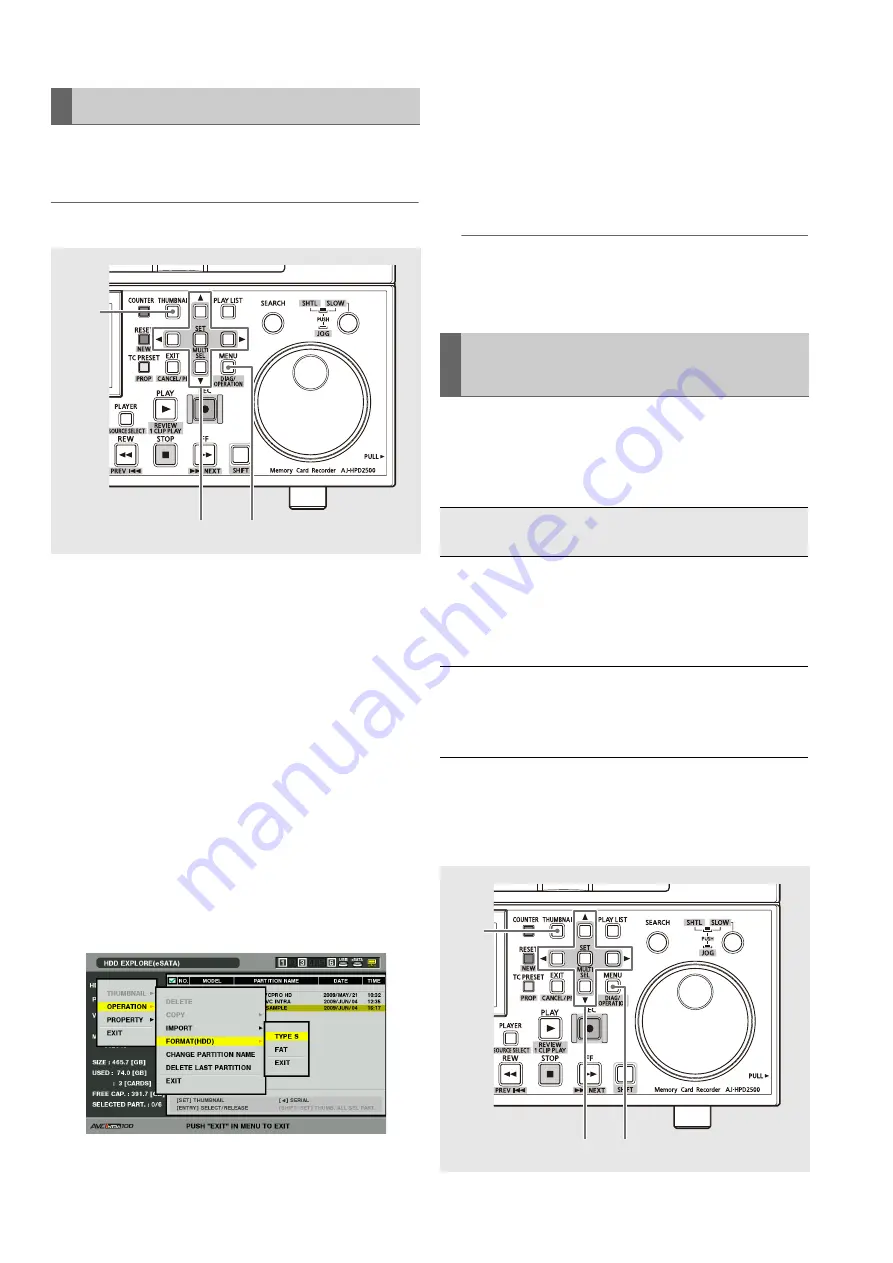
Follow the steps below to initialize a hard disk in a TYPE S or
FAT format.
◆
NOTE:
• Note that formatting a hard disk deletes all data on the disk.
1
Press the THUMBNAIL button.
2
Connect a USB or eSATA hard disk.
Hard disk status (page 51) changes to white (or red) when
a hard disk is recognized.
3
Press the MENU button.
4
Use the cursor buttons to select [HDD (USB or
eSATA)] – [EXPLORE] and press the SET button.
The explorer screen will now open.
5
Press the MENU button, use the cursor buttons to
choose [OPERATION] – [FORMAT (HDD)] and
press the SET button. Then select the format (TYPE
S or FAT) and press the SET button.
6
Select [YES] in the confirmation message that
appears and press the SET button.
7
When the confirmation message appears again,
select [YES] and press the SET button.
The hard disk will now be formatted.
◆
NOTE:
• Check that no important data remains on the hard disk before
formatting since data erased by formatting cannot be
recovered.
This unit provides high-speed export (writing data from a P2
card to a hard disk) of data from a P2 card to a hard disk. The
copy result and and the maximum number of copies differ,
depending on the hard disk format type.
*
1
Folders are created in two levels: date (year/month/date), and time
(hour/minute/second).
Example of 12:34:56 on March 30 of 2010
10-03-30/12-34-56
*
2
Copy volume is limited by the capacity of the storage device.
Formatting Hard Disks
3,5
4,5,6,7
1
Exporting Data by Card to a Hard
Disk
Hard disk
type
Copy result
Maximum
number of
copies
*
2
TYPE S
A partition is created by card and all the
data included in the card are copied to that
partition.
The product number and serial number of
the P2 card used for copying can be
checked on the explorer screen of this unit.
23
FAT
A folder
*
1
is created by card and all the
data included in the card is copied to that
partition.
The folder name can be checked on the
explorer screen of this unit.
100
4
5,6,7
3


