Copyright © 2018
PalatiumCare, Inc.
Page 16
2018
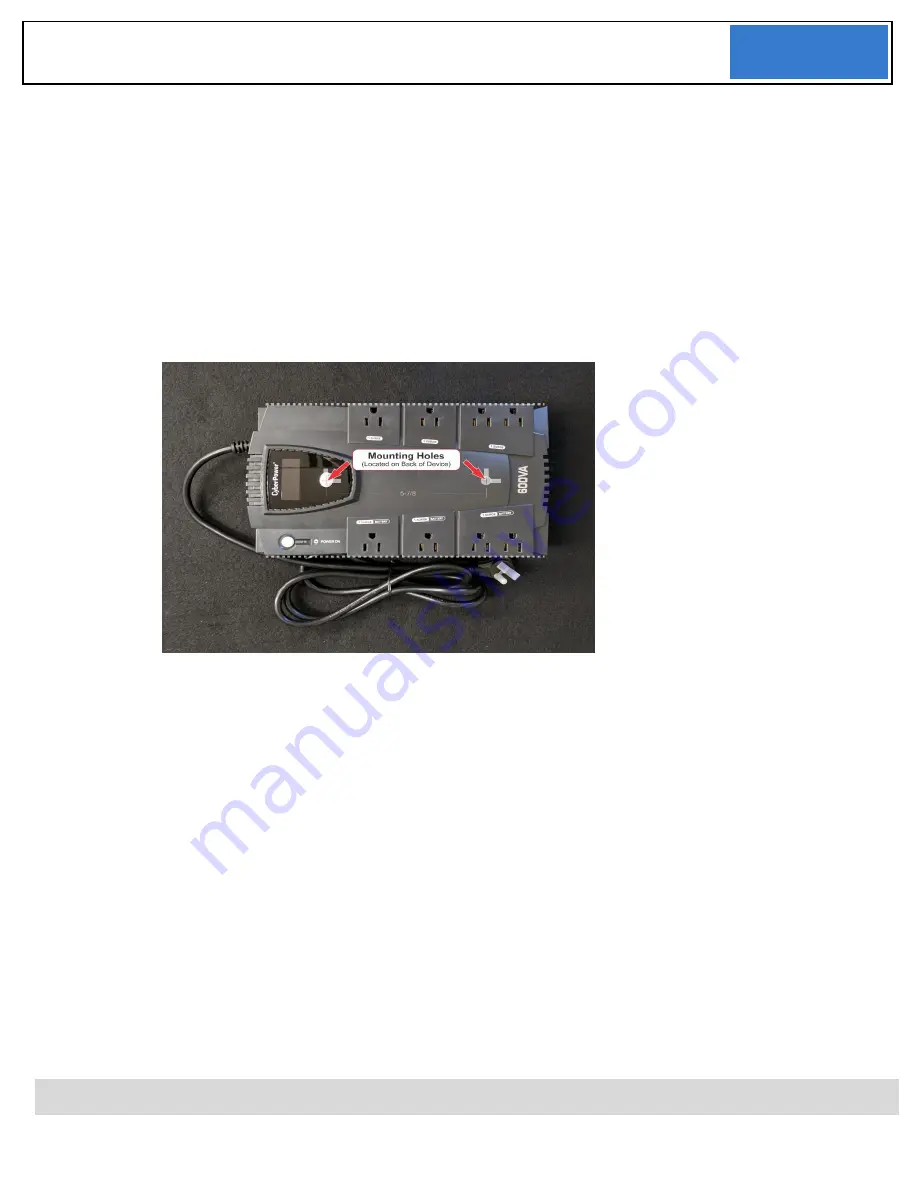
Mounting the Battery Back-up for PalatiumCare System
1.
Locate and mark the location for the two screw slots on the back of the battery back-up,
then thread the two screws onto the board or wall. Align the screw holes on the back of
the Battery Back-up to the mounted screws.
2.
Positioning the Battery Back-up from the bottom with the secured screws, when they are
aligned to one another, slowly slide the battery back-up downward to secure it. Figure 1.7
3.
Use the doubled sided tape and pace it on the flat side of the AC adaptor to secure it in
place.
Figure 1.7
Mounting the System Mounting Board
1.
Once the required hardware had been mounted to the system mounting board as a whole
PalatiumCare System. How the entire System can be mounted onto a wall where ever it
needs to be placed.
2.
The System Mounting Board already has the pre-exiting thread holes for use. Follow the
pre-existing holes to mount the PalatiumCare System onto the wall with two wall dog
zinc pan head 1-
1/4” on the top
, and two on the bottom to secure the PalatiumCare
System board.
Mounting the PalatiumCare UL2560 Comark PC
1.
Take the stand and slide the arm over the sides of the computer. Making sure the
indented side is against the work surface and then align the holes.
2.
Take the two screws provided and thread them into the holes. Be sure not to over tighten
the bottom screws so you can maneuver the monitor (See Comark PC Install Guide).
3.
Repeat step 1 and 2 for the other side.
Содержание Palcare PAL-211401
Страница 1: ...Copyright 2018 PalatiumCare Inc Page 1 2018 Install Manual PAL 211401 FW 2 1 66 ...
Страница 10: ...Copyright 2018 PalatiumCare Inc Page 10 2018 Mounting hardware Layout WITH System Mounting Board Figure 1 0 ...
Страница 11: ...Copyright 2018 PalatiumCare Inc Page 11 2018 Mounting Hardware Layout WITHOUT system Mounting Board Figure 1 1 ...
Страница 12: ...Copyright 2018 PalatiumCare Inc Page 12 2018 PalatiumCare UL2560 System Mounting Layout Typical Figure 1 2 ...


