User’s Manual
24
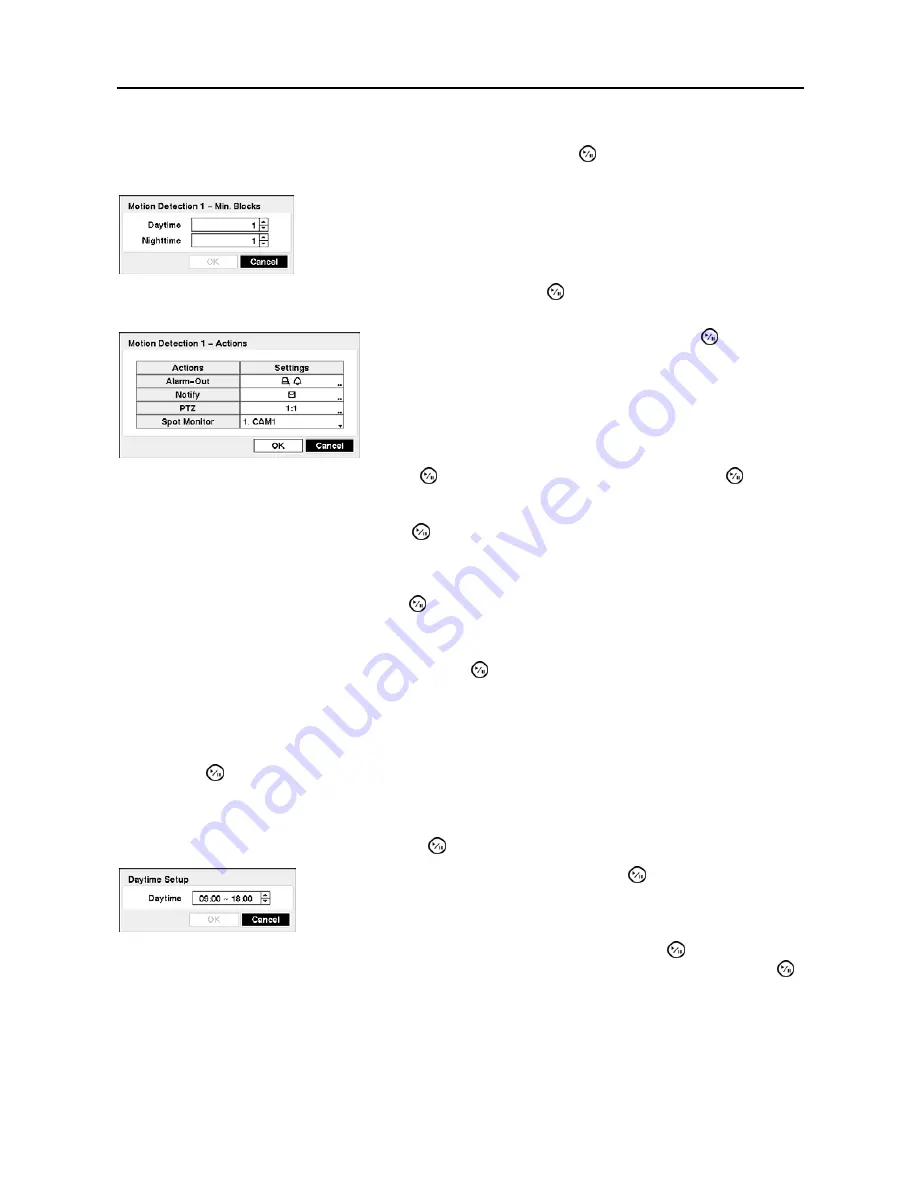
You can adjust the minimum number of detection blocks that must be activated to trigger a motion alarm.
Highlighting the box under the
Min. Blocks
heading and pressing the button allows you to adjust the
minimum number of detection blocks for Daytime and Nighttime independently.
Highlighting the box under the
Actions
heading and pressing the button allows you to set the DVR to
react to motion detection differently for each camera.
Highlight the box beside
Notify
and press the button. Highlighting
and pressing the button
toggles On and Off. When set to On, the DVR will send an e-mail to the address set during
NETWORK –
Mail setup
where you want PTZ cameras to move to whenever the DVR detects motion on the selected
camera’s input. Highlight
OK
and press the button to accept your changes.
NOTE: For the Notify action, the notify item you select should be enabled in the NETWORK
–
setup screen and the DVR should be registered in the RAS (Remote Administration System).
Highlight the box beside
PTZ
and press the button. A list of PTZ presets appear. Select the preset
position for each PTZ camera, where you want PTZ cameras to move to whenever the DVR detects
motion on the selected camera’s input.
Highlight the box beside
Spot Monitor
and press the button. A list of a SPOT monitor and cameras
appears. A SPOT monitor can be associated with a camera. The DVR will display the associated camera
on the SPOT monitor whenever it detects motions on the selected camera.
You can control excessive event logging and remote notification of motions detected after the motion dwell
time by adjusting the motion ignoring dwell intervals. Highlight the box beside
Motion Ignoring Interval
and press the button. A list of intervals ranging from 1 to 10 seconds or
Never
appears. The DVR will
not log and notify motion events occurred during the preset interval range.
NOTE: The record action for motion events will not be affected by the Motion Ignoring function.
Highlighting
Daytime Setup
and pressing the button allows you to set up the Daytime range.
After you are finished with the Motion Screen, you can highlight
Save
and press the button to save the
changes and exit the screen. If you do not wish to save the changes, highlight
Cancel
and press the
button to exit the screen.
Smaller numbers provide greater sensitivity because fewer detection blocks
must be activated.
Highlight the box beside
Alarm-Out
and press the button. You
can associate alarm-out signals (Alarm-Out and Beep) with that
camera as you wish. When the DVR detects motion on the selected
camera’s input, it triggers output signals.
Highlight the box beside
Daytime
and press the button. Use the Up and
Down arrow buttons to set the Daytime range. The DVR will consider the
remaining time range as the Nighttime.


