Digital Video Recorder
19
Highlight the box beside
Codec
and select between
H.264
and
MPEG-4
. Selecting the new codec displays
a message asking you to confirm whether or not you want to restart the system because the system must
be restarted before applying the new codec and you will lose all recording data.
CAUTION: When changing the codec all recording data is deleted before applying the new
codec. If you don’t want to delete the recording data, back up it using the clip-copy function.
NOTE: Selecting the H.264 codec and enabling the VGA Enhancement function will cause the recording
speed to be decreased by half. Refer to the Display Menu, Main Monitor Setup section in this chapter
for setting up the VGA Enhancement function.
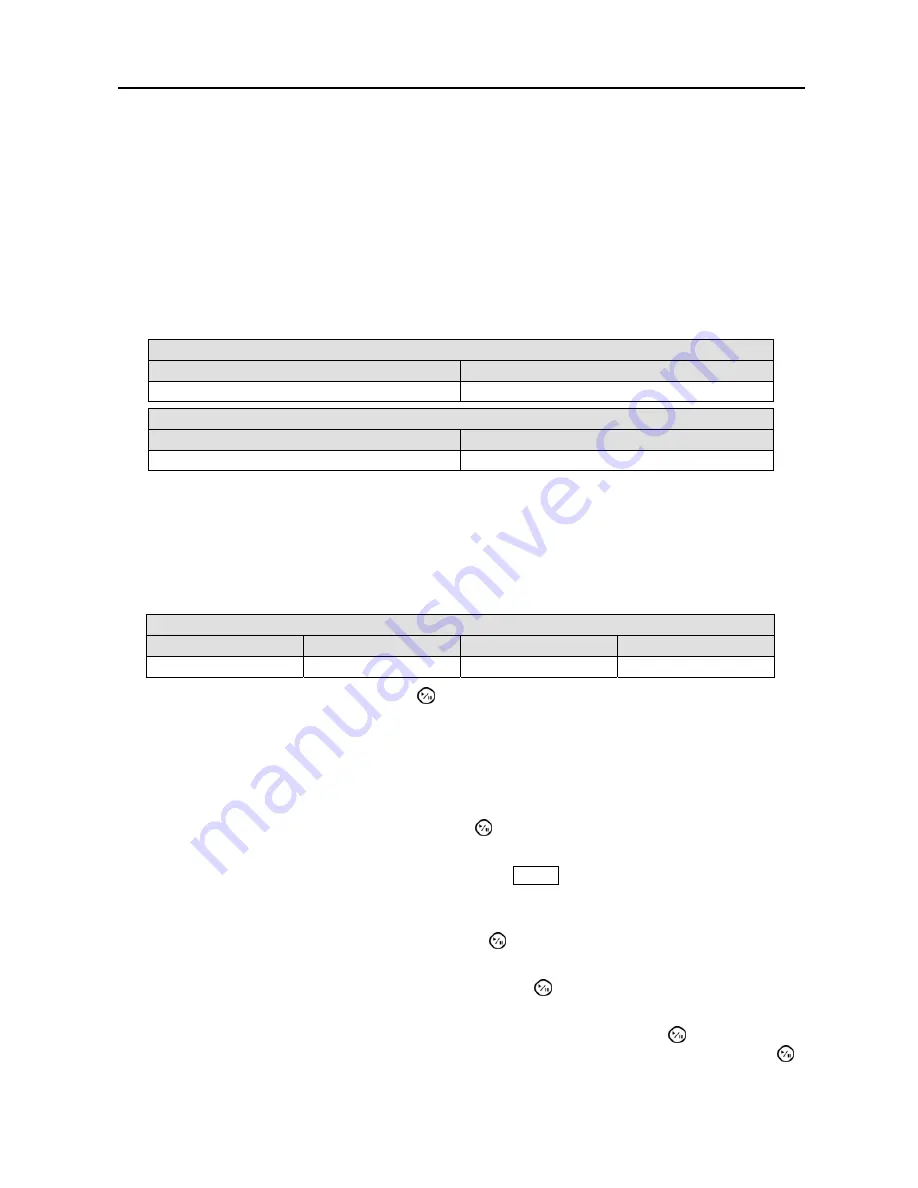
NOTE: The maximum recording and playback speed when using the H.264 codec is as follows.
When the DVR is in the Recording Mode only
Disable VGA Enhancement
Enable VGA Enhancement
120 ips (100 ips PAL)
60 ips (50 ips PAL)
When the DVR is in the Recording mode and Playback mode at the same time
Recording Speed
Playback Speed
60 ips (50 ips PAL)
120 ips (100 ips PAL)
Highlight the
Resolution
box and select from
Very High
,
High
and
Standard
.
NOTE: The total ips of all camera channels will be limited to 60 ips (50 ips PAL) when set to
High
resolution and 30 ips (25 ips PAL) when set to
Very High
resolution.
NOTE: When set to
High
or
Very High
resolution, the maximum recording speed of each camera
channel decreases by half. However the maximum recording speed of 30 ips (25 ips PAL) will be
maintained if the number of cameras that are turned On is two or less.
No. of cameras set to
On
and
High
or
Very High
resolution
0
1
2
3 to 16
─
30 ips (25 ips PAL)
30 ips (25 ips PAL)
15 ips (12.5 ips PAL)
Highlighting
Record Audio
and pressing the button toggles between On and Off.
When setting to On,
the DVR will record audio from up to four inputs when video is recording.
Highlight the slide bar beside
Auto Deletion
, and use the Left and Right arrow buttons to adjust the length
of time recorded data will be kept from 1 to 999 days. The DVR automatically deletes video recorded earlier
than the user-defined period under three conditions: at midnight, whenever the system reboots or whenever
the user changes the Auto Deletion settings. Selecting
Never
will disable the Auto Deletion function.
Highlighting
Use
Panic Recording
and pressing the button toggles between On and Off.
Highlight the
Panic Recording – Duration
box and set the duration of panic recording. Panic recording
will stop automatically after the preset duration as long as the
PANIC
button is not pressed to stop the panic
recording. You can set the dwell from 5 minutes to 1 hour. Select
No Limit
if you want to stop panic
recording manually.
Highlighting the
Panic Recording – ips
and pressing the button allows you to set the images per second
for Panic recording. You can select from 0.10 to 30.0 images per second.
Highlighting the
Panic Recording – Quality
and pressing the button allows you to set the recorded
image quality for Panic recording. You can select from:
Very High
,
High
,
Standard
and
Basic
.
After you are finished with the General Screen, you can highlight
Save
and press the button to save the
changes and exit the screen. If you do not wish to save the changes, highlight
Cancel
and press the
button to exit the screen.


