DMTA-10040-01EN, Rev. E, February 2018
Chapter 5
130
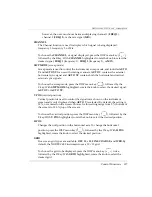
— Second alternative:
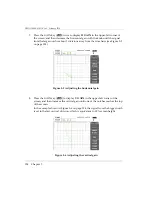
If the surface of your sample is made of the same material as the material of
the hole to be inspected, this alternative is usually more practical and easier.
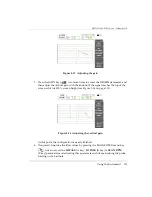
While the scanner is rotating the probe, simply gently touch the surface of the
sample with the head of the probe, and adjust the signal angle so that the tip
of the signal extends to the right of the impedance plane (see Figure 5-14 on
page 130).
Figure 5
‑
14 Adjusting the lift
‑
off noise (second alternative)
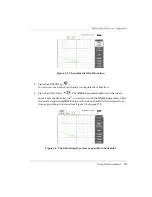
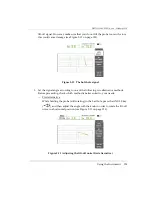
4.
Press the GAIN key (
), and then decrease the gain with the knob in order to
keep the entire crack signal within the screen area.
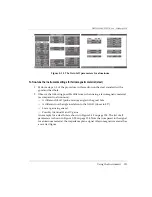
A good practice is to set the signal’s maximum deflection to 10 % of the screen’s
horizontal deflection (see Figure 5-15 on page 131).
Содержание nortec 600
Страница 8: ...DMTA 10040 01EN Rev E February 2018 Table of Contents viii...
Страница 16: ...DMTA 10040 01EN Rev E February 2018 Labels and Symbols 6...
Страница 30: ...DMTA 10040 01EN Rev E February 2018 Introduction 20...
Страница 58: ...DMTA 10040 01EN Rev E February 2018 Chapter 1 48...
Страница 71: ...DMTA 10040 01EN Rev E February 2018 Software User Interface 61 Press the Return key to exit...
Страница 72: ...DMTA 10040 01EN Rev E February 2018 Chapter 2 62...
Страница 342: ...DMTA 10040 01EN Rev E February 2018 Chapter 7 332...
Страница 356: ...DMTA 10040 01EN Rev E February 2018 Appendix B 346...
Страница 366: ...DMTA 10040 01EN Rev E February 2018 List of Figures 356...
Страница 368: ...DMTA 10040 01EN Rev E February 2018 List of Tables 358...


