


- 67 -
2. Setting Up
16
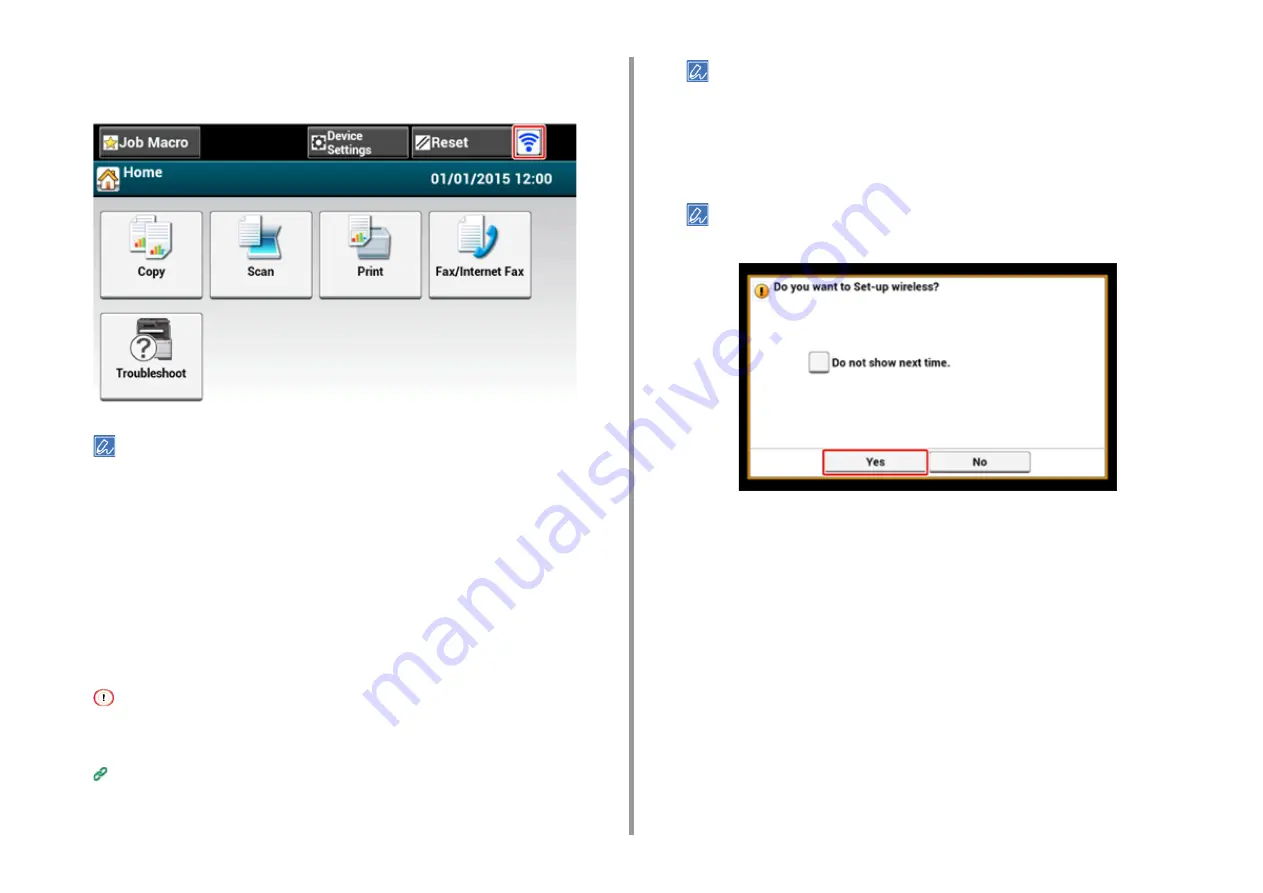
If the antenna mark is displayed at the top right of the touch panel, the
connection is established correctly.
The antenna mark may not be displayed on some screens such as the copy top screen.
Setting from the Operator Panel Manually to Connect
Set the wireless LAN access point information (the SSID, encryption method and encryption
key) manually to connect to the wireless LAN.
1
Check the SSID, encryption key, and security by referring to the instruction
manual that is included in a wireless LAN access point or other documents,
and write the information down.
If the encryption method is WPA-EAP and WPA2-EAP, set from the Web page of this machine.
For details, open the Web page of this machine and click [Admin Setup] > [Network] > [Wireless Setting] >
[Manual Setup].
Open the Web Page of This Machine (Advanced Manual)
• An SSID is also called a network name, ESSID, or ESS-ID.
• An encryption key is also called a network key, security key, password, or Pre-shared Key.
2
Check that the wireless LAN access point starts and is operating properly.
3
Turn on the machine.
If the following screen is displayed, press [Yes], and then proceed to step 6.
4
Press [Device Settings] on the touch panel.
Содержание MC573dn
Страница 1: ...MC573 ES5473 MFP User s Manual...
Страница 12: ...12 1 Before starting ENVIRONMENTAL INFORMATION...
Страница 17: ...17 2 Setting Up Side view when the additional tray unit is installed...
Страница 22: ...22 2 Setting Up 13 Hold the handle B to close the scanner unit...
Страница 35: ...35 2 Setting Up 1 Plug the power cord into the power connector 2 Plug the power cord into the outlet...
Страница 41: ...41 2 Setting Up 7 Replace the paper cassette into the machine Push the paper cassette until it stops...
Страница 80: ...80 2 Setting Up 10 Click Complete 11 Click Next If the following dialog is displayed click Yes...
Страница 108: ...4 Copy Copying Cancelling Copying Specifying the Number of Copies Descriptions of Screens for Copy...
Страница 132: ...132 6 Print 5 Change the settings in each tab to suit your needs 6 Click OK 7 Click Print on the Print screen...
Страница 145: ...7 Fax Basic Operations of Fax Functions Setting for Receptions Descriptions of Screens for Fax...
Страница 148: ...148 7 Fax A fax that is being sent is displayed on the top of the list 5 Press Yes on a confirmation screen...
Страница 227: ...46472402EE Rev5...


