


- 203 -
9. Troubleshooting
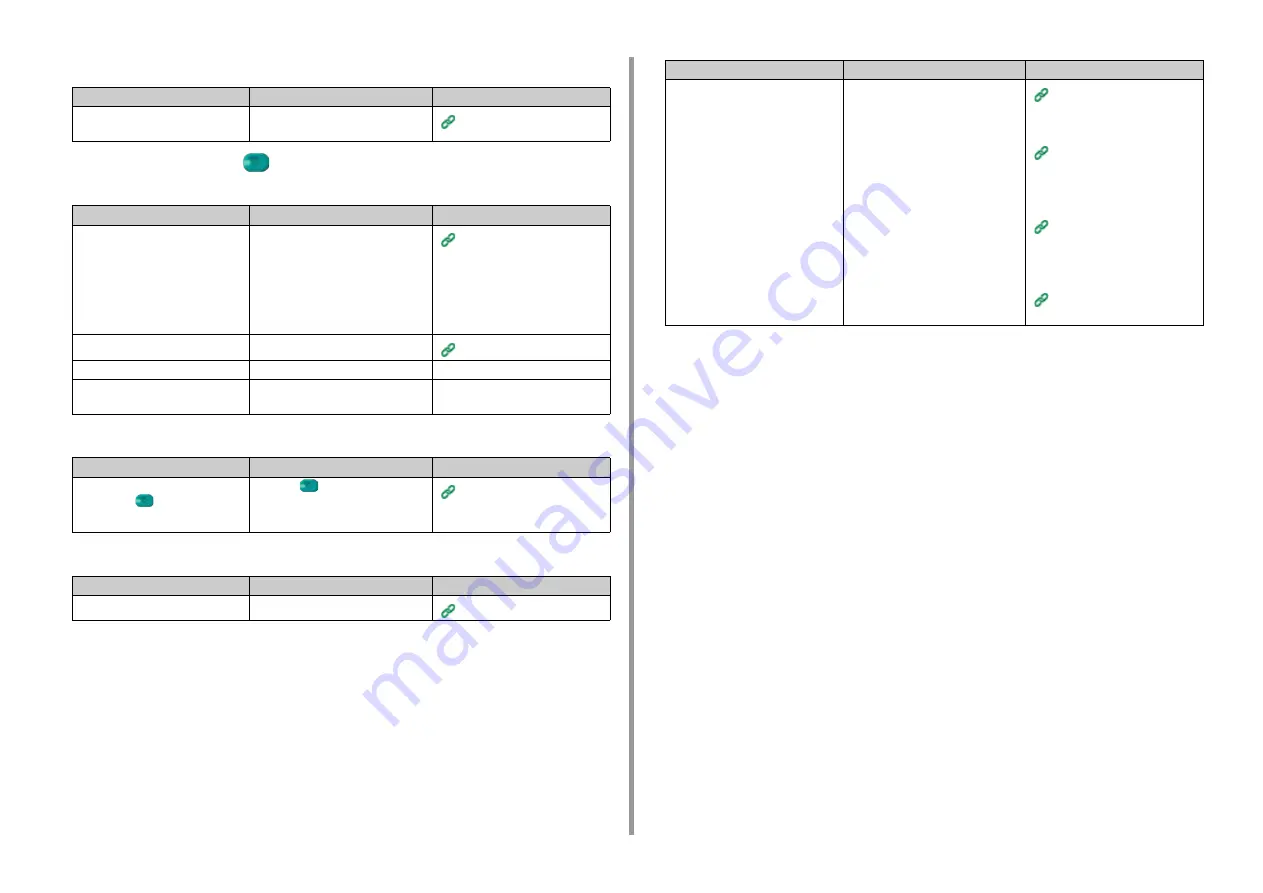
• A document cannot be sent continuously
• After dialing, even if the
(START) button is pressed, the machine cannot
send a fax
• Unable to send a fax manually
• A document cannot be scanned during memory transmission
Point to check
Solution
Reference
Did you set the document correctly in
the ADF?
Set the document after aligning the
leading edge.
Point to check
Solution
Reference
Did you specify the appropriate dial
type?
Specify the appropriate dial type for
your region.
Press [Device Settings] on the touch
panel, select [Admin Setup] > [User
Install] and set the value according to
your environment in [MF (Tone)/DP
(Pulse)].
User Install (Advanced Manual)
Is the document set properly?
Set the document properly.
Did you dial the correct number?
Dial the correct number.
-
Is the recipient's line busy?
Wait until the line is opened, and then
try again.
-
Point to check
Solution
Reference
Did you put the handset down before
pressing the
(START) button?
Press the
(START) button first.
Sending a Fax after Calling
(Manual Transmission)
(Advanced Manual)
Point to check
Solution
Reference
Is the document set properly?
Set the document properly.
Is memory full?
Check the reserved transmission.
Print the documents received with the
confidential transmission.
Delete the documents stored in the
bulletin board box.
Delete the documents stored in the
Secure Receive.
Sending at a Specified Date and
Time (Delayed Tx) (Advanced
Manual)
Printing a Document That is
Received in the Confidential
Box of This Machine (Advanced
Manual)
Receiving a Document That is
Saved in a Destination Bulletin
Board Box by Fax (Fcode
Polling) (Advanced Manual)
Setting Secure Reception
(Advanced Manual)
Point to check
Solution
Reference
Содержание MC573dn
Страница 1: ...MC573 ES5473 MFP User s Manual...
Страница 12: ...12 1 Before starting ENVIRONMENTAL INFORMATION...
Страница 17: ...17 2 Setting Up Side view when the additional tray unit is installed...
Страница 22: ...22 2 Setting Up 13 Hold the handle B to close the scanner unit...
Страница 35: ...35 2 Setting Up 1 Plug the power cord into the power connector 2 Plug the power cord into the outlet...
Страница 41: ...41 2 Setting Up 7 Replace the paper cassette into the machine Push the paper cassette until it stops...
Страница 80: ...80 2 Setting Up 10 Click Complete 11 Click Next If the following dialog is displayed click Yes...
Страница 108: ...4 Copy Copying Cancelling Copying Specifying the Number of Copies Descriptions of Screens for Copy...
Страница 132: ...132 6 Print 5 Change the settings in each tab to suit your needs 6 Click OK 7 Click Print on the Print screen...
Страница 145: ...7 Fax Basic Operations of Fax Functions Setting for Receptions Descriptions of Screens for Fax...
Страница 148: ...148 7 Fax A fax that is being sent is displayed on the top of the list 5 Press Yes on a confirmation screen...
Страница 227: ...46472402EE Rev5...


