Use the manual feed for copy jobs
Introduction
If you want to copy a job on a media type or size that is not available on one of the paper
rolls or sheet feeders, it may be easier to manually feed sheets instead of switching paper
rolls or sheet feeders. The sheet feed is a special slot just above the roll drawers on the
engine. You can insert precut copy material in this slot, one sheet at a time.
Note:
Only use media as specified in
‘Preferred Océ media types and sizes’
.
Copying on precut sheets
1.
Select a template.
2.
Open the “Sheet” card in the “Print” section.
3.
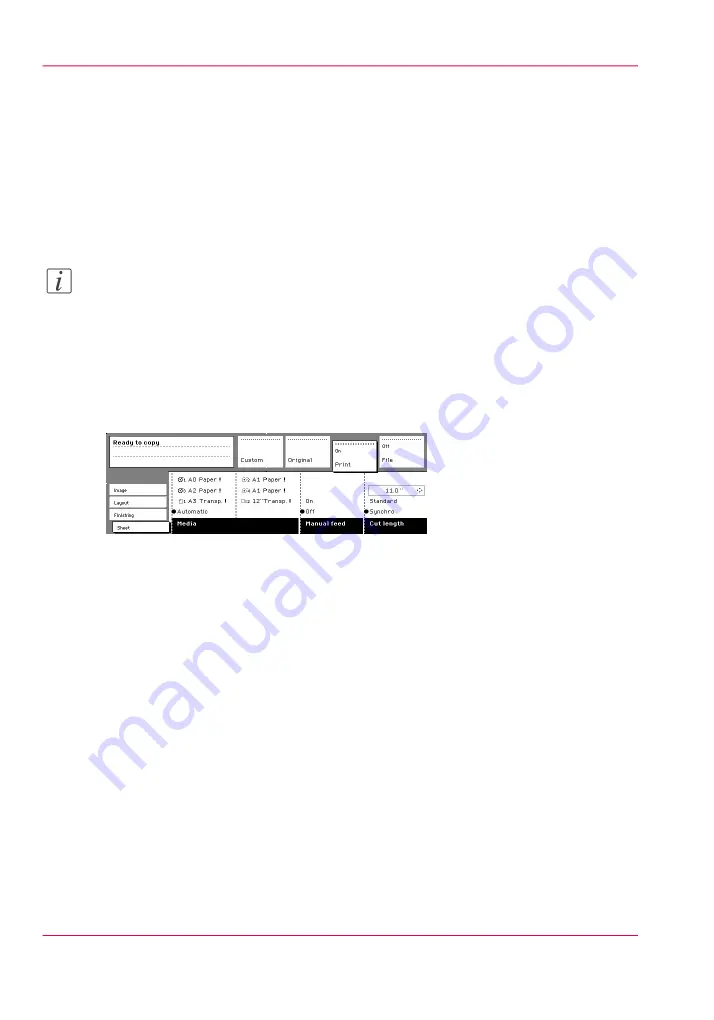
Press the ‘Media’ key and select 'Manual'. The display on the printer will appear as follows:
[128] Use the manual feed option
4.
Select any required other settings.
5.
Enter the number of copies using the numeric keys.
6.
Feed the original.
7.
Press the Start key.
8.
Take your sheet of copy material to the side of the printer engine that contains the sheet
feed.
9.
Use both hands to align the copy material in accordance with the format indication and
the sticker on the manual feed table.
10.
Move the copy material forward in the nip of the roller. This must cause an ample paper
bulge over the full width of the page.
11.
Hold the paper with both hands until the engine pulls in the first part of the sheet. The
bulge will be reduced or it will disappear. A few seconds later, the complete sheet will be
pulled in the printer. Note: If the copy job requires more sheets, the display will ask you
to feed the next sheet.
12.
Repeat steps 7 to 11 to complete the job.
13.
Collect your output.
Chapter 6 - Use the Océ TDS600 scanner to copy
190
Use the manual feed for copy jobs
Содержание PlotWave 900
Страница 1: ...o Oc PlotWave 900 Serious Power User manual Operating information...
Страница 11: ...Chapter 1 Introduction...
Страница 28: ...Chapter 1 Introduction 28 Working area...
Страница 29: ...Chapter 2 Get to know the Oc Plot Wave 900 system...
Страница 44: ...Chapter 2 Get to know the Oc PlotWave 900 system 44 Online Offline button...
Страница 45: ...Chapter 3 Define your workflow with Oc Express WebTools...
Страница 128: ...Chapter 3 Define your workflow with Oc Express WebTools 128 Delete a Smart Inbox...
Страница 129: ...Chapter 4 Use the Oc PlotWave 900 to print...
Страница 142: ...Chapter 4 Use the Oc PlotWave 900 to print 142 Print a job from the Smart Inbox...
Страница 143: ...Chapter 5 Use the Oc PlotWave 900 scanner to copy...
Страница 169: ...Chapter 6 Use the Oc TDS600 scanner to copy...
Страница 197: ...Chapter 7 Use Oc Mobile Printing and Scanning...
Страница 210: ...Chapter 7 Use Oc Mobile Printing and Scanning 210 Save a scanned document on your mobile device...
Страница 211: ...Chapter 8 Special copy and scan jobs...
Страница 238: ...Note You can use horizontal and vertical shift at the same time Chapter 8 Special copy and scan jobs 238 Shift the image...
Страница 241: ...Chapter 9 The Folder Reinforcement unit and Belt unit...
Страница 255: ...Chapter 10 Oc Double Decker Pro...
Страница 262: ...Chapter 10 Oc Double Decker Pro 262 How to set the media separation method...
Страница 263: ...Chapter 11 System maintenance...
Страница 291: ...Chapter 12 Solve problems...
Страница 328: ...Chapter 12 Solve problems 328 Other problems...
Страница 329: ...Chapter 13 Support...
Страница 335: ...Chapter 14 License management...
Страница 347: ...Chapter 15 Account management...
Страница 356: ...Chapter 15 Account management 356 Enable account management in the Oc Express WebTools...
Страница 357: ...Chapter 16 Software options...
Страница 359: ...Chapter 17 Network and Security set tings...
Страница 361: ...Appendix A System specifications...
Страница 379: ...Appendix B Reader s comment sheet...
Страница 393: ...Working area printing system 27 Z Zoom Setting 162 Zoom factor Zoom factor 185 393 Index...
Страница 394: ...2...
Страница 395: ...2...


