347
Data Displa
y/Edit/Management
※
1 Saved in a memory space with the smallest vacant
memory number.
※
2 Saved in the order of date and time when they
start.
※
3 Saved in the order of date and time when they
were created.
※
4 Saved at the top of the list.
※
5 Saved in the order of date and time when they
were received/sent/saved.
Receiving Data Using the Infrared
Communication
<Receive Ir data>
Receiving Data
1
F ro m t h e M e n u , s e l e c t [ L i f e K i t ]
→
[Receive Ir data]
→
[Receive] and press
.
“
” c h a n g e s t o “
” a n d t h e s c r e e n f o r
c o n f i r m i n g w h e t h e r t o b e g i n t h e i n f r a r e d
communication appears.
2
Select [Yes] and press
.
The infrared communication is started and data
exchange is started.
The screen for confirming whether to save data
appears.
3
Select [Yes] and press
.
The received data is saved.
When you receive Phonebook data
The screen for confirming whether to save data
in the PushTalk phonebook appears. If you select
[Yes], the data is saved in both the PushTalk
and FOMA terminal phonebooks. If you select
[No], the data is saved in the FOMA terminal
phonebook only. When there are several phone
numbers, select the phone number to be saved
in the PushTalk phonebook.
Receiving All Data
It is necessary that you and the sender determine
the 4-digit authentication password beforehand.
Example: Adding received data
1
F ro m t h e M e n u , s e l e c t [ L i f e K i t ]
→
[Receive Ir data]
→
[Receive all] and
press
.
“
” changes to “
”.
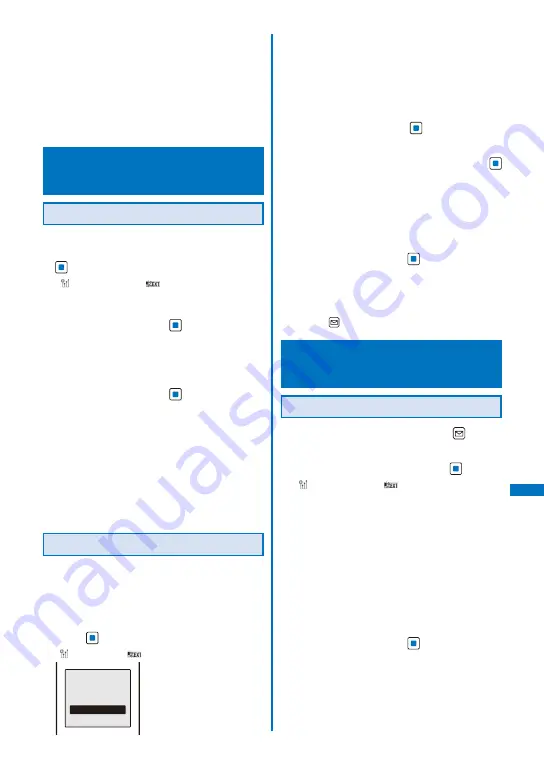
Select the way
to save
Add
Overwrite
[Add]:
Save received data by adding to the existing
data.
[Overwrite]:
The screen for confirming whether to delete the
existing data appears. Note that all existing data
is deleted if you select [Yes].
2
Select [Add] and press
.
The Security code screen appears.
3
Enter the Security code and press
(OK).
The Authentication password screen appears.
4
Enter the authentication password.
The screen for confirming whether to begin the
infrared communication appears.
5
Select [Yes] and press
.
The infrared communication is star ted. Data
exchange is started and the data is added to the
existing data.
To cancel receiving
Press
(Cancel).
Sending Data Using the Infrared
Communication
<Send Ir data>
Sending Data
1
Select data to be sent and press
(Func).
The Function menu appears.
2
Select [Send Ir data] and press
.
“
” c h a n g e s t o “
” a n d t h e s c r e e n f o r
c o n f i r m i n g w h e t h e r t o b e g i n t h e i n f r a r e d
communication appears.
To send data from the still image file list in My
picture of the Data Box
Move the cursor to the data and from the
Function menu, select [Send Ir data]
→
[Send Ir
data].
To send one entry in the Phonebook/Text Memo/Loc.
service client
Move the cursor to the data and from the
Function menu, select [Send Ir data]
→
[Send Ir
data].
3
Select [Yes] and press
.
The infrared communication is started and data
exchange is started.
Continued
Содержание FOMA SO906i
Страница 1: ......
Страница 236: ......
Страница 248: ......
Страница 495: ...493 Index Quick Manual Index 494 Quick Manual 504...
Страница 516: ......
Страница 546: ...Kuten Code List 08 5 Ver 1 A CY6 100 11 1 FOMA SO906i...
Страница 548: ...2...
Страница 549: ...3...
Страница 550: ...4...


