© 2021 Copyright Newmar Corporation. All rights reserved. For the most up-to-date version of this content, and for more product-specific information, please refer to Newgle.
111
ELECTRONICS
NAVIGATION VIEW
The navigation view is the main screen that shows the
planned route on a map. The program works with digital
maps which are not simply the computerized versions of
traditional paper maps. Similar to paper road maps, the
2D mode of digital maps shows you streets and roads.
Elevation is also illustrated in color.
The navigation view displays the following screen
buttons, data fields, and route information on the map
during navigation:
The suggested routes to your destination are only
as good as the information provided to the program
to calculate with. Make sure to set up the vehicle
settings correctly and accurately to ensure that the
routes suggested by the Navigation program are
suitable for your vehicle. Failure to do so accurately
may lead you down roads that are unsuitable for
your vehicle resulting in damages to your vehicle, the
roads, or violation of tra
ffi
c laws.
IMPORTANT
!
Warnings and Safety
Information
The navigation system helps you find your way to your
destination based on GPS positioning. The XSG4NA does
not transmit your GPS position; others cannot track you.
It is important to look at the display only when it is safe to
do so. If you are the driver of the vehicle, it is recommend
that you plan and review your route before you start your
journey. Plan the route before your departure and stop if
you need to change the route.
Always follow tra
ffi
c rules at all times. If you deviate
from the planned route, the program will recalculate and
change the instructions accordingly.
INITIAL SET-UP
When using the navigation program for the first time, an
initial set-up process starts automatically. This Initial setup
is also repeated when the “Factory Reset” is done in the
Navigation program setup menu.
1. Select your preferred language, then tap SELECT
to confirm your selection. Later you can change it in
Regional settings.
2. After accepting the End User License agreement, the
Configuration Wizard starts. Tap the NEXT button to
continue.
3. Select the language and speaker used for voice
guidance messages. You can also change it later in
the “Regional settings”. Select your preference and
tap NEXT to continue.
4. If needed, modify the time format and unit settings.
You can also change it later in the “Regional settings”.
Tap NEXT to continue.
5. In this step you can adjust the routing preferences.
Please take care to accurately insert all your vehicle
parameters. The Navigation program will take this
information into account to provide you with a route
that avoids any roads that contains obstacles that
should be avoided (low bridges, weight restrictions,
etc.) If the information entered is incorrect, the
program cannot take these vehicle specific
restrictions into account. You can also change it later
in the “Route Preferences”. Tap NEXT to continue.
6. The initial set-up is now complete, tap Finish to enter
the Navigation view.
SCREEN CONTROLS
The following sections describe the functionality and
use of buttons, sliders, and other screen controls in the
Navigation program.
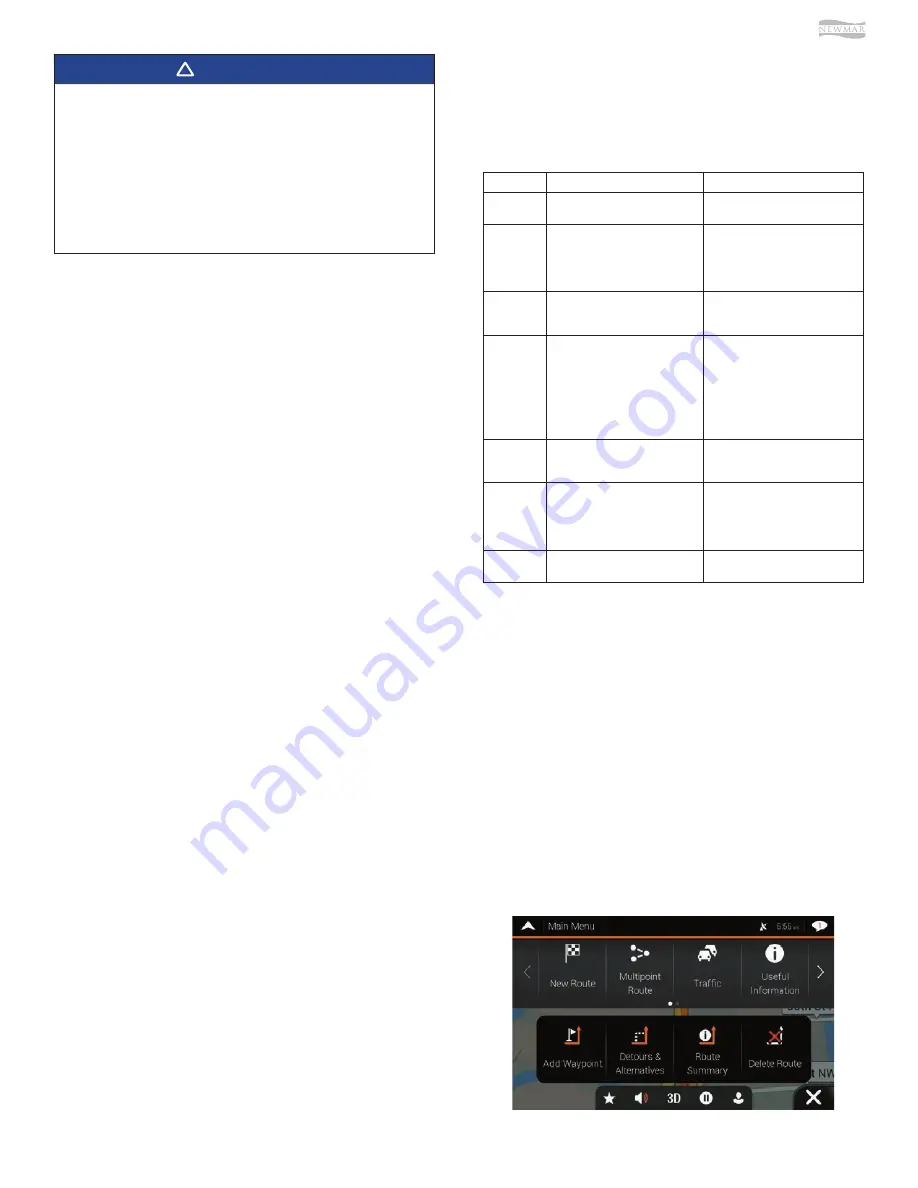
The Navigation menu contain several menu items on one
or more pages.
The UP ARROW button is always present in the top left
corner of the screen. Pressing this button will bring you
back to the Map view immediately regardless of where in
the sub menu you are.
USING BUTTONS AND OTHER CONTROLS
Type
Description
Function
Button
Opens a new screen where you
can set a parameter.
Tap it once.
Button with
Value
Displays the current value of
a field or setting where the
value can be changed. After the
change, the new value is shown
on the button.
Tap it once.
Icon
Provides additional information,
for example tra
ffi
c summary or
itinerary.
Tap it once to open a screen with
additional information or options.
List
Shows multiple options.
Grab the list anywhere and
slide your finger up or down.
Depending on the speed of
sliding, the list scrolls fast or
slow, only a bit or till the end.
Alternatively, move between items
in a list with the arrows and tap the
value that you want to select.
Switch
Shows whether a feature is
enabled when there are only two
choices.
Tap it to turn the switch on or o
ff
.
Slider
When a feature can be set to
di
ff
erent values in a range, the
program shows an indicator on
a gauge that displays and sets
the value.
Drag the handle to move the slider
to its new position. Tap the slider
where you want the handle to
appear.
Virtual
Keyboard
Used to enter text and numbers.
Each key is a touch screen button.
Содержание VENTANA 2022
Страница 1: ...SM 2022...


