82
| SNMP | SmartNA-X 1G/10G Modular
SmartNA-X
™
1G/10G User Guide 1.4
©
2015 Network Critical Solutions Limited
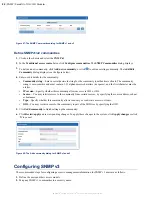
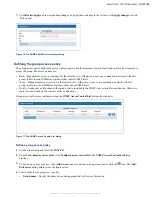
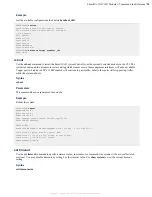
Figure 70: The SNMP Add user dialog
Mapping SNMPv1/v2 users to SecurityNames
Clients that connect using SNMPv1/v2 must be mapped onto a “security name” and added to a group, the same as
SNMPv3 users.
The
SNMP Communities (VACM)
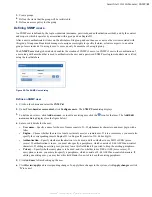
dialog, shown below, enables the mapping of a community string and a source IP or
network address to a security name (user name).
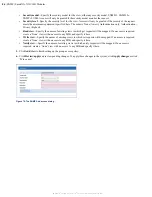
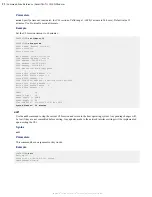
Figure 71: The SNMP Communities (VACM) dialog
Map SNMP v1 or v2 users to SecurityNames
1.
Click on the chassis and select the
SNMP
tab.
2.
Under
View-based access control
, click
Configure communities
. The
SNMP Communities (VACM)
dialog
displays.
3.
To map a new user, click
Add new community
, or to edit an existing mapping click the icon for that user. The
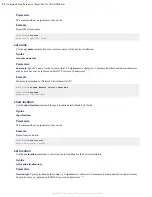
Add/Edit Community
dialog displays (see the figure below).
4.
Enter or edit details for the community mapping:
•
Community string
—Specify the community string. The community string is case-sensitive and must contain 1–32
alphanumeric characters (no spaces), and the first character must be a letter.
•
IP version
—Specify whether this community allows access via IPv4 or IPv6.
•
Source
—You may restrict access to the community from certain sources, by specifying the source address, subnet
or hostname.
•
Security name
—Specify a security name (user name). The security name can be used later to add the user to a
group, like SNMPv3.
5.
Click
Add community
to finish setting up the community mapping.


