80
| SNMP | SmartNA-X 1G/10G Modular
SmartNA-X
™
1G/10G User Guide 1.4
©
2015 Network Critical Solutions Limited
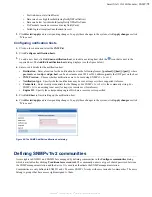
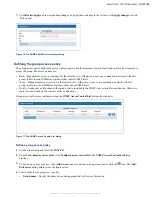
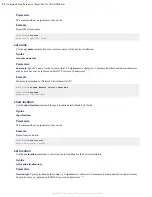
Figure 67: The SNMP Communities dialog for SNMP v1 and v2
Define SNMPv1/v2 communities
1.
Click on the chassis and select the
SNMP
tab.
2.
In the
Traditional access control
area, click
Configure communities
. The
SNMP Communities
dialog displays.
3.
To define a new community, click
Add new community
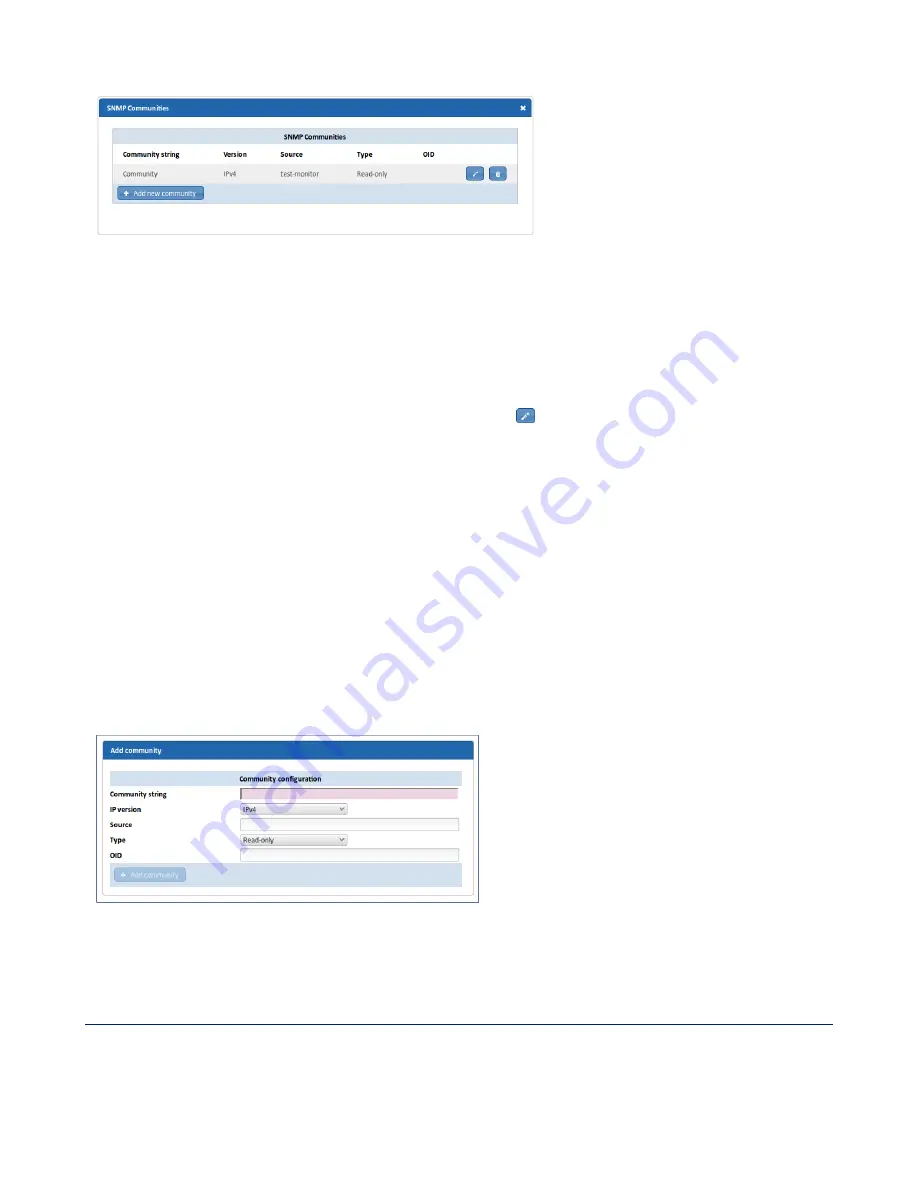
, or click to edit an existing community. The
Add/Edit
Community
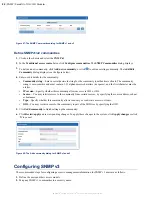
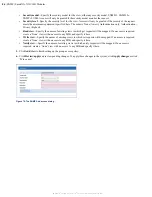
dialog displays (see the figure below).
4.
Enter or edit details for the community:
•
Community string
—Enter a secret/password string for the community to authenticate clients. The community
string is case-sensitive and must contain 1–32 alphanumeric characters (no spaces), and the first character must be
a letter.
•
IP version
—Specify whether this community allows access via IPv4 or IPv6.
•
Source
—You may restrict access to the community from certain sources, by specifying the source address, subnet
or hostname.
•
Type
—Specify whether this community allows read-only or read-write access to clients.
•
OID
—You may restrict access to the community to part of the MIB tree by specifying the OID.
5.
Click
Add community
to finish setting up the community.
6.
Click
Review/apply
and review pending changes. To apply these changes to the system, click
Apply changes
or click
'
X
' to cancel.
Figure 68: The Add community dialog for SNMP v1 and v2
Configuring SNMP v3
The recommended steps for configuring access to management information for SNMP v3 users are as follows:
1.
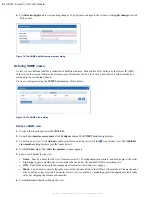
Define the users and their access models.
2.
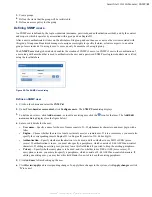
Map any SNMP v1 communities to a security name.


