Disassembly and Reassembly 3-65
Removing the Riser Board — Desktop
Remove the riser board from a desktop system by following these steps.
1.
Turn off the system and disconnect the system power cord.
2.
Ensure that all external cables are disconnected from the front and rear of
the system.
3.
Remove the system unit cover (see “Removing the Small Desktop or
Desktop Cover”).
4.
Remove the system board (see “Removing the System Board — Desktop”).
5.
Remove any expansion boards (see “Removing an Expansion Board —
Small Desktop or Desktop”).
6.
If the system has a drive in the additional 3 1/2-inch drive bay, remove it
(see “Removing the Additional 3 1/2-Inch Device — Desktop”).
7.
Remove the bracket for the additional drive (see “Removing the Additional
Drive Bracket — Desktop”).
8.
Label and disconnect any cables connected to the front or back of the riser
board.
9.
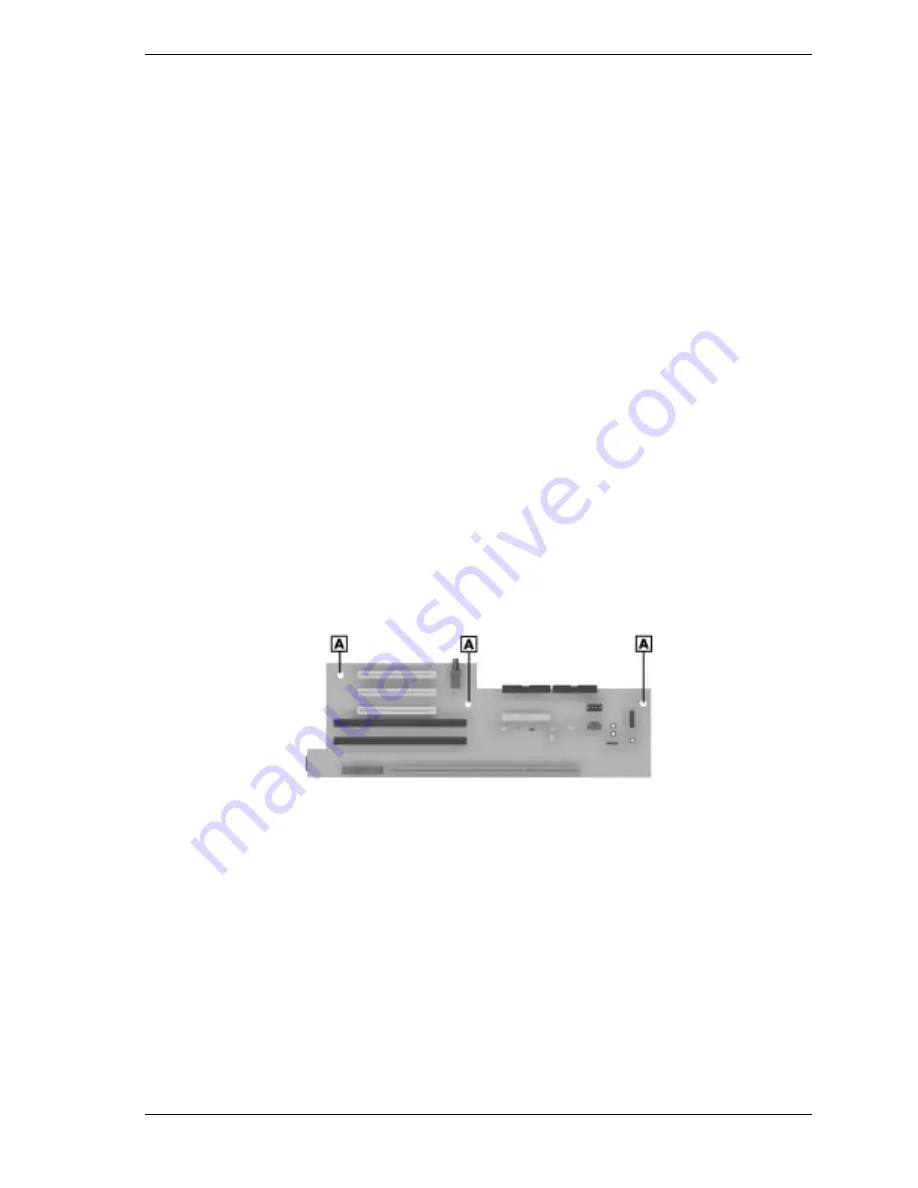
Remove the three screws securing the riser board to the chassis (see the
following figure).
Locating the Riser Board Screws — Desktop
A – Desktop Riser Board Screw
10.
Slide the riser board about 1/2 inch toward the front of the chassis to free the
USB connector from the cutaway in the rear of the chassis. Lift the riser
board out of the system unit.
Содержание POWERMATE ES 5200 - SERVICE
Страница 18: ...1 System Overview Configurations Features Components ...
Страница 168: ...4 System Board Connectors Jumpers and Sockets Components Resources ...
Страница 204: ...5 Riser Board Riser Board Connectors Small Desktop Riser Board Connectors Desktop Riser Board Connectors Minitower ...
Страница 222: ...7 Preventive Maintenance System Cleaning Keyboard Cleaning Mouse Cleaning ...
Страница 226: ...8 Troubleshooting Checklist Diagnostics ...
Страница 237: ...9 NEC CSD Information Services Service Telephone Numbers Technical Support Product Information ...
Страница 300: ...Regulatory Statements FCC Statement Note for Canada Battery Replacement Battery Disposal ...


