Getting
Started
1-55
1
Paper
To set the paper type
5
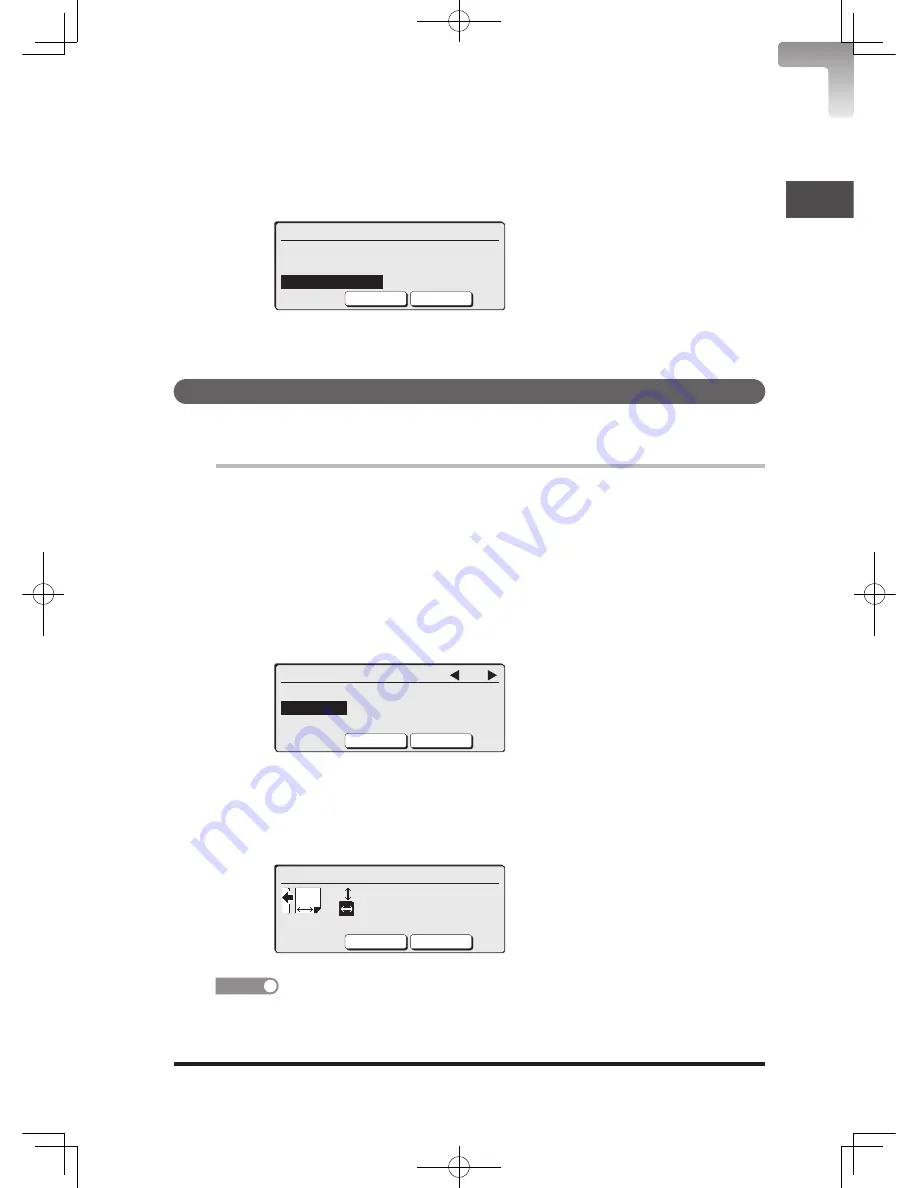
Select “Paper Type” using the cursor keys and press [Edit].
6
Select the paper type using the cursor keys and press [Enter].
Paper Type
Plain Postcard
PasteBrd. Envelope
OHP
Cancel
Enter
7
Press <Reset> to return to the standby screen.
Registering custom sizes
To use the custom paper, set the width and length of paper in advance. You can
register five types of the custom paper.
1
Press <Menu>, <3>, [Enter].
2
Select “Bypass [Others] Paper” using the cursor keys and press
[Enter].
3
Select “Paper Size” using the cursor keys and press [Edit].
4
Select “Other” using the cursor keys and press [Enter].
5
Select the custom size you want to enter using the cursor keys and
press [Enter].
Bypass [Others]:Other 3/3
Custom1 Custom4
Custom2
Custom5
Custom3
Cancel
Enter
6
Enter the vertical and horizontal size of paper using the numeric
keys.
Press the upper or lower of the cursor keys to switch the entry for
vertical and horizontal.
Custom2
120 mm ( 90-297)
2_56 mm (140-432)
Close
Enter
NOTE
Vertical or horizontal is the direction of the paper seen from the front of the machine
(page 1-42).
DB2-90290-60.indb 55
2007/02/02 12:31:49
Содержание mfx-2200
Страница 1: ...ENG User s Guide User s Guide Part Number DB2 90290 60 2007...
Страница 20: ...xviii DB2 90290 60 indb 18 2007 02 02 12 31 22...
Страница 82: ...1 62 DB2 90290 60 indb 62 2007 02 02 12 31 51...
Страница 242: ...5 10 DB2 90290 60 indb 10 2007 02 02 12 33 32...
Страница 270: ...7 6 DB2 90290 60 indb 6 2007 02 02 12 33 42...
Страница 326: ...8 56 DB2 90290 60 indb 56 2007 02 02 12 34 11...
Страница 362: ...9 36 DB2 90290 60 indb 36 2007 02 02 12 34 29...
Страница 382: ...10 20 DB2 90290 60 indb 20 2007 02 02 12 34 39...


