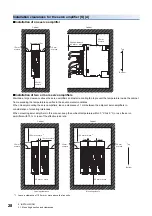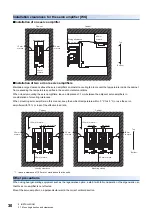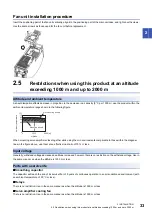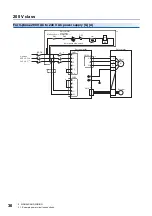
1 INTRODUCTION
1.3 Wiring check
25
1
Using options or peripheral equipment
■
Regenerative option
• Check that the lead wire between terminal P+ and terminal D has been removed.
• Check that the wire of the regenerative option is connected to terminal P+ and terminal C.
• Check that twisted wires have been used for connecting the regenerative option to the servo amplifier.
Page 185 Connection of regenerative option
■
Simple converter
Page 194 Example of configuration including peripheral equipment
■
Multifunction regeneration converter
Page 202 Multifunction regeneration converter (FR-XC-(H))
■
Power factor improving DC reactor
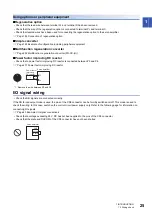
• Check that a power factor improving DC reactor is connected between P3 and P4.
Page 231 Power factor improving DC reactor
*1 Remove the wire between P3 and P4.
I/O signal wiring
• Check that I/O signals are connected correctly.
If the DO forced output mode is used, the pins of the CN3 connector can be forcibly switched on/off. This mode is used to
check the wiring. In this case, switch on the control circuit power supply only. Refer to the following page for information on
connecting I/O signals.
Page 43 Example I/O signal connections
• Check that a voltage exceeding 24 V DC has not been applied to the pins of the CN3 connector.
• Check that the plate and DOCOM of the CN3 connector have not been shorted.
*1
P3
P4
Servo amplifier
Power factor
improving
DC reactor
DOCOM
CN3
Servo amplifier
Plate
Содержание MELSERVO-J5 MR-J5-G Series
Страница 1: ...MR J5 User s Manual Hardware MR J5 _G_ MR J5W_ _G_ MR J5 _A_ Mitsubishi Electric AC Servo System ...
Страница 2: ......
Страница 473: ...12 USING A FULLY CLOSED LOOP SYSTEM 12 7 Absolute position detection system 471 12 MEMO ...
Страница 477: ......


