


6-16
XMS Configuration Guide
Replication of the XMS Server’s Database
Specify the server’s network settings in the Virtual IP Settings
The
V
IRTUAL
IP
SETTINGS
section on the Xmedia Server Control Panel’s Replication page
identifies the server’s IP address (LAN IP Address), as well as information required to
support the Virtual IP address used in newsroom environments (Virtual IP Address,
Netmask, and Registered name fields).
If you are configuring replication for a MOS enabled newsroom environment, then you must
specify a value for all of the settings in this section (see the first procedure below).
Otherwise, if your replication configuration does not require MOS, you only have to specify
the server’s IP Address in the
LAN IP
ADDRESS
field (see the second procedure below).
To set the server’s network settings for a MOS enabled newsroom environment:
1.
Acquire an IP address that is not DHCP from your IT department. This IP address will
be used as the Virtual IP address.
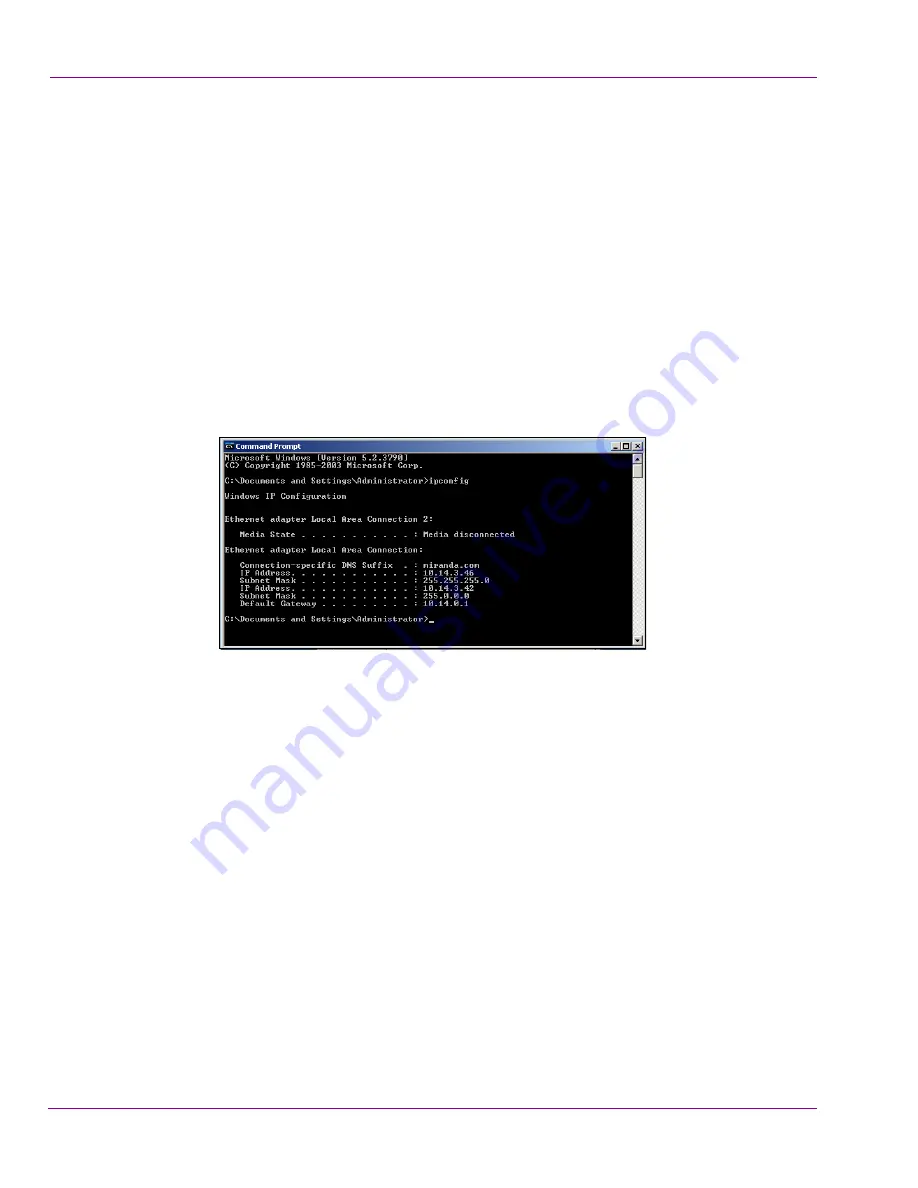
2.
Open the command prompt and type:
ipconfig
Figure 6-12. The server’s IP Configuration values
3.
Take note of the server’s I
P
ADDRESS
and
S
UBNET
M
ASK
.
4.
Open the Xmedia Server Control Panel and select the
R
EPLICATION
tab.
5.
Ensure that the
E
NABLED
check box is selected.
6.
Type the Virtual IP address in the
V
IRTUAL
IP A
DDRESS
field.
7.
Type the Subnet Mask value in the
N
ETMASK
field.
8.
Type the server’s static IP address in the
LAN IP
ADDRESS
field.
9.
If the Virtual IP address is registered in a Domain Name Server (DNS), then type the
full qualified domain name in the
R
EGISTERED
NAME
field (i.e. replic1.miranda.com).
10. Click
A
PPLY
.
To set the server’s LAN IP address (non-MOS enabled configuration):
1.
Open the command prompt and type:
ipconfig
2.
Take note of the server’s
IP
ADDRESS
.
3.
Open the Xmedia Server Control Panel and select the
R
EPLICATION
tab.
4.
Ensure that the
E
NABLED
check box is selected.
5.
Type the server’s static IP address in the
LAN IP
ADDRESS
field.
6.
Click
A
PPLY
.