


10-26
XMS Configuration Guide
Work Order Workflow Configuration
Adding a new role to the workflow
Prior to adding a new role to the workflow, we recommend that you verify that the required
permissions have been added to the workflow. These permissions should grant users
access to the components of the workflow that will allow them to perform their job function
(see
“Workflow option: Permissions” on page 10-9
).
Since users can be assigned multiple roles, it may be unnecessary to add a new role to the
workflow when editing an existing role might be sufficient. Therefore, we also recommend
that you review the roles that already exist in the workflow before adding a new role.
To add a new role to the workflow:
1.
Open the Xmedia Server Control Panel and select
R
OLES
from the
W
ORKFLOW
OPTION
drop-down list.
2.
Click
A
DD
in the lower-right corner of the Workflow page.
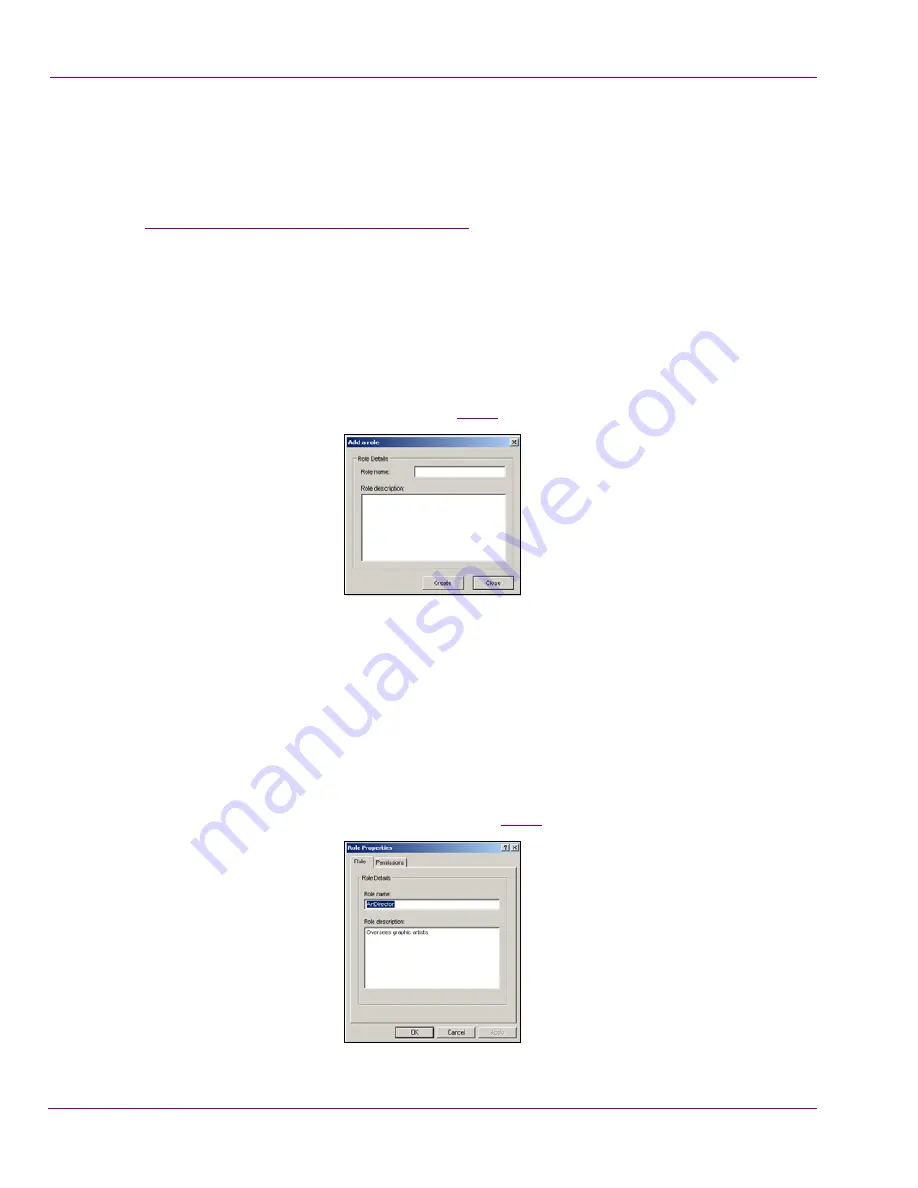
The
A
DD
A
ROLE
dialog box appears (figure
10-22
).
Figure 10-22. Provide a name and description for the new role
3.
Type a name for the Role in the
R
OLE
NAME
text box. Note that roles are generally
named after departments or staff positions within the organization that contribute or
oversee the creation and completion of graphics requests (i.e. producer, graphic
artists, art director...etc).
4.
Type a brief description of the role in the
R
OLE
D
ESCRIPTION
text box.
5.
Click
C
REATE
.
The role is immediately added to the
A
VAILABLE
ROLES
list on the Workflow page.
6.
Double-click on the new role’s name in the
A
VAILABLE
ROLES
list.
The
R
OLE
P
ROPERTIES
dialog box appears (figure
10-23
).
Figure 10-23. Add permissions assignment to the role using the Role Properties dialog box