SECTION 3
OPERATING PRINTER
47
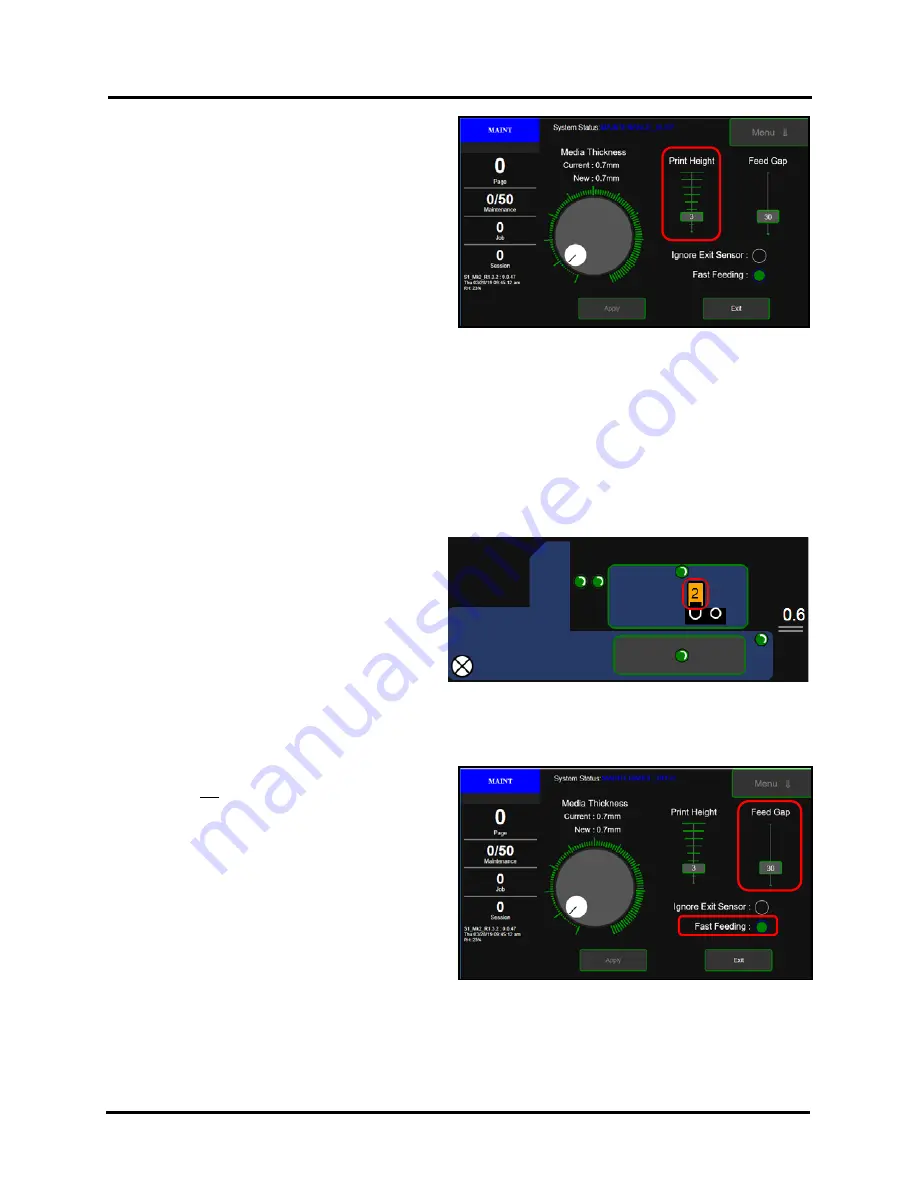
Print Height -
Use to raise/lower the Printhead (in
small increments) independently from the current
Media Thickness setting.
This feature can be useful for helping to avoid media
to Printhead surface contact; which can cause “scuff
marks” on the media. This feature may also be useful
for improving Image Sharpness.
Range: 1 (lowest) to 9 (highest)
NOTE
: When using this feature there is a trade-off
between image sharpness and reducing head to media
contact. You may need to experiment to find an
acceptable selection for your particular job/media.
To adjust and set the Print Height:
1.
Press and drag the
Selector
(small green box) up or down the scale to the desired value.
- Set the Print Height to a higher value to help reduce media to Printhead contact (scuff marks).
- Set the Print Height to a lower value to help improve image sharpness.
NOTE
: After making any changes to items on this screen, the
Apply
button will turn RED and the
Exit
button will change to a
Cancel
button; giving you the ability to cancel any changes you have made and
close the screen.
2.
Tap the
Apply
button to save the new value.
3.
Tap the
Exit
button to exit the Media Setup screen.
The current Print Height value will also be
displayed within the Printhead Icon; as shown here.
Tip:
Media to Printhead contact and image
sharpness can also be affected by the Media
Thickness setting. Before changing the Print Height
value, please be sure the Media Thickness setting is
correct. Please see “Media Thickness” found in the
section titled “Job Menu” for details.
Fast Feeding & Feed Gap -
These features are provided to add control over the feeder section of the printer.
By controlling when the feeder starts/stops it is possible to reduce the distance (gap) between pieces, which can
increase media throughput (pieces per hour).
When
Fast Feeding
is disabled (off, black), the
Feed
Gap
value is not used. The operator has no control
over the distance (gap) between pieces.
When
Fast Feeding
is enabled (turned on, green), the
Feed Gap
value (mm) is used. The operator can now
control the distance (gap) between pieces.
•
A smaller
Feed Gap
value (mm) will reduce the
gap between pieces; thereby increasing media
throughput (increasing pieces per hour).
A minimum Feed Gap value of 30 is
recommended
for most applications. Every print
job is different. Some experimentation will be
necessary, to find the optimum setting for your particular application.
WARNING
: If you set the Feed Gap value too small, you may encounter media feeding and printing issues; such
as feeding blanks and image shifting. If this occurs raise the Feed Gap value or turn off Fast Feeding.
Содержание Quadient Rena MACH 6
Страница 1: ...Digital Color Inkjet Printer MACH 6 User Guide...
Страница 131: ......
Страница 132: ...2 1 2020 Quadient April 9 2020...


