MaxPac Dual/Triple-Screen 8230 XRA2/3-Series User Operation and Maintenance Guide
41
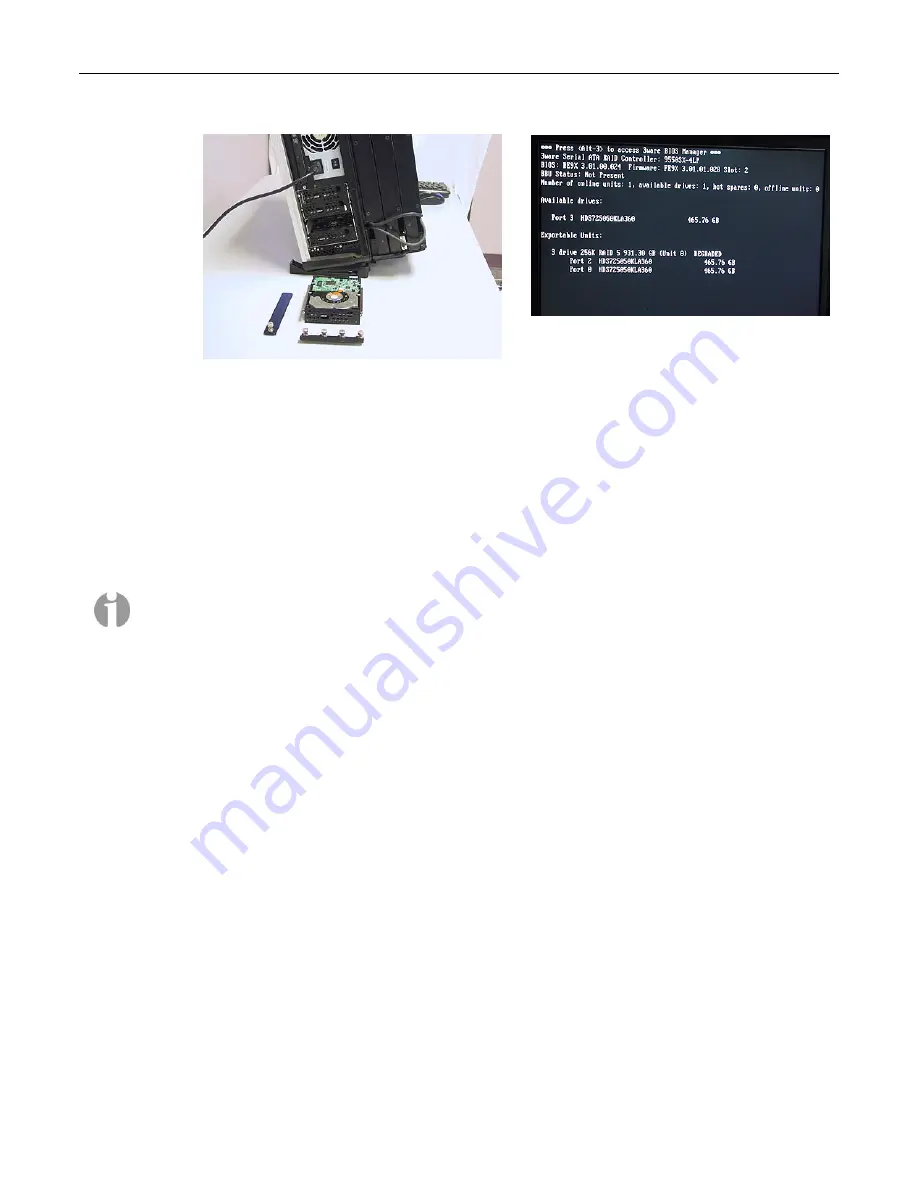
Figure 2-73
Figure 2-74
5) Start to power-up the system. When you see the BIOS message
"<Alt-3> to access 3ware BIOS
Manager"
, press and hold the <ALT> (alternate) key and – while still holding this key – press the
number "3" key. This will invoke the 3ware BIOS manager; in most cases, you will be presented
with a warning screen; press any key to continue, which will take you fully into the 3ware BIOS
Manager.
6) Observe that this screen shows the array (3 drives) and the remaining uncommitted drive (the
new drive you've just added to the system). Use the up/down arrow keys to highlight the
uncommitted drive and press the <Enter> key to select it (the fact this has been selected will be
indicated with an asterisk '*' character).
Note:
If this drive was ever part of a previous 3ware RAID array, it will show up as a "Failed
Array" comprising only a single drive. In this case, use the <Tab> key to select the
Delete Unit
option and then press the <Enter> key to select this option and delete the drive as an array.
7) Now press the 'S' key to designate this selected drive as being the new hot-spare (an annotation
will appear next to the drive confirming this status).
8) Press the <F8> key to exit the 3ware BIOS utility and automatically reboot the system.
9) Power the system up all the way into Windows.
Содержание 8230 XRA2 series
Страница 6: ......
Страница 35: ...MaxPac Dual Triple Screen 8230 XRA2 3 Series User Operation and Maintenance Guide 29 Figure 2 39 Figure 2 40...
Страница 36: ...30 MaxPac Dual Triple Screen 8230 XRA2 3 Series User Operation and Maintenance Guide Figure 2 41 Figure 2 42...
Страница 90: ...84 MaxPac Dual Triple Screen 8230 XRA2 3 Series User Operation and Maintenance Guide Figure A 39 Figure A 40...


