57
206-4271
(Continued from previous page)
3. If applicable (see also “Before You Begin” above), make sure to assign the appropriate Zone
designation(s) in the Target TV at this time.
Note: In order for the proper location-specific TV Zone and/or Wi-Fi Zone profile
data to be applied, the Zone designation(s) must be assigned in the Target TV(s)
BEFORE Teaching is performed.
4. Insert the USB memory device with the TLX file into either of the USB ports on the Target
TV.
5. Press
MENU
on the Installer Remote to display the TV setup menus (TV is in Pass-through
Mode) or the Function Menu (TV is already in FTG Mode via CPU).
6. Use the arrow navigation keys to select/highlight either the
General
menu icon from the TV
setup menus or the
Safety
menu icon from the Function Menu. Then, press the number “
7
” key
a total of seven times to display the TV Manager / USB Download Menu.
Note:
The TV Manager / Diagnostics Menu is for service use only.
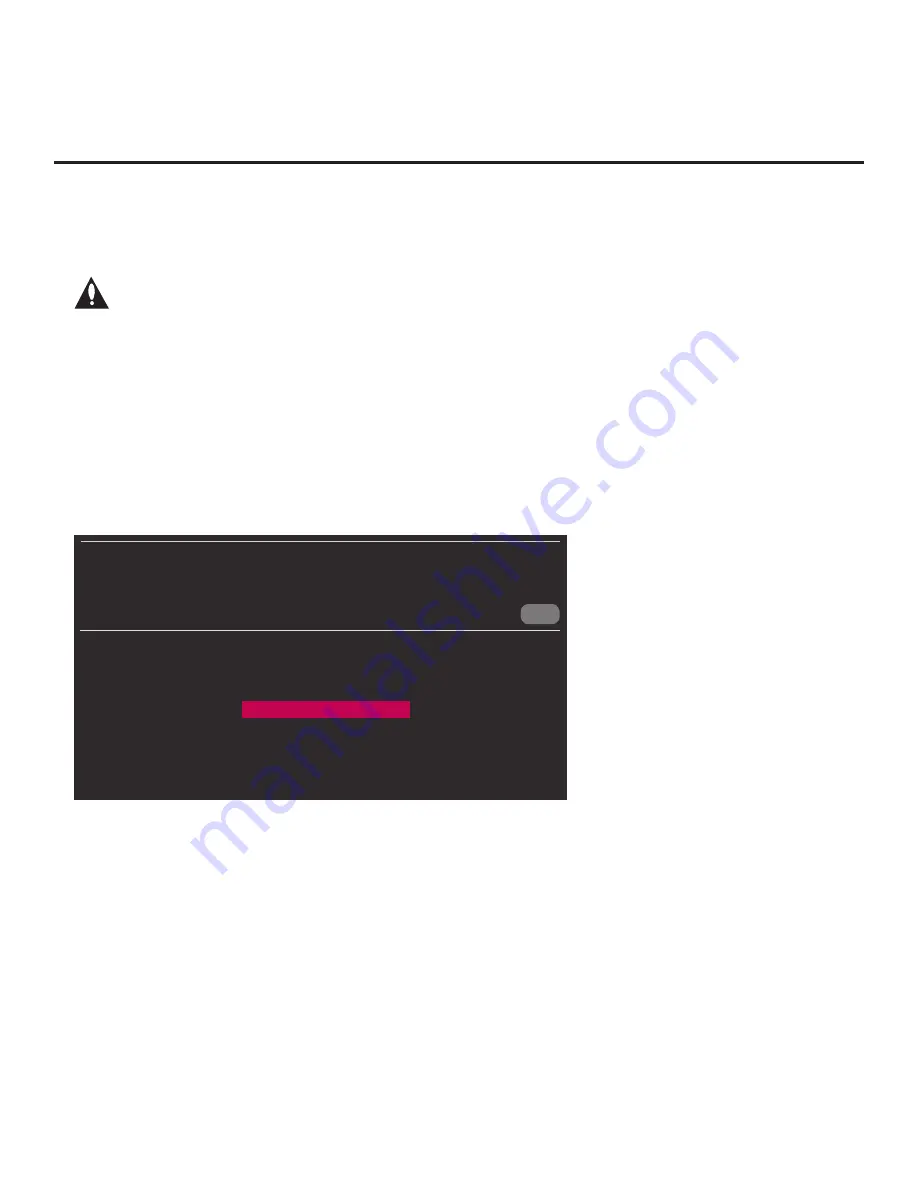
7. With the TV Manager / USB Download Menu on display, use the Up/Down arrow keys to select
Teach To TV
(TLX)
, and then press
OK
.
CANCEL
TV MANAGER
USB Download Menu
Diagnostics Menu
Ez Download
Logo Image Download
Update TV Software
Update PTC Software
Teach To TV (TLX)
8. In the Teach To TV (TLX) screen:
• If more than one USB memory device is currently connected to the TV, be sure to select the
USB device that contains the TLX file you wish to use. If necessary, use the Up/Down arrow
keys on the Installer Remote to select/highlight the
Select USB Memory Device
field and
press
OK
. Then, use the arrow keys to select the appropriate USB device from the drop-down
list.
•
Use the arrow keys on the Installer Remote to select/highlight the TLX file you want to install,
and then press
OK
. A checkmark will appear at the left of the selected file.
Note:
Filenames for TLX files that were Learned from a TV are comprised of the TV model
and a five-digit number, for example, xxLY770M-UA00001.TLX.
Cloning Procedures (Cont.)
(Continued on next page)


