Menu item
Description
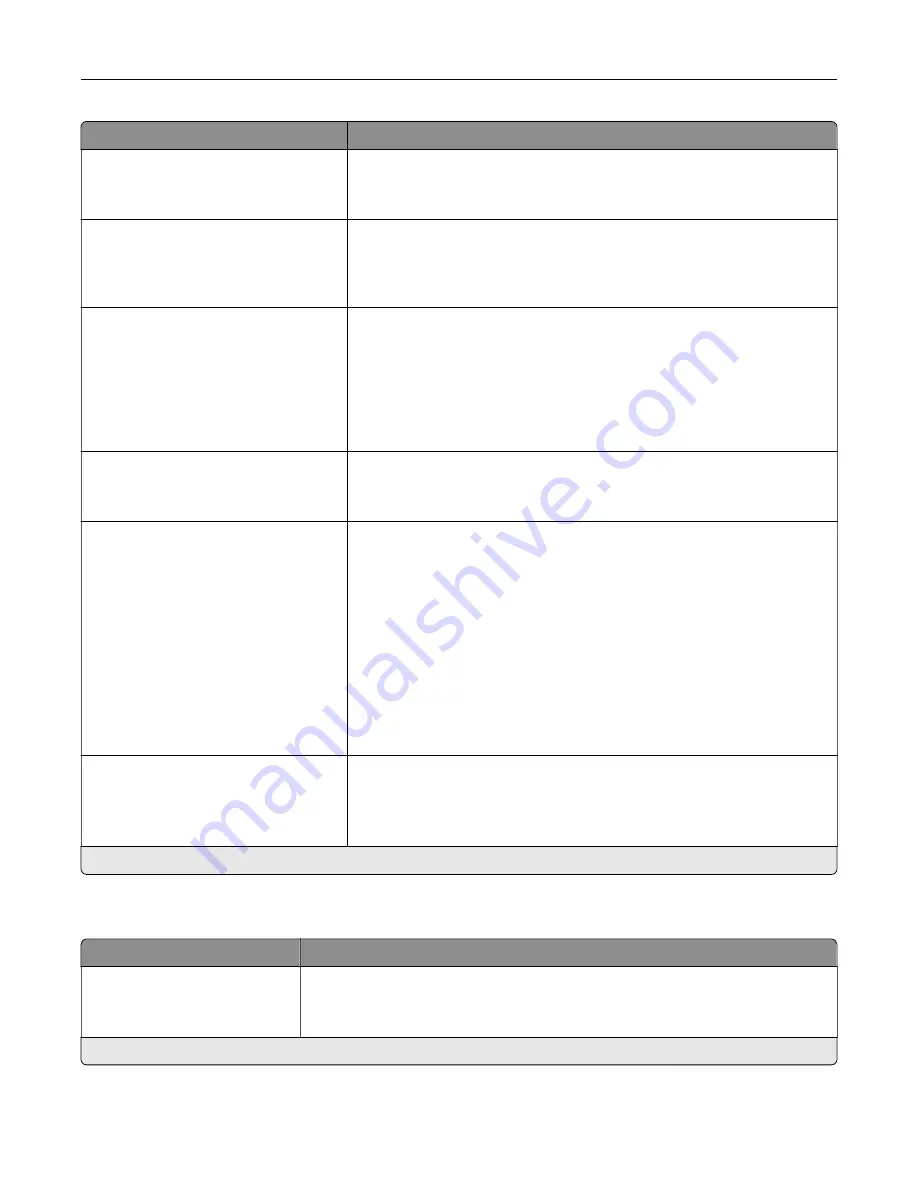
Job Waiting
Off*
On
Preserve print jobs requiring supplies so that jobs not requiring the missing
supplies can print.
Note:
This menu item appears only when a printer hard disk is installed.
Job Hold Timeout
0–255 (30*)
Set the time in seconds that the printer waits for user intervention before
it holds jobs that require unavailable resources and continues to print other
jobs in the print queue.
Note:
This menu item appears only when a printer hard disk is installed.
Printer Usage
Max Speed
Max Yield*
Determine how the color imaging kit operates during printing.
Notes:
•
When set to Max Yield, the color imaging kit slows or stops while
printing groups of black-only pages.
•
When set to Max Speed, the color imaging kit always runs while
printing, whether color or black pages are being printed.
Download Target
RAM*
Disk
Specify where to save all permanent resources, such as fonts and macros,
that have been downloaded to the printer.
Note:
This menu item appears only when a printer hard disk is installed.
Resource Save
Off*
On
Determine what the printer does with downloaded resources, such as
fonts and macros, when it receives a job that requires more than the
available memory.
Notes:
•
When set to Off, the printer retains downloaded resources only until
memory is needed. Resources associated with the inactive printer
language are deleted.
•
When set to On, the printer preserves all the permanent
downloaded resources across all language switches. When
necessary, the printer shows memory full messages instead of
deleting permanent resources.
Print All Order
Alphabetical*
Newest First
Oldest First
Specify the order when you choose to print all held and confidential jobs.
Note:
This menu item appears only when a printer hard disk is installed.
Note:
An asterisk (*) next to a value indicates the factory default setting.
Quality
Menu item
Description
Print Mode
Black and White
Color*
Set how the printer generates color content.
Note:
An asterisk (*) next to a value indicates the factory default setting.
Understanding the printer menus
86
Содержание XC6152
Страница 65: ...5 Touch Scan Here If necessary change the scan settings 6 Scan the document Scanning 65 ...
Страница 161: ... Scanner glass pad 3 Open door E Maintaining the printer 161 ...
Страница 162: ...4 Wipe the following areas ADF glass in door E Maintaining the printer 162 ...
Страница 163: ... ADF glass pad in door E 5 Close the door and then close the scanner cover Maintaining the printer 163 ...
Страница 173: ...2 Remove the waste toner bottle 3 Remove the imaging unit 4 Remove the photoconductor unit Maintaining the printer 173 ...
Страница 175: ...Replacing an imaging unit 1 Open door A 2 Remove the waste toner bottle Maintaining the printer 175 ...
Страница 179: ...3 Remove the pick roller 4 Unpack the new pick roller Maintaining the printer 179 ...
Страница 189: ...4 Insert the new transfer roller 5 Remove the white packing material 6 Close door B Maintaining the printer 189 ...
Страница 196: ...2 Open door G 3 Remove the staple cartridge 4 Unpack the new staple cartridge Maintaining the printer 196 ...
Страница 198: ...2 Open door G 3 Pull out the staple cartridge holder Maintaining the printer 198 ...
Страница 216: ...2 Open door G 3 Pull out the staple cartridge holder Clearing jams 216 ...
Страница 274: ...4 Remove the paper bail 5 Remove the standard bin insert Upgrading and migrating 274 ...


