


Menu item
Description
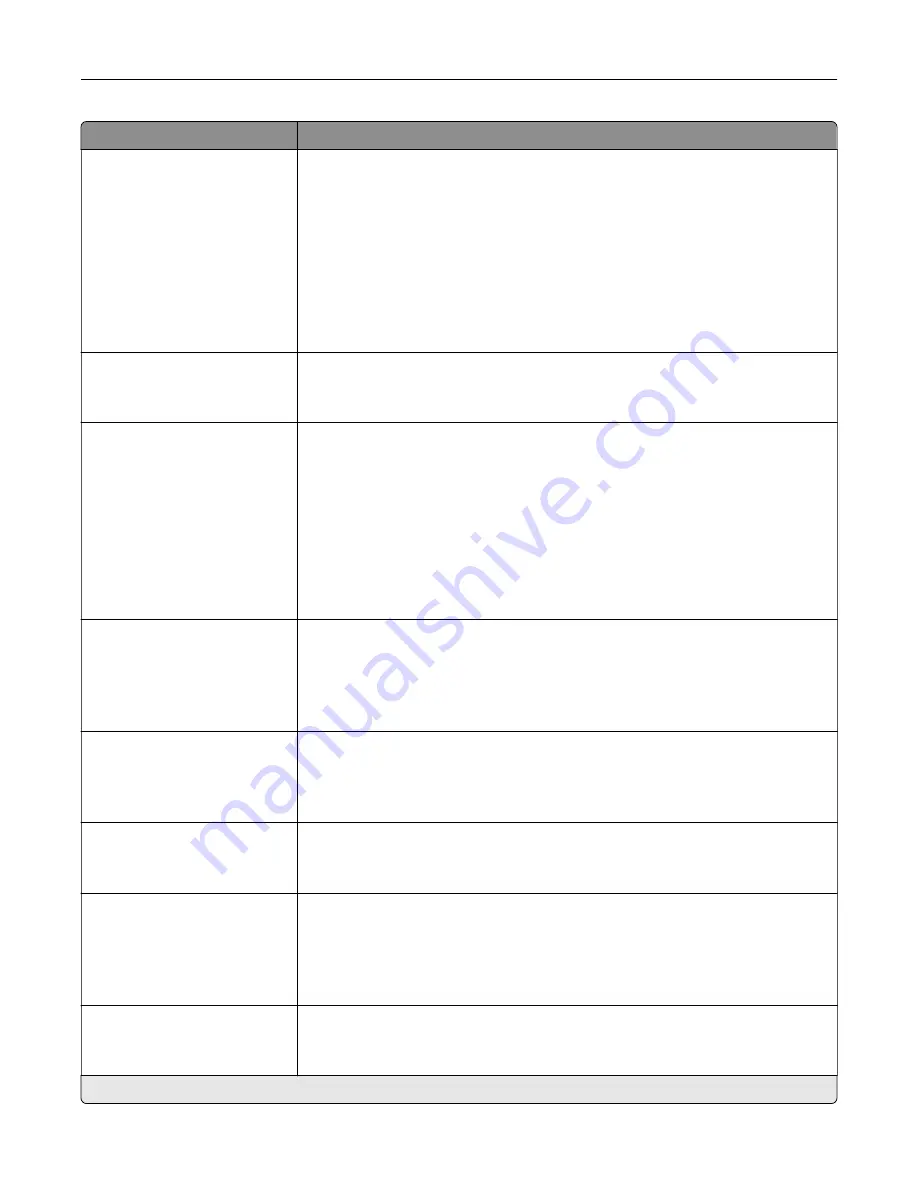
Offset Pages
None*
Between Copies
Between Jobs
Offset the output of each print job or each copy of a print job.
Notes:
•
Between Copies offsets each copy of a print job if Collate is set to (1,2,3)
(1,2,3). If Collate is set to (1,1,1)(2,2,2), then each set of printed pages is offset,
such as all page 1s and all page 2s.
•
Between Jobs sets the same offset position for the entire print job
regardless of the number of copies printed.
•
This menu item appears only when a multiposition staple, hole punch
finisher is installed.
Flip Style
Long Edge*
Short Edge
Determine which side of the paper is bound when performing two
‑
sided printing.
Pages per Side
Off*
2 pages per side
3 pages per side
4 pages per side
6 pages per side
9 pages per side
12 pages per side
16 pages per side
Print multiple page images on one side of a sheet of paper.
Pages per Side Ordering
Horizontal*
Reverse Horizontal
Reverse Vertical
Vertical
Specify the positioning of multiple page images when using Pages per Side menu.
Pages per Side Orientation
Auto*
Landscape
Portrait
Specify the orientation of multiple page images when using Pages per Side menu.
Pages per Side Border
None*
Solid
Print a border around each page image when using Pages per Side menu.
Separator Sheets
Off*
Between Copies
Between Jobs
Between Pages
Insert blank separator sheets when printing.
Separator Sheet Source
Tray [x] (1*)
Multipurpose Feeder
Specify the paper source for the separator sheet.
Note:
An asterisk (*) next to a value indicates the factory default setting.
Understanding the printer menus
129
Содержание XC6152
Страница 65: ...5 Touch Scan Here If necessary change the scan settings 6 Scan the document Scanning 65 ...
Страница 161: ... Scanner glass pad 3 Open door E Maintaining the printer 161 ...
Страница 162: ...4 Wipe the following areas ADF glass in door E Maintaining the printer 162 ...
Страница 163: ... ADF glass pad in door E 5 Close the door and then close the scanner cover Maintaining the printer 163 ...
Страница 173: ...2 Remove the waste toner bottle 3 Remove the imaging unit 4 Remove the photoconductor unit Maintaining the printer 173 ...
Страница 175: ...Replacing an imaging unit 1 Open door A 2 Remove the waste toner bottle Maintaining the printer 175 ...
Страница 179: ...3 Remove the pick roller 4 Unpack the new pick roller Maintaining the printer 179 ...
Страница 189: ...4 Insert the new transfer roller 5 Remove the white packing material 6 Close door B Maintaining the printer 189 ...
Страница 196: ...2 Open door G 3 Remove the staple cartridge 4 Unpack the new staple cartridge Maintaining the printer 196 ...
Страница 198: ...2 Open door G 3 Pull out the staple cartridge holder Maintaining the printer 198 ...
Страница 216: ...2 Open door G 3 Pull out the staple cartridge holder Clearing jams 216 ...
Страница 274: ...4 Remove the paper bail 5 Remove the standard bin insert Upgrading and migrating 274 ...