


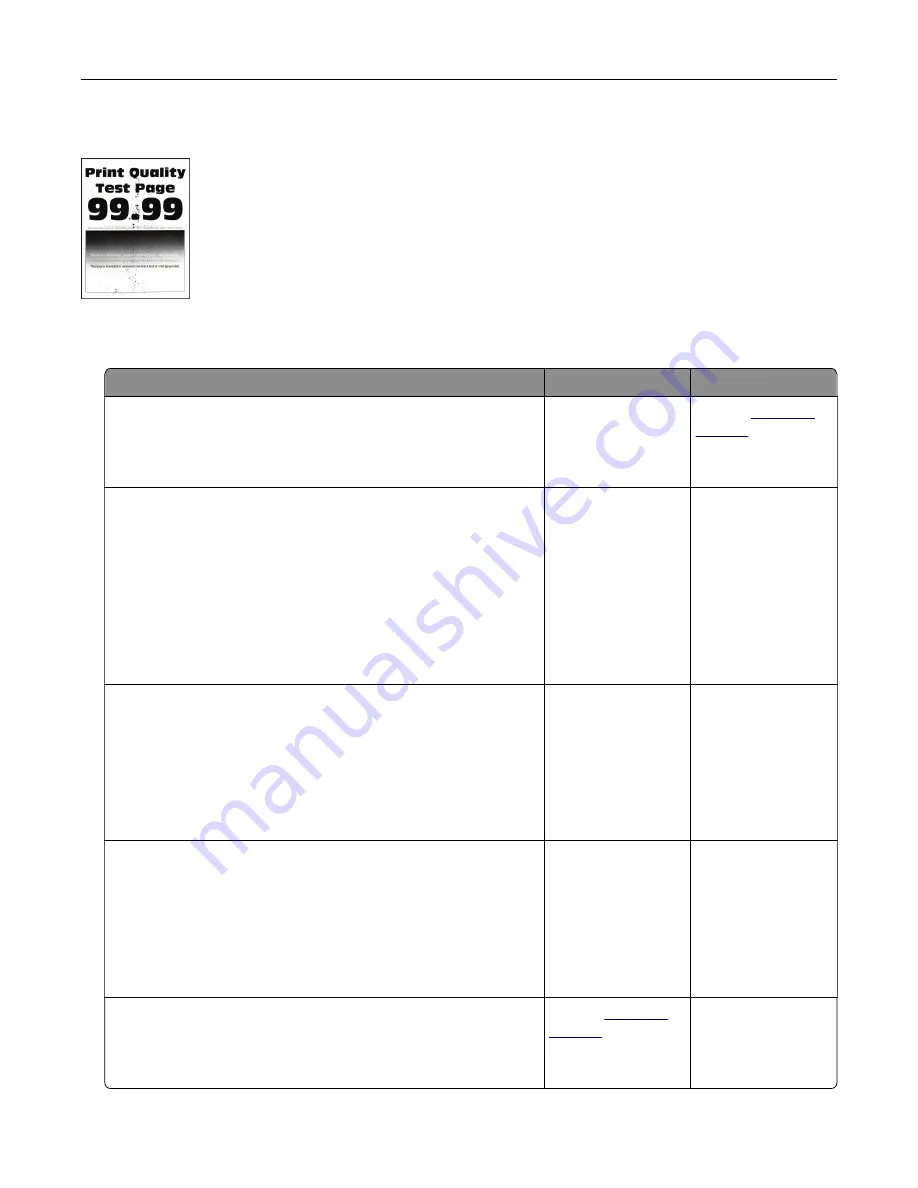
Mottled print and dots
Note:
Before solving the problem, print the Print Quality Test Pages. From the control panel, touch
Settings
>
Troubleshooting
>
Print Quality Test Pages
.
Action
Yes
No
Step 1
Check the printer for leaked toner contamination.
Is the printer free of leaked toner?
Go to step 2.
Contact
Step 2
a
From the control panel, navigate to:
Settings
>
Paper
>
Tray Configuration
>
Paper Size/Type
b
Check if the paper size and paper type settings match the
paper loaded.
Note:
Make sure that paper does not have texture or rough
finishes.
Do the settings match?
Go to step 4.
Go to step 3.
Step 3
a
Depending on your operating system, specify the paper size
and paper type from the Printing Preferences or Print dialog.
Note:
Make sure that the settings match the paper loaded.
b
Print the document.
Is the print mottled?
Go to step 4.
The problem is
solved.
Step 4
a
Load paper from a fresh package.
Note:
Paper absorbs moisture due to high humidity. Store
paper in its original wrapper until you are ready to use it.
b
Print the document.
Is the print mottled?
Go to step 5.
The problem is
solved.
Step 5
Replace the imaging unit, and then print the document.
Is the print mottled?
Contact
The problem is
solved.
Troubleshooting
241
Содержание XC6152
Страница 65: ...5 Touch Scan Here If necessary change the scan settings 6 Scan the document Scanning 65 ...
Страница 161: ... Scanner glass pad 3 Open door E Maintaining the printer 161 ...
Страница 162: ...4 Wipe the following areas ADF glass in door E Maintaining the printer 162 ...
Страница 163: ... ADF glass pad in door E 5 Close the door and then close the scanner cover Maintaining the printer 163 ...
Страница 173: ...2 Remove the waste toner bottle 3 Remove the imaging unit 4 Remove the photoconductor unit Maintaining the printer 173 ...
Страница 175: ...Replacing an imaging unit 1 Open door A 2 Remove the waste toner bottle Maintaining the printer 175 ...
Страница 179: ...3 Remove the pick roller 4 Unpack the new pick roller Maintaining the printer 179 ...
Страница 189: ...4 Insert the new transfer roller 5 Remove the white packing material 6 Close door B Maintaining the printer 189 ...
Страница 196: ...2 Open door G 3 Remove the staple cartridge 4 Unpack the new staple cartridge Maintaining the printer 196 ...
Страница 198: ...2 Open door G 3 Pull out the staple cartridge holder Maintaining the printer 198 ...
Страница 216: ...2 Open door G 3 Pull out the staple cartridge holder Clearing jams 216 ...
Страница 274: ...4 Remove the paper bail 5 Remove the standard bin insert Upgrading and migrating 274 ...