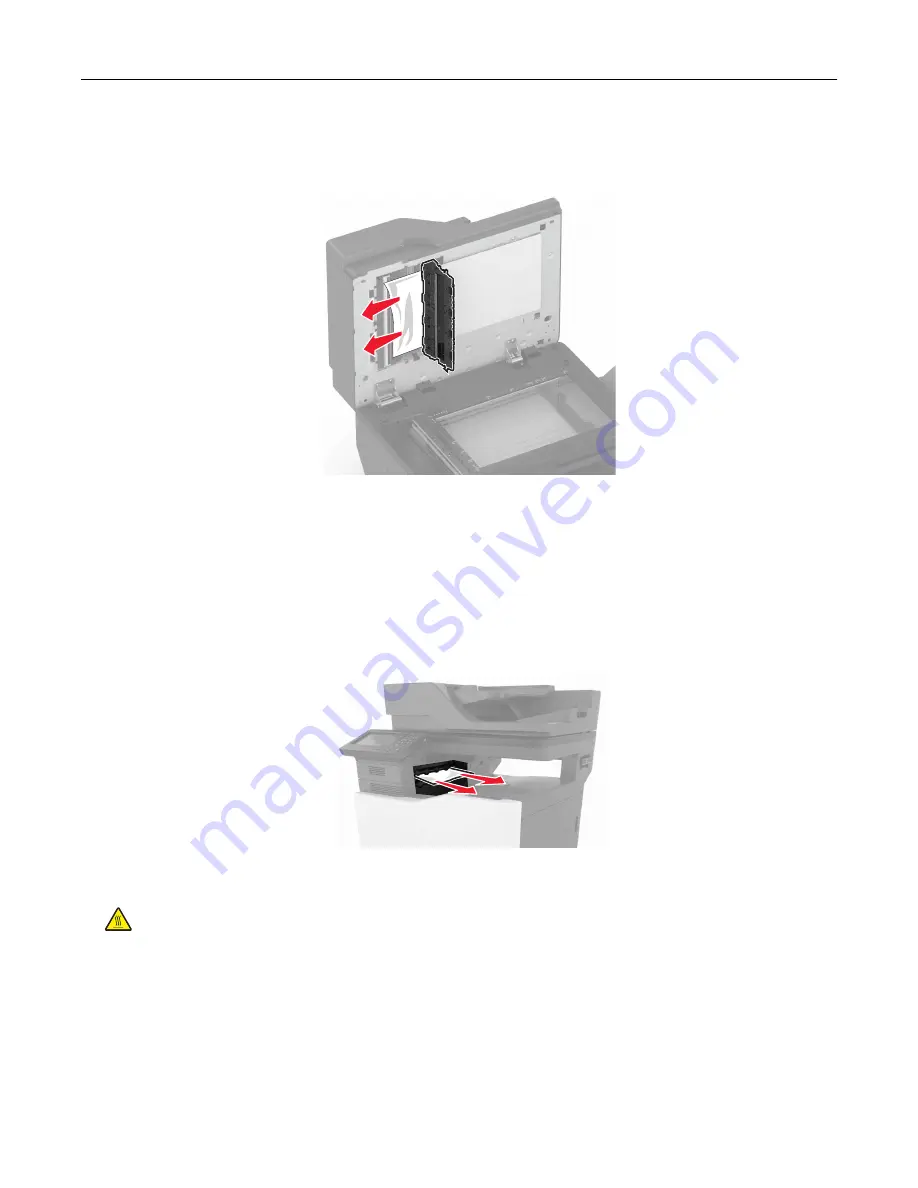
7
Remove the jammed paper.
Note:
Make sure that all paper fragments are removed.
8
Close door E and the scanner cover.
Paper jam in the standard bin
1
Remove the jammed paper.
Note:
Make sure that all paper fragments are removed.
2
Open door B, and then remove any paper fragments.
CAUTION—HOT SURFACE:
The inside of the printer might be hot. To reduce the risk of injury from a
hot component, allow the surface to cool before touching it.
Clearing jams
209
Содержание XC6152
Страница 65: ...5 Touch Scan Here If necessary change the scan settings 6 Scan the document Scanning 65 ...
Страница 161: ... Scanner glass pad 3 Open door E Maintaining the printer 161 ...
Страница 162: ...4 Wipe the following areas ADF glass in door E Maintaining the printer 162 ...
Страница 163: ... ADF glass pad in door E 5 Close the door and then close the scanner cover Maintaining the printer 163 ...
Страница 173: ...2 Remove the waste toner bottle 3 Remove the imaging unit 4 Remove the photoconductor unit Maintaining the printer 173 ...
Страница 175: ...Replacing an imaging unit 1 Open door A 2 Remove the waste toner bottle Maintaining the printer 175 ...
Страница 179: ...3 Remove the pick roller 4 Unpack the new pick roller Maintaining the printer 179 ...
Страница 189: ...4 Insert the new transfer roller 5 Remove the white packing material 6 Close door B Maintaining the printer 189 ...
Страница 196: ...2 Open door G 3 Remove the staple cartridge 4 Unpack the new staple cartridge Maintaining the printer 196 ...
Страница 198: ...2 Open door G 3 Pull out the staple cartridge holder Maintaining the printer 198 ...
Страница 216: ...2 Open door G 3 Pull out the staple cartridge holder Clearing jams 216 ...
Страница 274: ...4 Remove the paper bail 5 Remove the standard bin insert Upgrading and migrating 274 ...


