


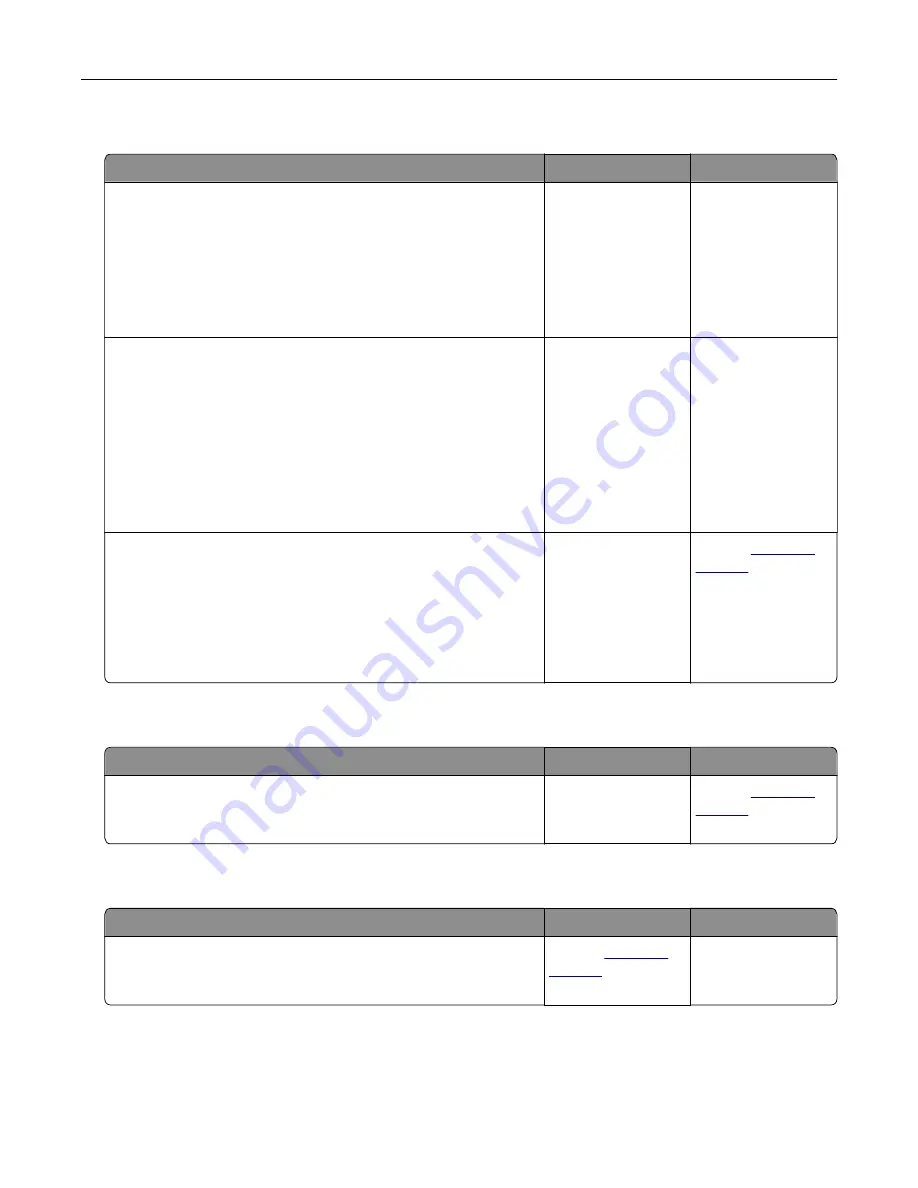
Scan job was not successful
Action
Yes
No
Step 1
Check the cable connections.
a
Make sure that the Ethernet or USB cable is securely connected
to the computer and the printer.
b
Resend the scan job.
Is the scan job successful?
The problem is
solved.
Go to step 2.
Step 2
Check the file you want to scan.
a
Make sure that the file name is not already used in the
destination folder.
b
Make sure that the document or photo you want to scan is not
open in another application.
c
Resend the scan job.
Is the scan job successful?
The problem is
solved.
Go to step 3.
Step 3
a
Make sure that the
Append time stamp
or the
Overwrite
existing file
check box is selected in the destination
configuration settings.
b
Resend the scan job.
Is the scan job successful?
The problem is
solved.
Contact
Scanner does not close
Action
Yes
No
Remove obstructions that keep the scanner cover open.
Did the scanner cover close correctly?
The problem is
solved.
Contact
Scanning takes too long or freezes the computer
Action
Yes
No
Close all applications that are interfering with the scan.
Does scanning take too long or freeze the computer?
Contact
The problem is
solved.
Troubleshooting
259
Содержание XC6152
Страница 65: ...5 Touch Scan Here If necessary change the scan settings 6 Scan the document Scanning 65 ...
Страница 161: ... Scanner glass pad 3 Open door E Maintaining the printer 161 ...
Страница 162: ...4 Wipe the following areas ADF glass in door E Maintaining the printer 162 ...
Страница 163: ... ADF glass pad in door E 5 Close the door and then close the scanner cover Maintaining the printer 163 ...
Страница 173: ...2 Remove the waste toner bottle 3 Remove the imaging unit 4 Remove the photoconductor unit Maintaining the printer 173 ...
Страница 175: ...Replacing an imaging unit 1 Open door A 2 Remove the waste toner bottle Maintaining the printer 175 ...
Страница 179: ...3 Remove the pick roller 4 Unpack the new pick roller Maintaining the printer 179 ...
Страница 189: ...4 Insert the new transfer roller 5 Remove the white packing material 6 Close door B Maintaining the printer 189 ...
Страница 196: ...2 Open door G 3 Remove the staple cartridge 4 Unpack the new staple cartridge Maintaining the printer 196 ...
Страница 198: ...2 Open door G 3 Pull out the staple cartridge holder Maintaining the printer 198 ...
Страница 216: ...2 Open door G 3 Pull out the staple cartridge holder Clearing jams 216 ...
Страница 274: ...4 Remove the paper bail 5 Remove the standard bin insert Upgrading and migrating 274 ...