CAUTION:
The heat sink and fan assembly might be very hot. Before you open the computer cover, turn off the
computer and wait several minutes until the computer is cool.
To replace the heat sink and fan assembly, do the following:
1. Turn off the computer and disconnect all power cords from electrical outlets.
2. Remove the computer cover. See “Removing the computer cover” on page 38.
3. Lay the computer on its side for easier access to the system board.
4. Locate the heat sink and fan assembly you want to replace. Your computer have two heat sink and fan
assemblies. See “Locating parts on the system board” on page 11.
5. Disconnect the heat sink and fan assembly cable from the microprocessor fan connector on the system
board. See “Locating parts on the system board” on page 11.
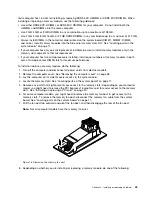
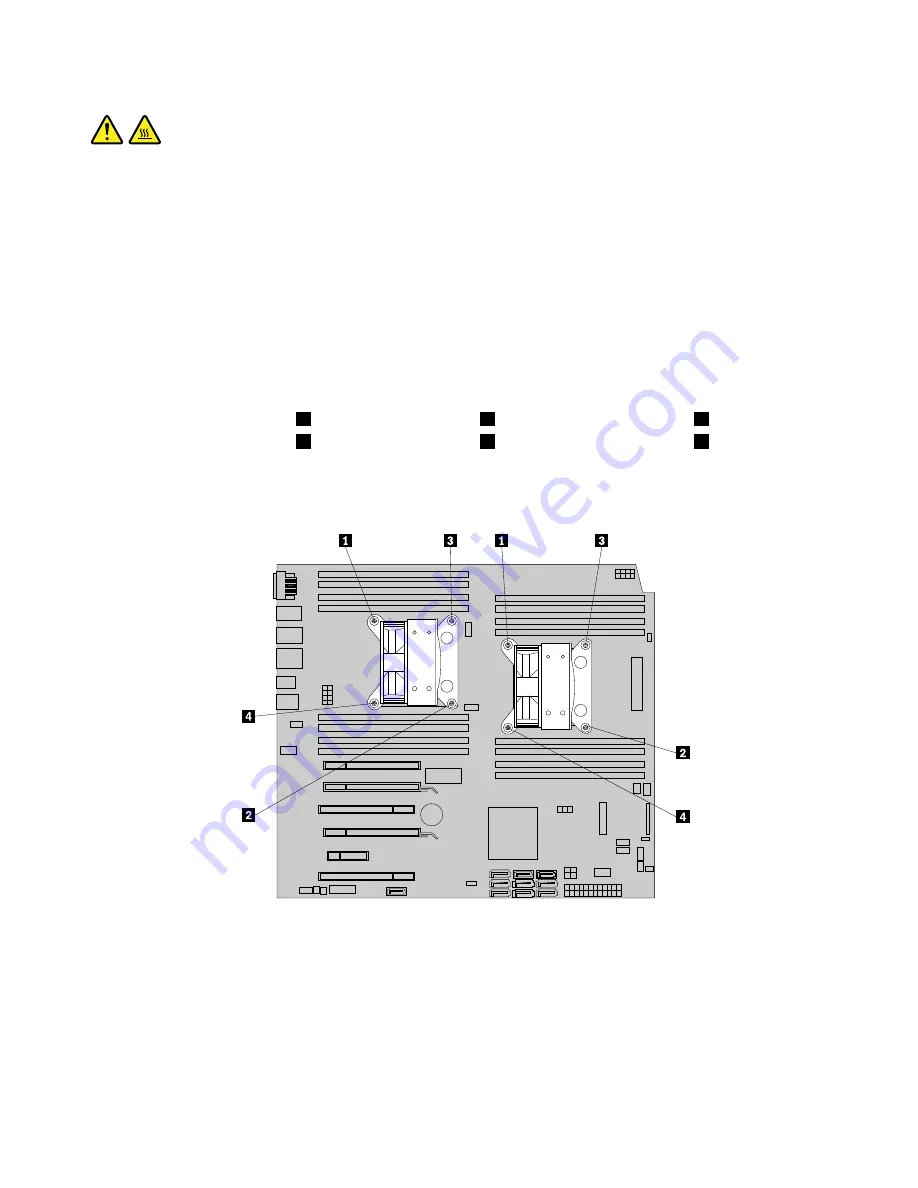
6. Follow this sequence to remove the four screws that secure each heat sink and fan assembly to the
system board:
a. Partially remove screw
1
, then fully remove screw
2
, and then fully remove screw
1
.
b. Partially remove screw
3
, then fully remove screw
4
, and then fully remove screw
3
.
Note:
Carefully remove the four screws from the system board to avoid any possible damage to the
system board. The four screws cannot be removed from the heat sink and fan assembly.
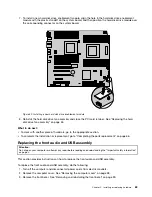
Figure 30. Removing the heat sink and fan assembly
7. Lift the failing heat sink and fan assembly off the system board.
Notes:
a. You might have to gently twist the heat sink and fan assembly to free it from the microprocessor.
b. Do not touch the thermal grease while handling the heat sink and fan assembly.
8. Position the two new heat sink and fan assemblies in a way that the fans are toward the rear of the
computer. Align the four screws on each heat sink and fan assembly with the holes on the system board.
54
ThinkStation D30 User Guide
Содержание ThinkStation D30
Страница 1: ...ThinkStation D30 User Guide Machine Types 4353 and 4354 ...
Страница 6: ...iv ThinkStation D30 User Guide ...
Страница 12: ...x ThinkStation D30 User Guide ...
Страница 28: ...16 ThinkStation D30 User Guide ...
Страница 45: ...Figure 8 Installing a padlock Chapter 4 Security 33 ...
Страница 48: ...36 ThinkStation D30 User Guide ...
Страница 80: ...68 ThinkStation D30 User Guide ...
Страница 94: ...82 ThinkStation D30 User Guide ...
Страница 104: ...92 ThinkStation D30 User Guide ...
Страница 130: ...118 ThinkStation D30 User Guide ...
Страница 138: ...126 ThinkStation D30 User Guide ...
Страница 142: ...130 ThinkStation D30 User Guide ...
Страница 144: ...Ukraine RoHS India RoHS RoHS compliant as per E Waste Management Handling Rules 2011 132 ThinkStation D30 User Guide ...
Страница 146: ...134 ThinkStation D30 User Guide ...
Страница 150: ...138 ThinkStation D30 User Guide ...
Страница 151: ......
Страница 152: ......

