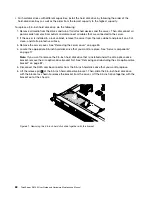
1. Remove all media from the drives and turn off all attached devices and the server. Then, disconnect all
power cords from electrical outlets and disconnect all cables that are connected to the server.
2. If the server is installed in a rack cabinet, remove the server from the rack cabinet and place it on a flat,
clean, and static-protective surface.
3. Remove the server cover. See “Removing the server cover” on page 55.
4. Locate the riser card assembly. See “Server components” on page 17.
5. If there is a RAID card installed on the riser card assembly, remove the card. See “Removing the
RAID card” on page 65.
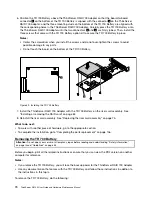
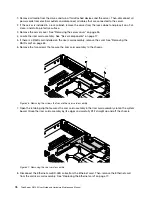
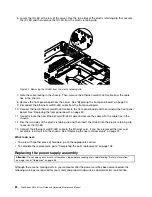
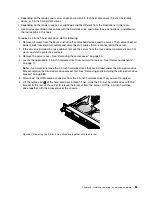
6. Remove the two screws that secure the riser card assembly to the chassis.
Figure 46. Removing the screws that secure the riser card assembly
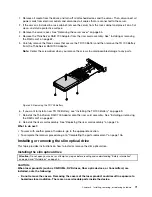
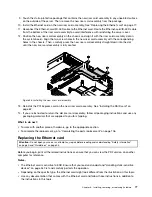
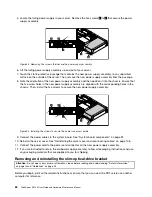
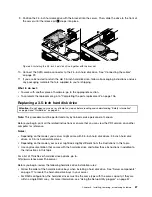
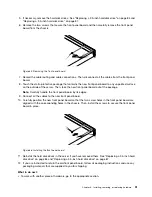
7. Open the retaining clip that secures the riser card assembly in the riser card assembly slot on the system
board. Grasp the riser card assembly by its edges and carefully lift it straight up and off the chassis.
Figure 47. Removing the riser card assembly
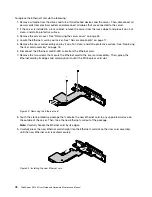
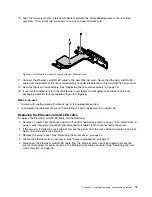
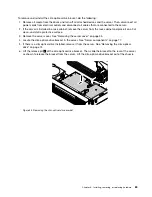
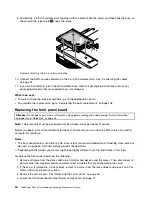
8. Disconnect the Ethernet-card/ID-LED cable from the Ethernet card. Then, remove the Ethernet card
from the old riser card assembly. See “Replacing the Ethernet card” on page 77.
76
ThinkServer RS140 User Guide and Hardware Maintenance Manual
Содержание ThinkServer RS140
Страница 1: ...ThinkServer RS140 User Guide and Hardware Maintenance Manual Machine Types 70F2 70F3 70F8 and 70F9 ...
Страница 16: ...4 ThinkServer RS140 User Guide and Hardware Maintenance Manual ...
Страница 18: ...6 ThinkServer RS140 User Guide and Hardware Maintenance Manual ...
Страница 48: ...36 ThinkServer RS140 User Guide and Hardware Maintenance Manual ...
Страница 122: ...110 ThinkServer RS140 User Guide and Hardware Maintenance Manual ...
Страница 128: ...116 ThinkServer RS140 User Guide and Hardware Maintenance Manual ...
Страница 132: ...120 ThinkServer RS140 User Guide and Hardware Maintenance Manual ...
Страница 145: ......
Страница 146: ......

