18. Remove the microprocessor from the old system board and install it on the new system board. See
“Replacing the microprocessor” on page 96.
19. The old system board must be returned with the microprocessor socket cover to protect the pins on the
microprocessor socket during shipping and handling. Use the microprocessor socket cover removed
from the new system board.
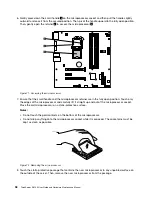
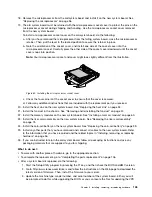
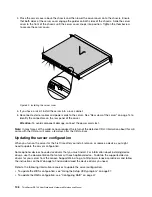
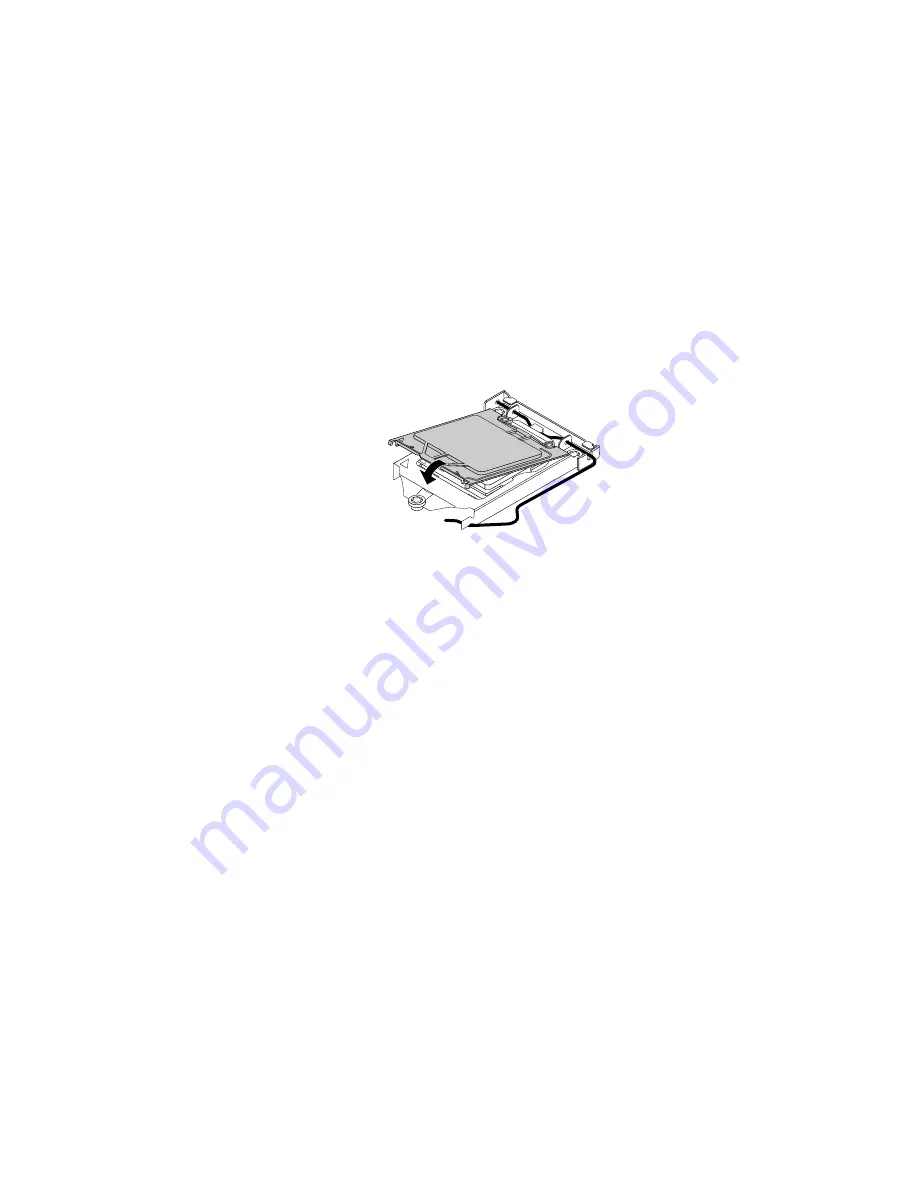
To install a microprocessor socket cover on the old system board, do the following:
a. After you have removed the microprocessor from the failing system board, close the microprocessor
retainer. Then, put the lever to the locked position to secure the retainer in place.
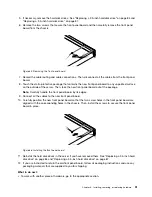
b. Note the orientation of the socket cover, and install one side of the socket cover into the
microprocessor socket. Carefully press the other side of the socket cover downward until the socket
cover snaps into position.
Note:
Your microprocessor socket and cover might look slightly different from the illustration.
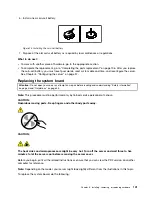
Figure 80. Installing the microprocessor socket cover
c. Check the four corners of the socket cover to ensure that the cover is secured.
d. Follow any additional instructions that are included with the replacement part you received.
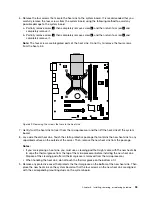
20. Install the heat sink on the new system board. See “Replacing the heat sink” on page 94.
21. Install the fan duct in the chassis. See “Removing and reinstalling the fan duct” on page 57.
22. Install the memory modules on the new system board. See “Installing a memory module” on page 60.
23. Install the riser card assembly on the new system board. See “Replacing the riser card assembly”
on page 75.
24. Install the coin-cell battery on the new system board. See “Replacing the coin-cell battery” on page 99.
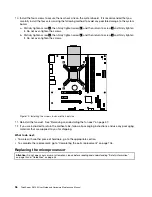
25. Install any other parts that you have removed and connect all cables to the new system board. Refer
to the information that you have recorded and the related topics in “Installing, removing, or replacing
hardware” on page 56.
26. If you are instructed to return the old system board, follow all packaging instructions and use any
packaging materials that are supplied to you for shipping.
What to do next:
• To work with another piece of hardware, go to the appropriate section.
• To complete the replacement, go to “Completing the parts replacement” on page 106.
• After a system board is replaced, do the following:
1. Start the Setup Utility program by pressing the F1 key, and then check the BIOS and BMC version.
2. Go to http://www.lenovo.com/drivers and follow the instructions on the Web page to download the
latest version of firmware. Then, install the firmware to your server.
3. Update the machine type, model number, and serial number of the system board. Either you will
be prompted to do this while upgrading the BIOS, or you can locate the files for updating the VPD
Chapter 6
.
Installing, removing, or replacing hardware
105
Содержание ThinkServer RS140
Страница 1: ...ThinkServer RS140 User Guide and Hardware Maintenance Manual Machine Types 70F2 70F3 70F8 and 70F9 ...
Страница 16: ...4 ThinkServer RS140 User Guide and Hardware Maintenance Manual ...
Страница 18: ...6 ThinkServer RS140 User Guide and Hardware Maintenance Manual ...
Страница 48: ...36 ThinkServer RS140 User Guide and Hardware Maintenance Manual ...
Страница 122: ...110 ThinkServer RS140 User Guide and Hardware Maintenance Manual ...
Страница 128: ...116 ThinkServer RS140 User Guide and Hardware Maintenance Manual ...
Страница 132: ...120 ThinkServer RS140 User Guide and Hardware Maintenance Manual ...
Страница 145: ......
Страница 146: ......

