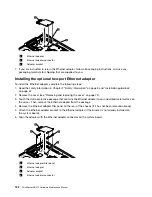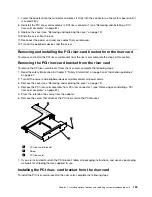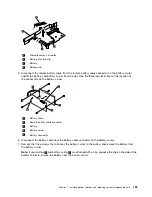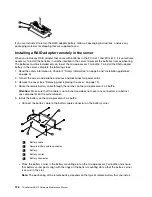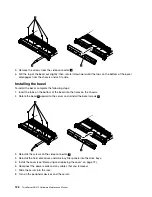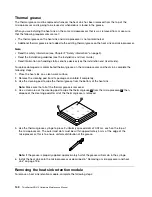
5. Remove the screws from the video connector
3
.
6. Pull the top of the bezel out slightly; then, rotate it downward until the tabs on the bottom of the bezel
disengages from the chassis and set it aside.
Installing the bezel
To install the bezel, complete the following steps:
1. Insert the tabs on the bottom of the bezel into the holes on the chassis.
2. Rotate the bezel
2
upward to the server and reinstall the bezel screws
1
.
3. Reinstall the screws on the video connector
3
.
4. Reinstall the hard disk drives and drive bay filler panels into the drive bays.
5. Install the cover (see “Removing and replacing the cover” on page 72).
6. Reconnect the power cords and any cables that you removed.
7. Slide the server into the rack.
8. Turn on the peripheral devices and the server.
128
ThinkServer RD210 Hardware Maintenance Manual
Содержание ThinkServer RD210
Страница 1: ...ThinkServer RD210 Hardware Maintenance Manual ThinkServer RD210 Types 3795 3796 3818 and 3819 ...
Страница 2: ......
Страница 3: ...ThinkServer RD210 Hardware Maintenance Manual ThinkServer RD210 Types 3795 3796 3818 and 3819 ...
Страница 7: ...Korean Class A warning statement 172 Copyright Lenovo 2005 2010 vii ...
Страница 8: ...viii ThinkServer RD210 Hardware Maintenance Manual ...
Страница 22: ...14 ThinkServer RD210 Hardware Maintenance Manual ...
Страница 26: ...18 ThinkServer RD210 Hardware Maintenance Manual ...
Страница 70: ...62 ThinkServer RD210 Hardware Maintenance Manual ...
Страница 74: ...66 ThinkServer RD210 Hardware Maintenance Manual ...
Страница 142: ...134 ThinkServer RD210 Hardware Maintenance Manual ...
Страница 172: ...164 ThinkServer RD210 Hardware Maintenance Manual ...
Страница 179: ...Japanese Voluntary Control Council for Interference VCCI statement Japanese recycling statements Appendix A Notices 171 ...
Страница 181: ......
Страница 182: ...Part Number 40M2493 Printed in USA 1P P N 40M2493 40M2493 ...


