crystal User Manual
Version: 6.6.0/2
295/459
16. Connecting a VisTool MK2 PC
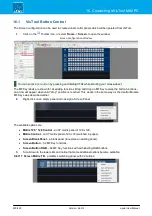
VisTool Editor Configuration
1.
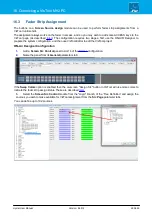
Add some Box elements to a page.
2.
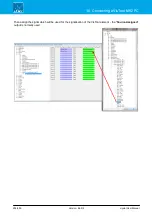
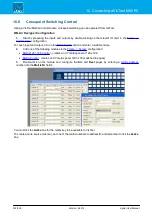
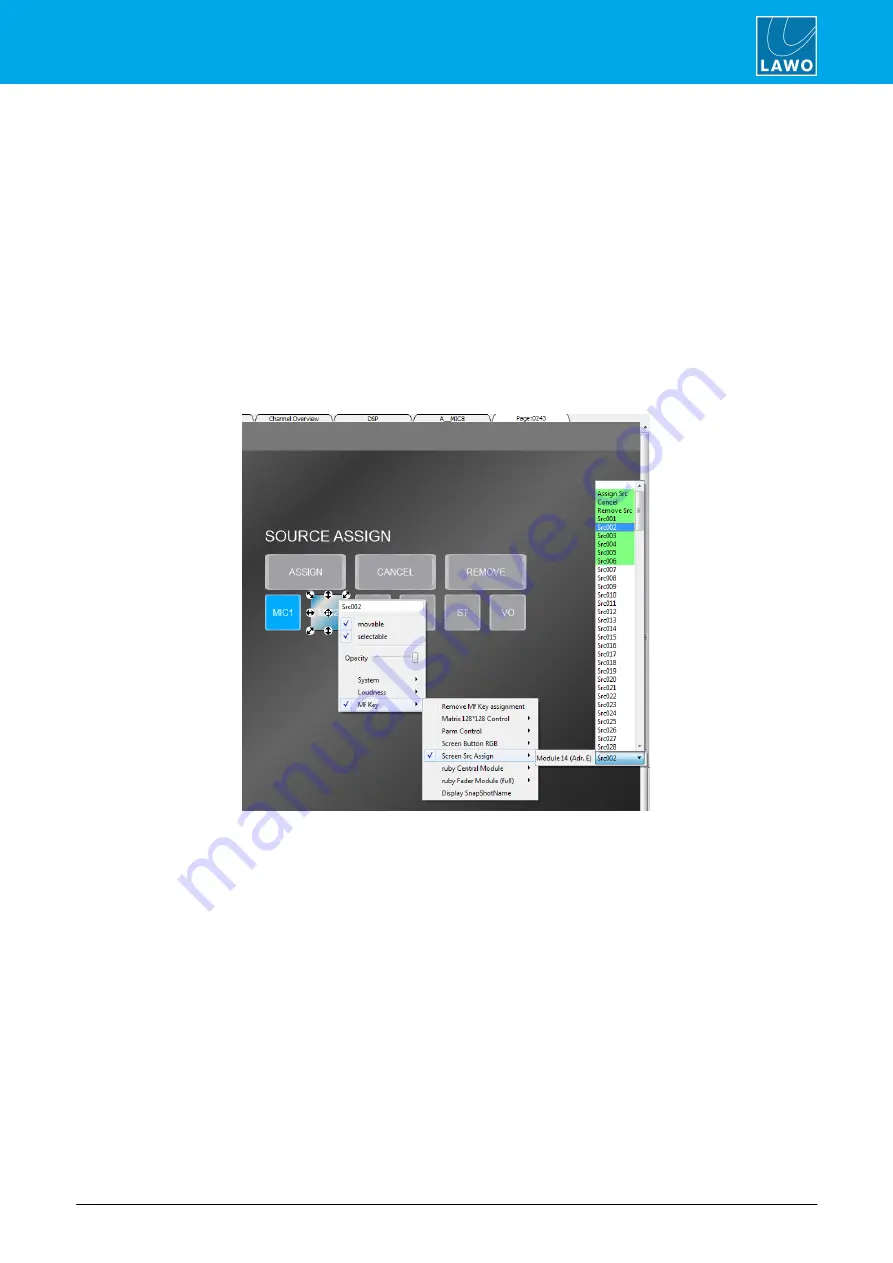
Right-click on a button, and open up the
MF Key
->
Screen Src Assign
branch. Note that any
functions which have already been used are highlighted in green.
First, add the three buttons which will action the "fader assign" mode:
·
Assign Src
- mimics a double-press of the console's
ACCESS
key. This puts the current fader in
access into "fader assign" mode. Once active, you can choose a source using a source select button
(see below), press
Cancel
to cancel the operation, or press
Remove Src
to remove the current
source.
·
Cancel
- cancels an active
Assign Src
operation.
·
Remove Src
- removes the source from the fader in access and leaves it unassigned.
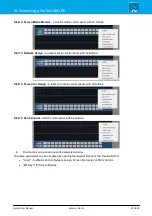
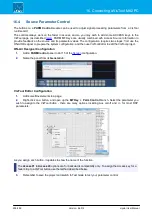
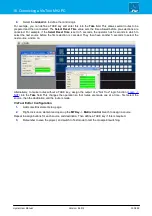
Then, add the source select buttons (
Src001
,
Src002
, etc.). Each of these relates to the Screen sources
defined earlier by the ON-AIR Designer - in our example,
Src002
corresponds to our
MIC_2
source:
As you assign each button, it updates to show the assigned function. Edit the
User Text
property to define the
name displayed on the VisTool screen.
3.
Remember to save the project and switch to Test mode to test the fader strip assignments.
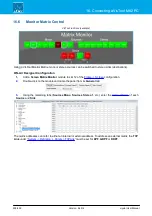
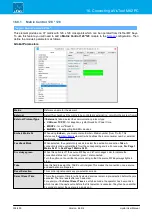
If the
Swap Colors
option is enabled in the ON-AIR Designer, then the on-screen "Assign Src" button shows
four states:
·
Red (P4) = fader result start (i.e. fader open).
·
Yellow (P3) = configured signal active.
·
Green (P2) = source assigned to fader.
·
Black (P1) = true.
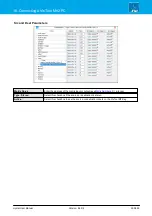
If the
Swap Colors
option is disabled, then only the last two states are shown:
·
Green (P2) = source assigned to fader.
·
Black (P1) = true.


