


Document Scanner
77
Docum
e
nt Managem
e
nt
Syste
m
S
ecti
o
n
Image scanning is performed by the following procedures:
Image Scanning
1
Activate TWAIN-compatible application.
2
Select Acquire Image... in the File menu
to display Document Scanner.
3
Specify the image type, resolution, and
paper size of a document to be scanned.
4
Place a document on the ADF and click
the button.
A preview-scanned image is displayed in
the preview window.
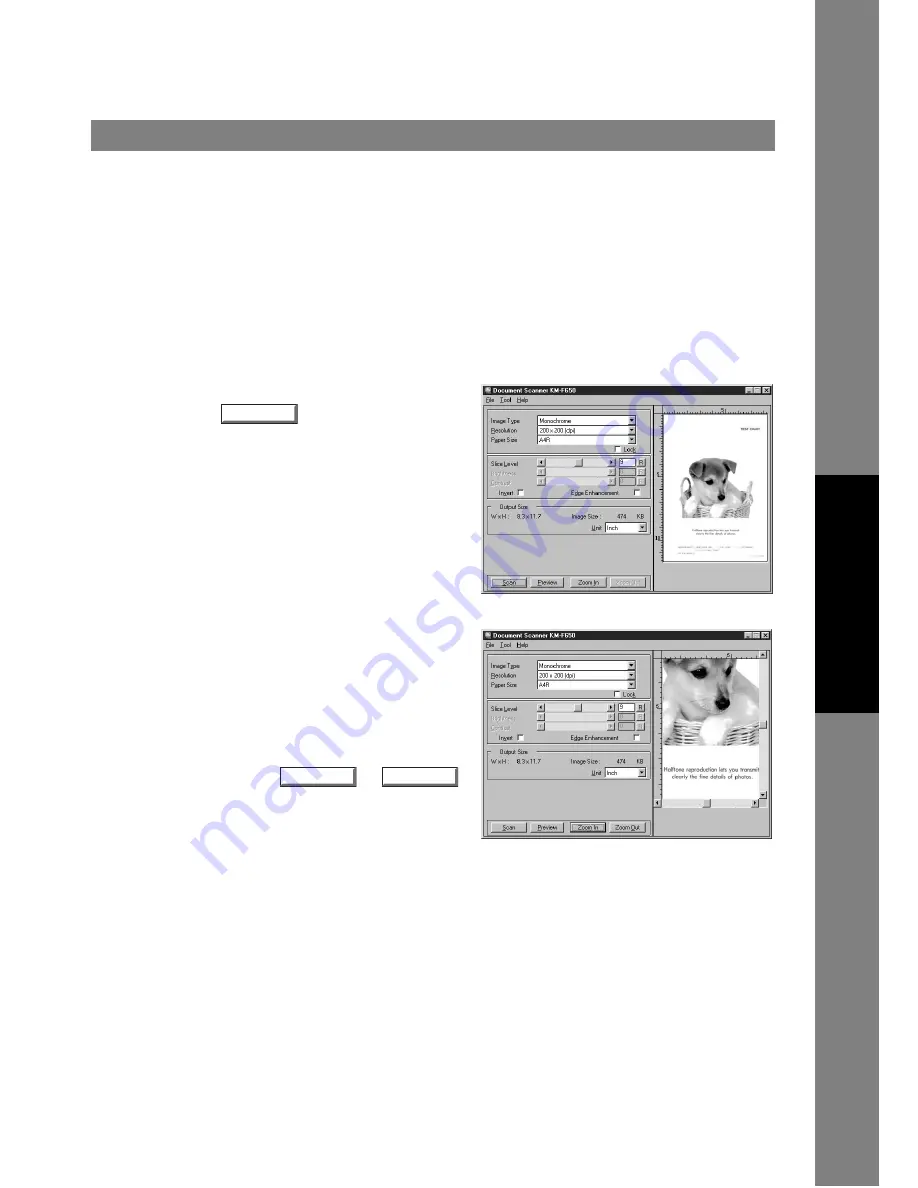
5
Apply the following adjustments on the
preview image:
• Drag the scanning frame (black frame)
on the preview window to specify the
scanning area. If an area has already
been selected, double-clicking with
Shift key held down selects the whole
image.
• Clicking
/
button zooms in/out a preview-scan
image.
• Adjust the Slice Level, brightness, and
contrast (difference between dark and
light portions) as required.
Preview
Zoom In
Zoom Out
Continued on the next page...
Содержание KM-F1050
Страница 1: ...Software Operation Guide Document Management System Printer and Class 2 Fax Modem ...
Страница 8: ...8 External View This page left blank intentionally ...
Страница 111: ...Configuration Editor 111 Document Management System Section Display the Fax communication journal Journal Folder ...
Страница 125: ...125 Troublesshooting Appendix Printing Scanning Area Top 0 1 2 5 0 1 2 5 0 1 2 5 Bottom Unit inches mm ...
Страница 136: ...Installing the Class 2 Fax Modem 136 Installation Windows NT 4 0 9 Close the Modems Properties screen ...
Страница 141: ...141 memo Class 2 Fax Modem Section ...
Страница 142: ......