


Configuring the Printer Driver Settings
18
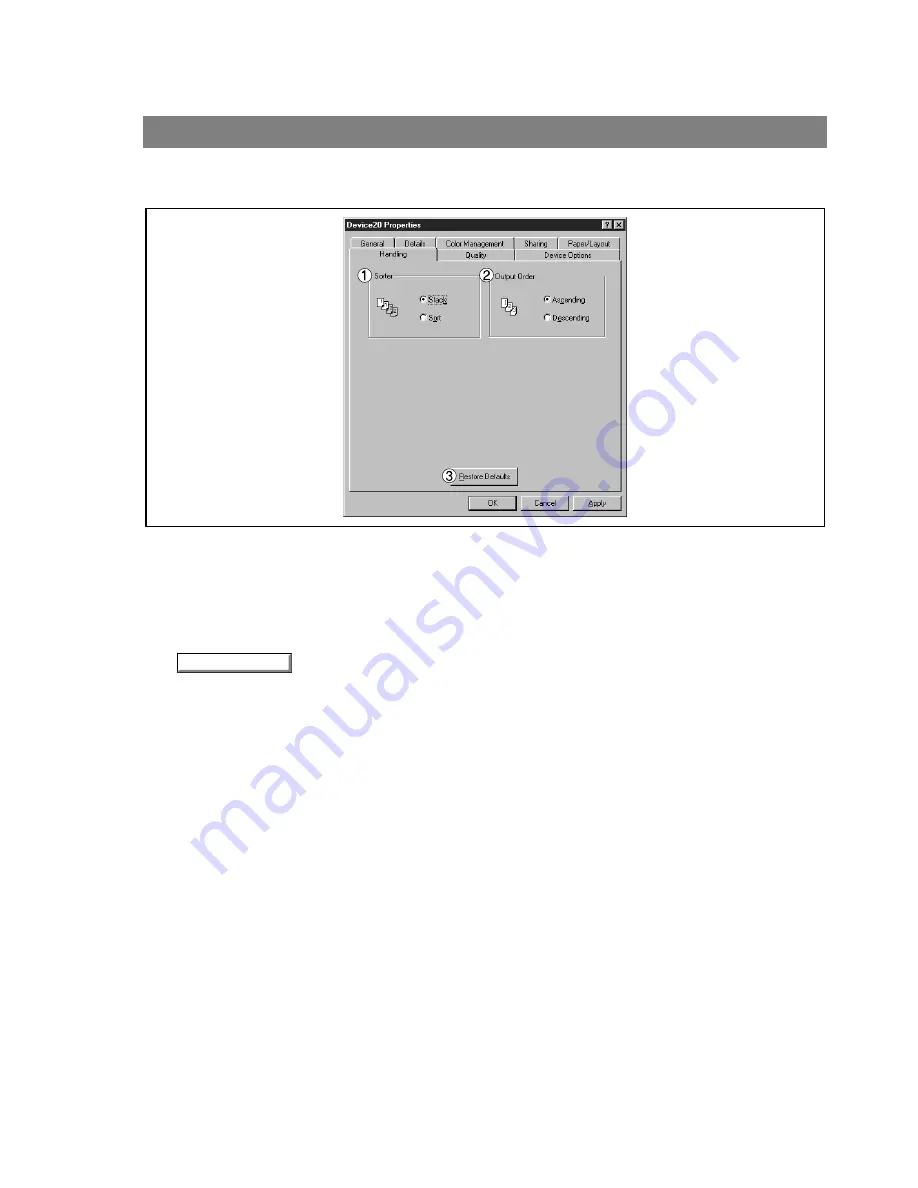
Windows 95/98/Me
Handling Tab
1. Sorter
Select whether to Stack or Sort when printing multiple copies.
2. Output Order
Specify the output order. <Ascending, Descending>
3.
button
Return all items in the Handling Tab to standard settings (default).
Restore Defaults
Содержание KM-F1050
Страница 1: ...Software Operation Guide Document Management System Printer and Class 2 Fax Modem ...
Страница 8: ...8 External View This page left blank intentionally ...
Страница 111: ...Configuration Editor 111 Document Management System Section Display the Fax communication journal Journal Folder ...
Страница 125: ...125 Troublesshooting Appendix Printing Scanning Area Top 0 1 2 5 0 1 2 5 0 1 2 5 Bottom Unit inches mm ...
Страница 136: ...Installing the Class 2 Fax Modem 136 Installation Windows NT 4 0 9 Close the Modems Properties screen ...
Страница 141: ...141 memo Class 2 Fax Modem Section ...
Страница 142: ......