


48
Print Operation
If the printer driver is installed properly and a printer is selected as the default printer in the printer setup,
printing can be accomplished from any Windows application with simple operations.
To print from most Windows applications, use the Print... command on the File menu. Selecting the Print...
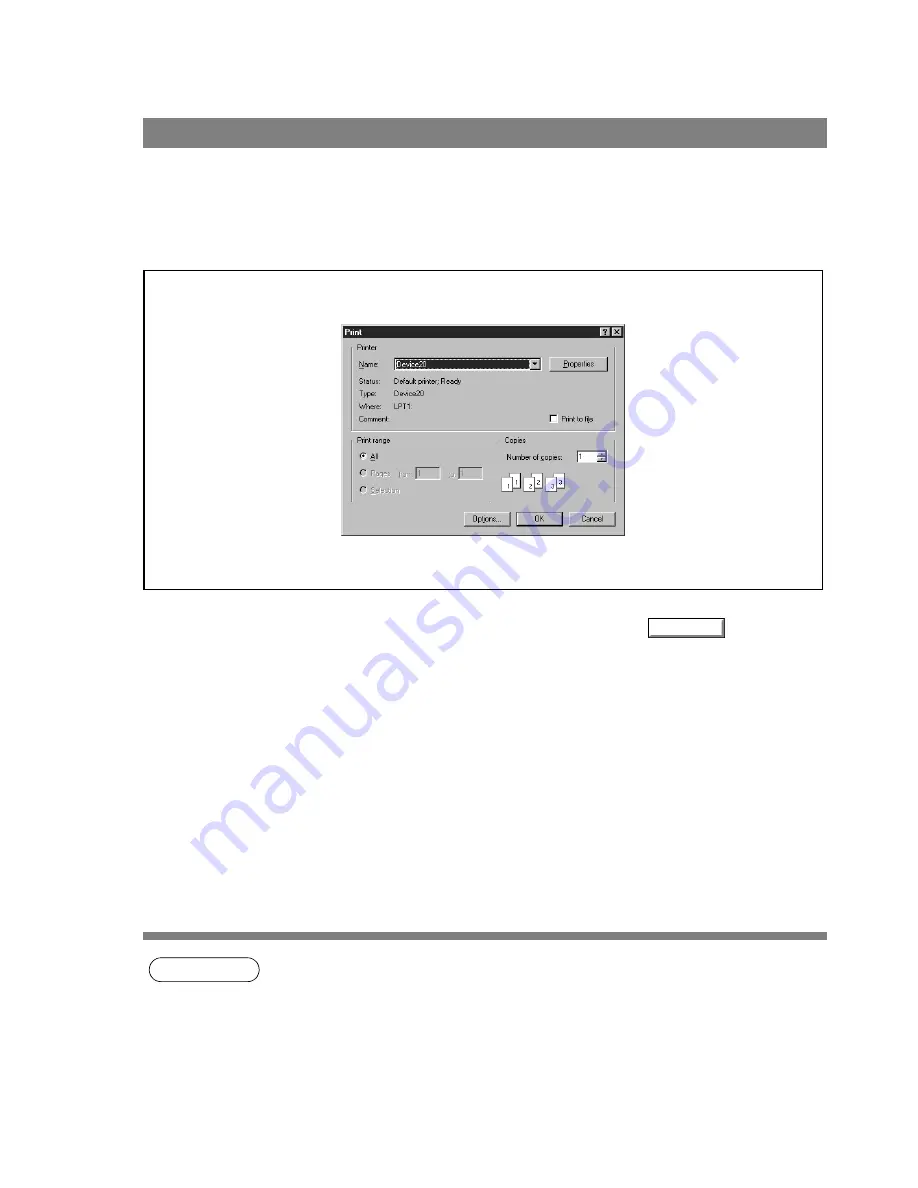
command typically displays the following Print dialog box:
After selecting the print range to be printed and the number of copies, click on
to start printing.
While documents are being printed, a printer icon appears on the System Tray near the clock on the bottom
right hand corner of the screen. The icon disappears when printing is completed.
NOTE
1. Follow the steps below to set a default printer:
1) Click the Start button and select Printers in the Settings menu.
2) Select the printer icon in the window and select [Set As Default] in dropdown menu by
right-clicking it. Then the check mark is displayed.
Printing from Windows Applications
OK
Содержание KM-F1050
Страница 1: ...Software Operation Guide Document Management System Printer and Class 2 Fax Modem ...
Страница 8: ...8 External View This page left blank intentionally ...
Страница 111: ...Configuration Editor 111 Document Management System Section Display the Fax communication journal Journal Folder ...
Страница 125: ...125 Troublesshooting Appendix Printing Scanning Area Top 0 1 2 5 0 1 2 5 0 1 2 5 Bottom Unit inches mm ...
Страница 136: ...Installing the Class 2 Fax Modem 136 Installation Windows NT 4 0 9 Close the Modems Properties screen ...
Страница 141: ...141 memo Class 2 Fax Modem Section ...
Страница 142: ......