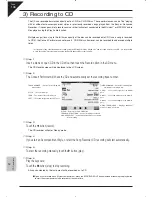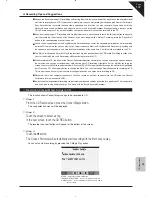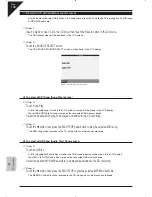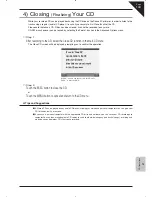
Page
142
9
Using USB Memor
y
Step 5
Touch the
z
button (record).
The audio recorder will enter ‘Ready’ mode.
Touch the
X
button (play).
The audio recorder will enter ‘Recording’ mode. All sounds created by the instrument, including line-in and
microphone sound, will be recorded to the MP3/WAV file.
Step 6
Play the keyboard.
Touch the
button (stop) to stop recording.
All sounds created by the instrument will be recorded as a digital audio file and saved to the USB memory
device.
If you wish to record with a Style accompaniment, press the SYNC/FADE OUT button instead of touching the play button,
to start the accompaniment and recorder at the same time.
Recording with additional sound sources
It is also possible to record MP3/WAV audio files while the CP is playing back a song from MIDI, MP3/WAV, or
CD, or even a combination of all three.
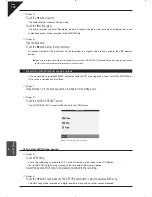
Step 1
Repeat steps 1-4 in the previous section to prepare for recording audio.
Step 2
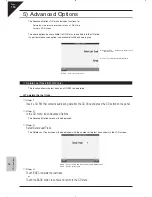
Touch the SOURCE SELECT button.
The SOURCE SELECT screen will be shown in the LCD display.
BACK : Return to the previous menu.
To select a MIDI Song source:
Step 3
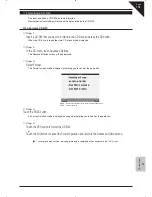
Touch MIDI Song.
A list of playable songs stored in the CP’s internal memory will be shown in the LCD display.
Touch USB SONGS to list songs stored on the connected USB memory device.
Select the desired MIDI song to be played and added to the recording.
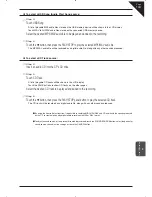
Step 4
Touch the
z
button, then press the PLAY/STOP panel button to play the selected MIDI song.
The MIDI song will be recorded as a digital audio file, along with any other sounds produced.
Содержание Concert Performer CP139
Страница 1: ...1 OVERVIEW OF CONTROLS 2 SOUNDS 3 STYLES 4 RECORDER 5 USB USAGE Quick Start Guide ...
Страница 2: ......
Страница 38: ...Page 38 USER NOTES ...
Страница 39: ...Page 39 ...
Страница 42: ...All descriptions and specifications in this manual are subject to change without notice ...
Страница 217: ...Page 177 11 Appendices User Notes ...
Страница 218: ......
Страница 219: ......


