74
Menu Display and Detailed Settings
Some menus cannot be set depending on the operating mode or status of the camera recorder. These items are displayed in
gray, and they cannot be selected.
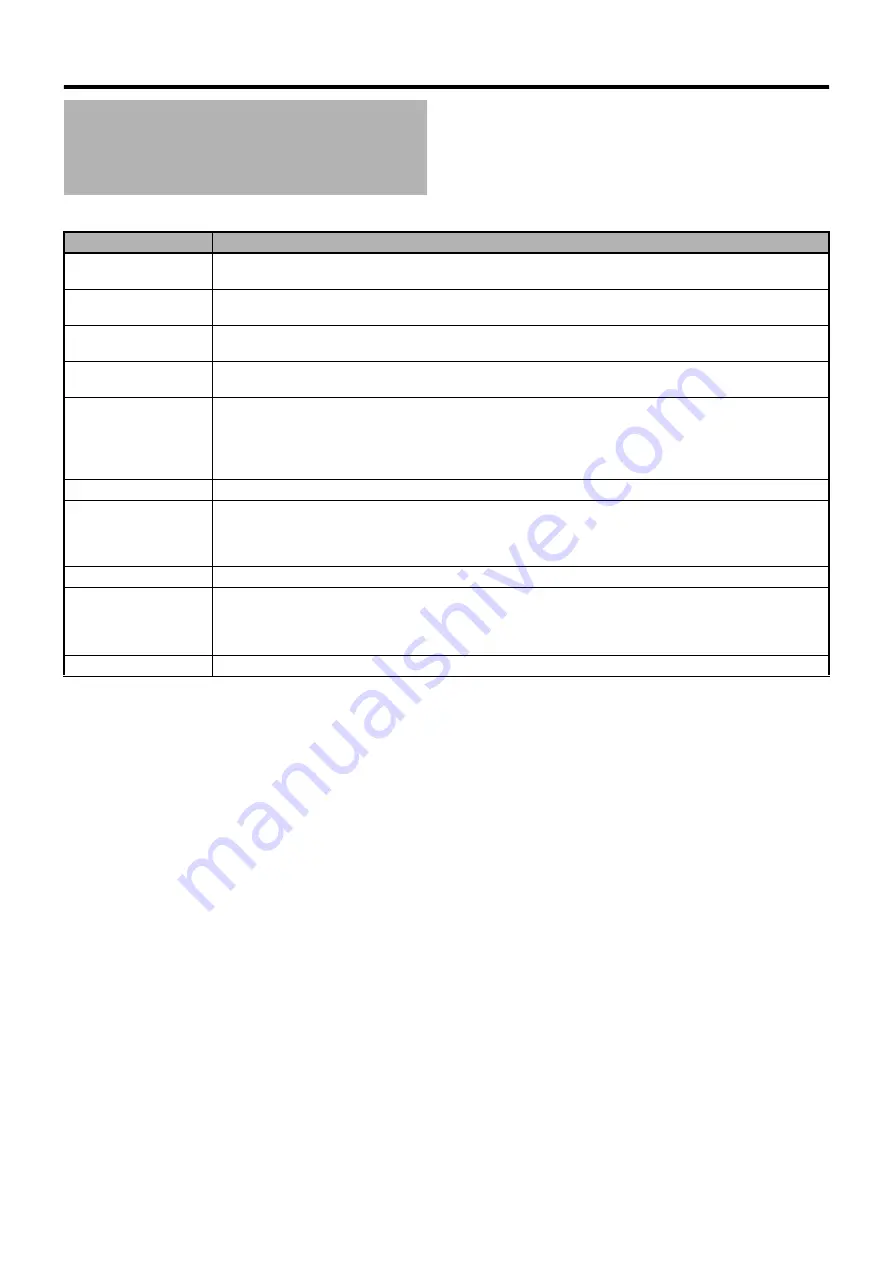
Main Menu Screen
Item
Function
Record Set...
Menu screen for specifying video or audio settings during shooting and playback.
The cursor does not move to this item during recording or in Media mode. (
Camera Function...
Menu screen for specifying operation settings during shooting.
The cursor moves to this item only in Camera mode. (
Camera Process...
Menu screen for adjusting the
q
uality of camera images.
The cursor does not move to this item in the AUX and Media modes. (
TC/UB...
Menu screen for setting time code and user’s bit.
The cursor does not move to this item during recording. (
LCD/VF...
Item for specifying settings related to the LCD monitor or viewfinder screen.
This menu screen can be used to specify settings related to the Focus Assist mode, zebra pattern display, screen
size, marker, and safety zone. In addition, it is also used for selecting whether to display characters on the LCD
monitor or viewfinder screen, as well as for adjusting the picture
q
uality of the LCD monitor screen.
The cursor does not move to this item in Media mode. (
A/V Out...
Item for specifying connection settings with external devices. (
Others...
Menu screen for specifying the settings of other functions.
Use this item to adjust the alarm volume, front/back tally lamp settings, status indicator, 1
3
94 input settings, genlock
input and return video input settings, date/time, time zone, and other settings. It can also be used to reset the menu
settings to their default values. (
Media...
Item for formatting or restoring the SDHC card. (
Setup File Manage...
Displays the [Setup File Manage] menu screen.
Settings of the menu screen can be saved as a file on the camera recorder or an SDHC card, and the saved
settings can be loaded when necessary.
The cursor does not move to this item during recording or in Media mode. (
Exit
Select this item and press the Set button (
R
) to return to the normal screen.
Содержание GY-HM790U
Страница 5: ...V ...


