


32
i3-TRNG-CAMS-Ax45RM_65RM-UM.indd
Rev. 161107
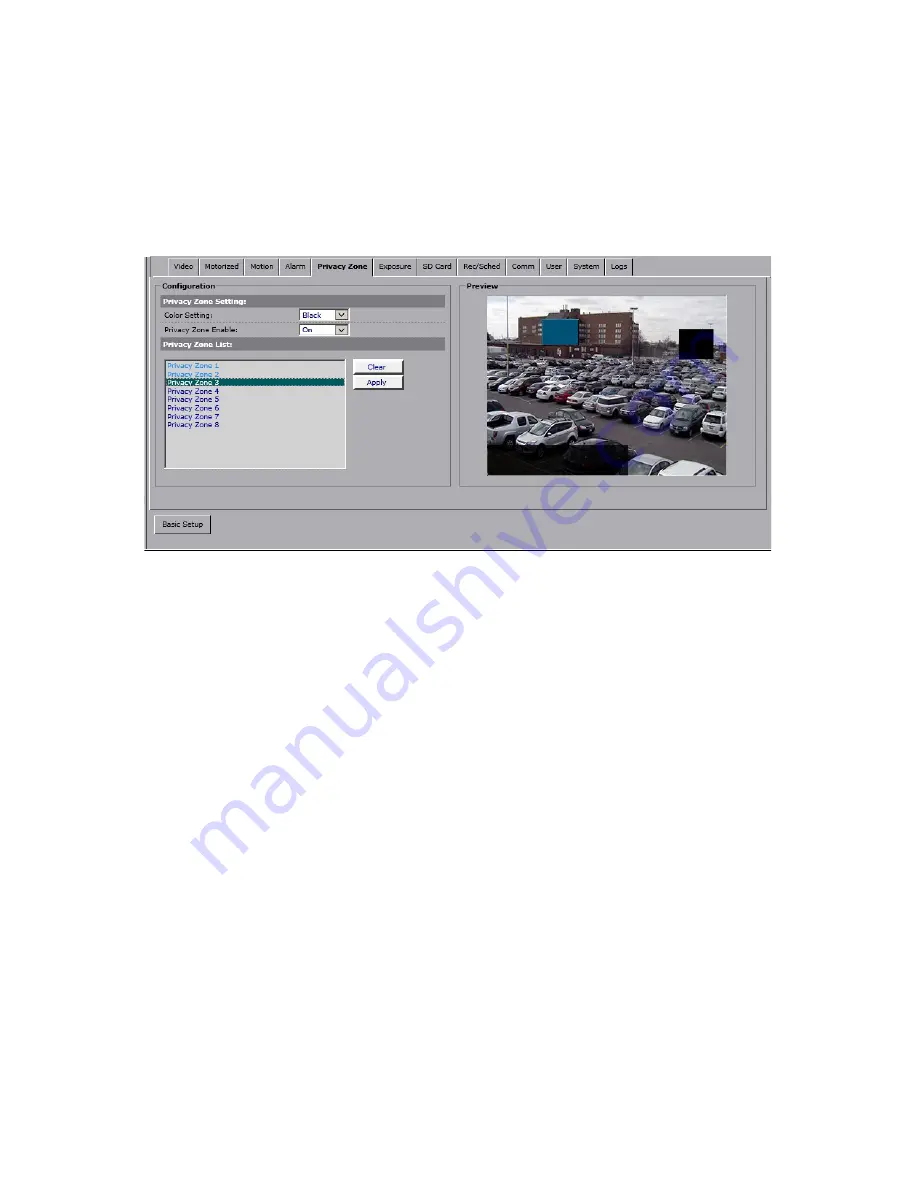
6.6 Privacy Zone (edge)
In the Privacy Zone setup tab, select an area that needs to be blocked off with a
rectangle on Live View and from video recording because of privacy or other concerns.
Up to 8 separate Privacy Zones can be configured.
Note:
Camera’s privacy zone feature is not related to SRX-Pro Server VideoPrivacy
feature and functions independently.
Privacy Zone Setting:
•
Color Setting:
Select the Privacy Zone area color from Black, Grey and White
options. The same solid color will be applied to all Privacy Zones drawn on the
screen.
•
Privacy Zone Enable:
Set to ON to enable, or OFF to disable.
Privacy Zone List:
Privacy Zone List contains 8 place-holder entries for up to 8 custom Privacy Zones.
To create a new privacy zone,
1. Click on the placeholder Privacy Zone name in the Privacy Zone List.
E.g.
Privacy Zone 1
.
2. Position your mouse cursor over the Preview window, press and hold left mouse
button.
3. Drag the cursor to draw a rectangular area to conceal a portion of the image.
4. Release the mouse button. The privacy area rectangle will be shaded blue.
5. To re-position the privacy zone, hover the mouse cursor over the shaded area,
left-click and hold, then drag the area to the new location on the preview window.
To re-draw the privacy zone area, click on the video image in the Preview window
outside of the shaded zone and repeat Steps 2-4.
6. Click
Apply
to save the new privacy zone. Saved privacy zone area will be filled with
the solid color selected in the Color Setting.
7. To remove a saved privacy zone area, click on the Privacy Zone name in the list and
click
Clear
.


