31
Rev. 161107
i3-TRNG-CAMS-Ax45RM_65RM-UM.indd
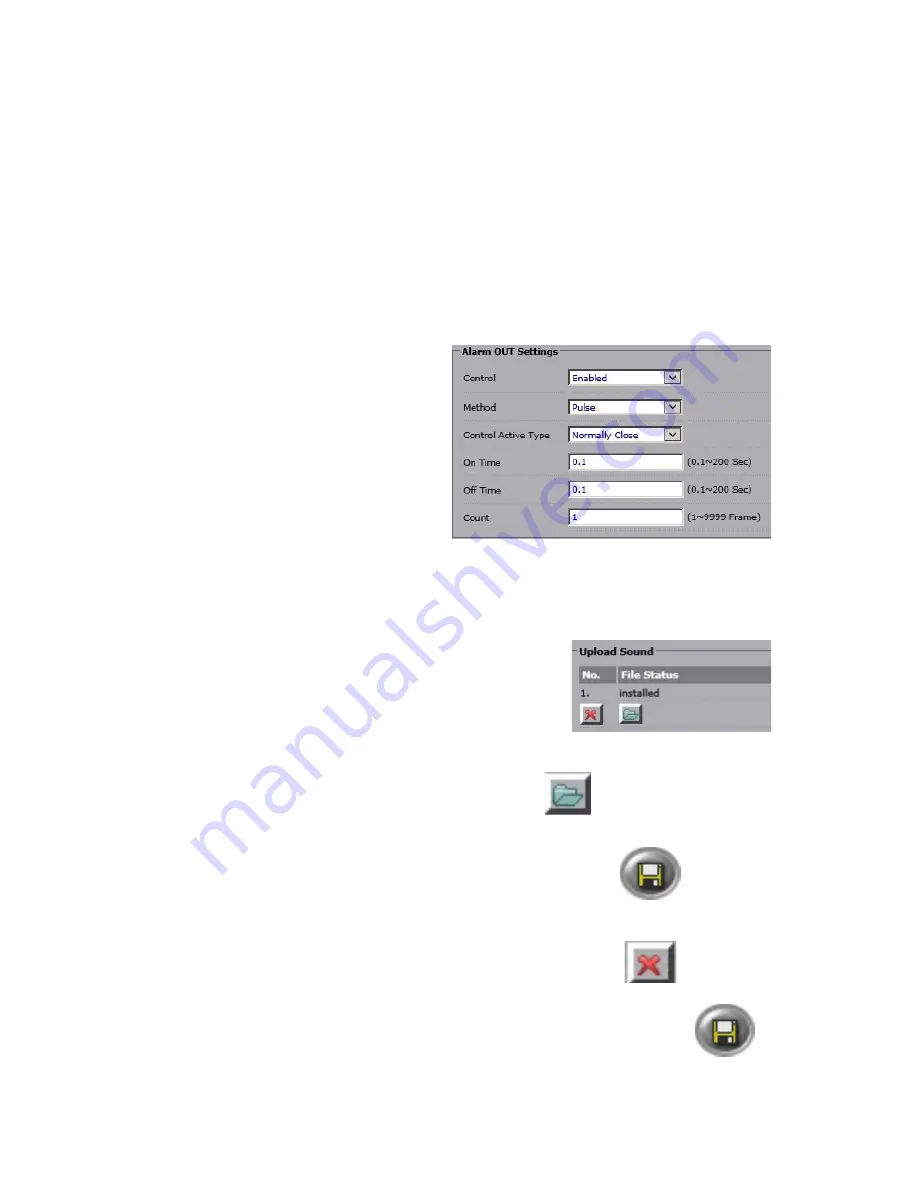
Two methods of Alarm Out activation are available: Normal and Pulse. Normal activation
will activate the enabled Alarm Out (Control) for the set period of time (Post Duration).
Pulse activation allows configuring the number of activation cycles, the length of each
cycle and length of time in-between each activation cycle (in seconds).
•
Method > Normal:
Set the
Post Duration
to 5, 10, 15, or 30 seconds. Or set to
Infinite
to keep the Alarm Out ON until turned off manually by the user.
•
Method > Pulse:
»
Set the alarm duration value under
On Time
between 0.1 and 200 seconds.
»
Set the alarm rest duration value under
Off Time
between 0.1 and 200 seconds.
»
Set the
Count
value between 1 and 9999 to define how many total activation
cycles each Alarm Out trigger will result in.
Active Digital Output for Events
(Activate Alarm Out/Control Out):
Check off all events that can trigger
Alarm Out (Control). Digital Output must
be correctly connected to the camera
during the installation stage and must be
Enabled and configured in the Alarm tab.
The following camera events can trigger
Alarm Out (Control): Alarm In event
(Sensor), Motion event, Schedule, Audio
In connection, Defocus event, Tamper event, Wire Network Lost, Wire Network Conflict.
Where applicable, each event must first be Enabled and configured in the respective
setup section. Note that Digital Output (Alarm OUT/Control) activation is not restricted
by event arming schedule.
Upload Sound (Audio Out for Enabled Events):
Select up to 10 different alarm sounds to be activated
depending on the camera event.
Important:
Selected sound files must be in
*.wav
format
and may not exceed
64KB
. If either of these conditions is
not met, the sound file upload will fail.
To upload alarm sounds,
1. Click the Browse icon next to each Sound No.
2. Locate your *.wav file (64KB or less only) in the Choose File to Upload
window, and click Open.
3. Repeat all sound files.
4. Click the
Save
button to upload all selected Sound files.
5. Wait while the files are being uploaded. Click
OK
in the pop-up confirmation
message. File status will be changed to “installed”.
6. To delete the sound file, click the Delete icon next to the
Sound No. or repeat steps 1 to 5 to replace the sound
file.
After making any setting adjustments, remember to click the
Save
button to
save any changes made.


