28
i3-TRNG-CAMS-Ax45RM_65RM-UM.indd
Rev. 161107
•
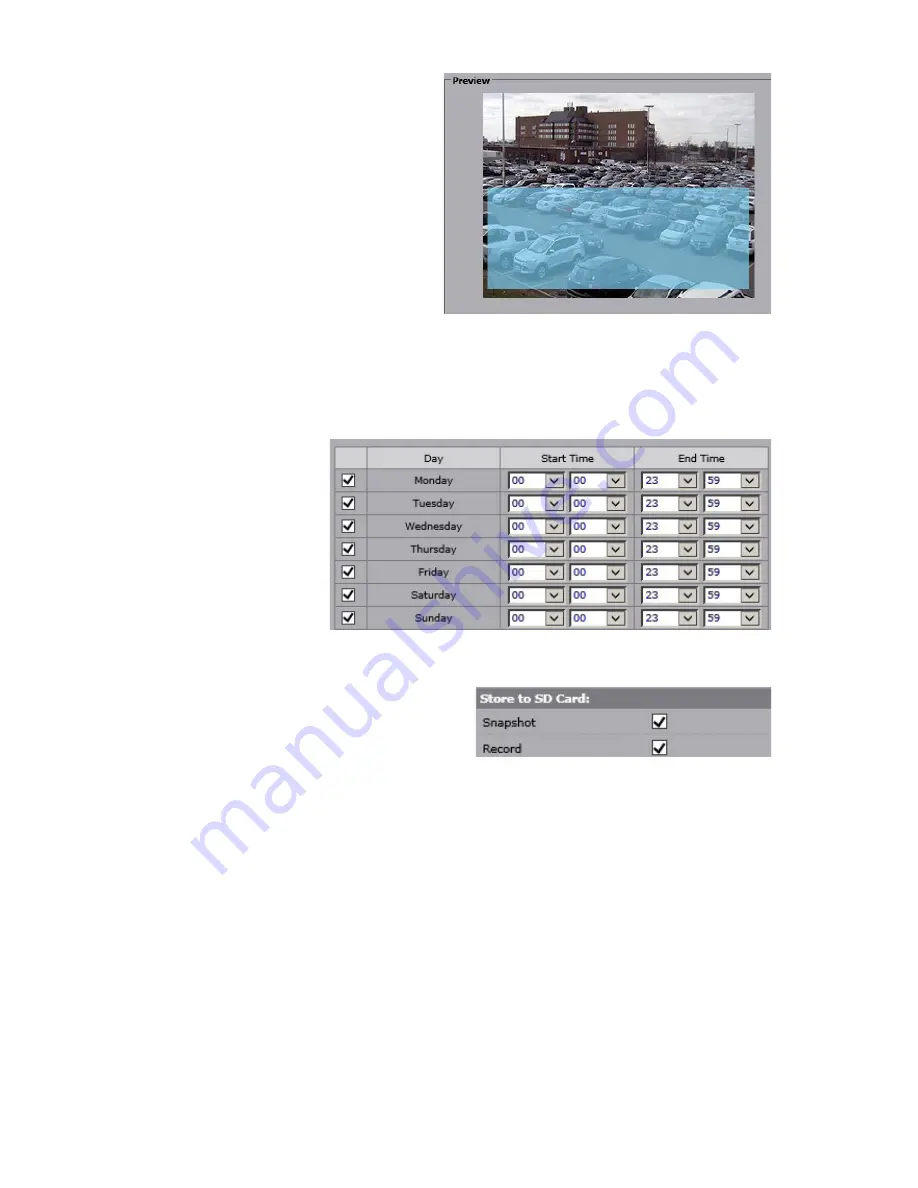
Draw the area in the Preview window.
To draw, position your mouse cursor
inside the Preview window, left-click
and hold, then drag the cursor to
draw a rectangular area over the
preview screen. Release the mouse
button when done. New motion
detection area will be shaded blue.
Repeat to
re-draw. Click
Apply
to save new
area.
•
The area can be re-positioned on the
screen: hover the mouse cursor over the shaded area, left-click and hold, then drag
the area to the new location on the preview window. To remove the detection area,
click on the video image in the Preview window outside of the shaded zone.
•
Configure arming schedule underneath the Preview window. Enable days of the
week when motion detection will be active (enabled). Set the active time period for
each enabled day by
using the drop-down
menus for
Start
and
End Times
to
select the hours and
minutes, respectively.
By default, motion
detection is set to
stay active 24/7.
Store to SD Card:
Camera’s edge can trigger edge snapshot and/or video clip recording to the microSD
card.
Note:
This feature is subject to arming
schedule.
To use this function, insert a formatted
microSD card into the camera’s microSD
slot.
Tip:
To check the status of the microSD card, click on the SD Card tab.
•
Snapshot:
Enable
Snapshot
checkbox to save a *.jpg snapshot to the microSD
card each time motion is detected inside the motion detection area.
Note:
Secondary or Third (recommended) stream in the Video tab must be set to
MJPEG codec to support this feature.
•
Record:
Enable
Record
checkbox to save an *.mp4 video clip to the microSD
card each time motion is detected inside the motion detection area.
Note:
At least one video stream (Secondary or Third streaming is recommended
for this purpose) in the Video tab must be set to H264 codec to support this
feature.


