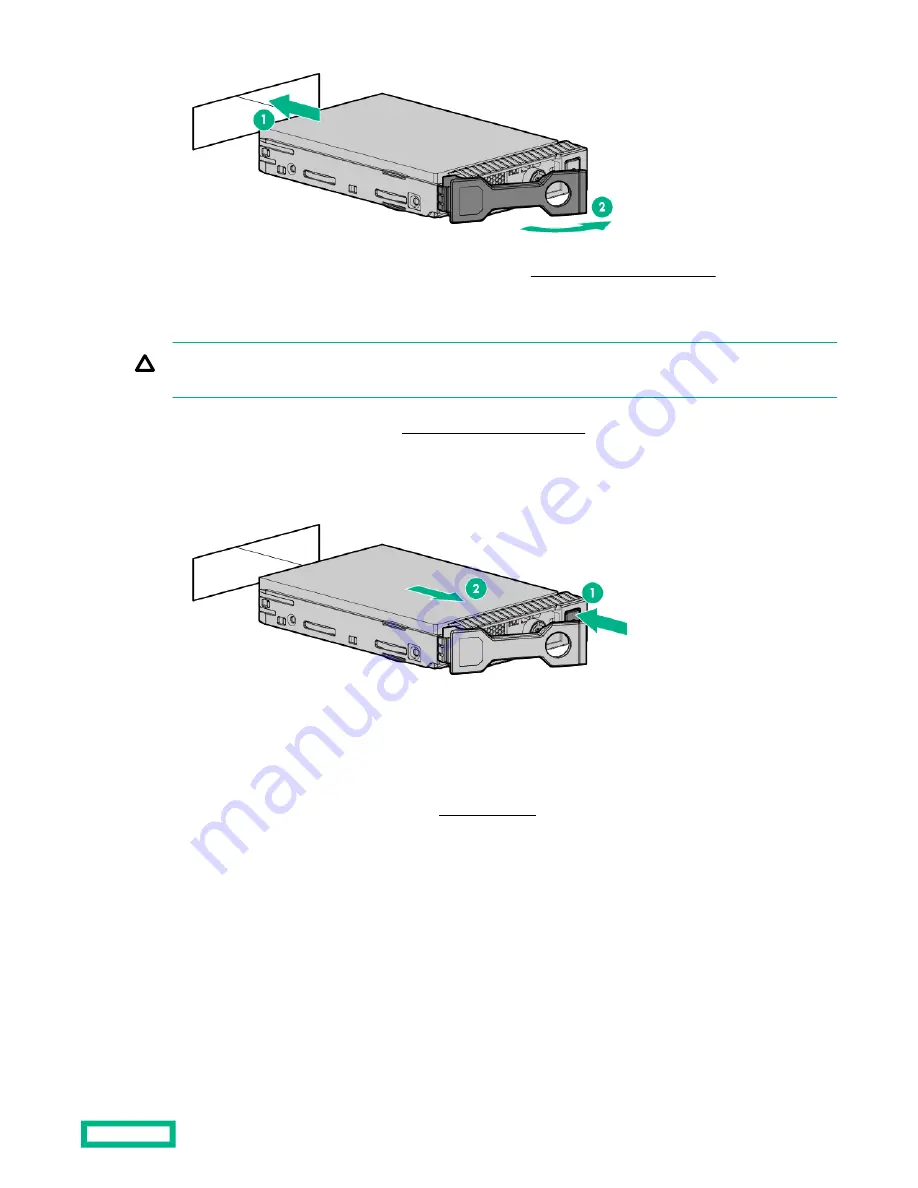
4. Determine the status of the drive from the drive LED definitions (Hot-plug drive LED definitions).
Removing a hot-plug SAS or SATA hard drive
CAUTION: For proper cooling, do not operate the server without the access panel, baffles, expansion slot covers, or
blanks installed. If the server supports hot-plug components, minimize the amount of time the access panel is open.
1. Determine the status of the drive from the hot-plug drive LED definitions.
2. Back up all server data on the drive.
3. Remove the drive.
Installing the NVMe drives
NVMe drives are supported in 8 SFF and 10 SFF server configurations when the 10 SFF SAS/SATA/NVMe Combo
backplane option or the 2 SFF NVMe backplane option is installed. When either backplane is installed, NVMe drives are
required in bays 9 and 10. For more information, see
Prerequisites
NVMe drives are supported in the 8SFF and 10 SFF server configurations.
Before installing this option, be sure you have the following:
The components included with the hardware option kit
Procedure
1. Observe the following alert:
Hardware options installation
67
Содержание HPE ProLiant DX360 Gen10
Страница 7: ...Regulatory information 183 Documentation feedback 184 Acronyms and abbreviations 185 7 ...
Страница 44: ...Operations 44 ...
Страница 74: ...8 Route and connect the data cable 9 Route and connect the power cable Hardware options installation 74 ...
Страница 101: ... Full length Hardware options installation 101 ...
Страница 107: ... 10 SFF SAS SATA NVMe Combo 4 LFF Hardware options installation 107 ...
Страница 125: ...8 Using a Torx T 10 screwdriver remove the Power UID USB assembly 8 SFF 4 LFF Hardware options installation 125 ...
Страница 129: ...6 Install the 4 LFF display port USB module 7 Route and connect the cable Hardware options installation 129 ...
Страница 150: ...2 SFF backplane to P816i a controller 10 SFF NVMe backplane to NVMe riser Cabling 150 ...
Страница 151: ...2 SFF NVMe backplane to primary riser 1 SFF rear backplane to system board SATA Cabling 151 ...


