CM4 Four-Point Continuous Monitor
CM4 Technical Manual
G-5
the boards after the LonWorks board is added, and requires the new,
larger insulator provided.
Qty Description
Application
1 Insulator for Serial PCB
For LonWorks PCB in rack mount
2 Nut, 4-40 w/plastic lock
Secures insulator to bracket
2 Flat washer
Washer underneath nut
Bag 6: Bracket to Mount Connectors
Some Model CM4 and CM4-P units have a bracket similar to the one
in this kit, except it has an additional flange opposite the connectors.
This bracket needs to be replaced in LonWorks field upgrades to
tabletop or wall mount units, because it poses a risk of wire abrasion.
The new bracket has the flange removed to eliminate the abrasion
risk. If your unit has the bracket with the flange, replace it during the
upgrade installation.
Qty Description
Application
1 Bracket for Cable Mounting
Back flange is removed; uses existing
hardware
Bag 7: Universal Mounting Bracket for Rack Mount Units
Qty Description
Application
1 Bracket for LonWorks
Modified for LonWorks PCB
2 Screws, flat 6-32
Secures bracket
2 Lockwasher
Locking washers for screws
This bag contains a universal mounting bracket for all rack mount
installations. The bracket is used to install the LonWorks PCB on any
rack mount Model CM4. New mounting hardware is included. Discard
the old bracket and hardware when you upgrade the Model CM4 to
a LonWorks unit.
G.3.2 Installation
CAUTION:
To prevent damage to equipment, wear a static prevention wrist strap
during the installation procedure.
Follow these steps to upgrade Model CM4 to a LonWorks unit:
• Remove the customer I/O panel.
• Remove the relay PCB from the customer I/O panel.
• Use the new I/O panel (Bag 1). Punch out the right side interface
access hole knockout on the I/O panel.
• Install the self-adhesive label as shown in Figure G-3.
NOTE:
The label is installed on the rear panel for table and wall mount
units.
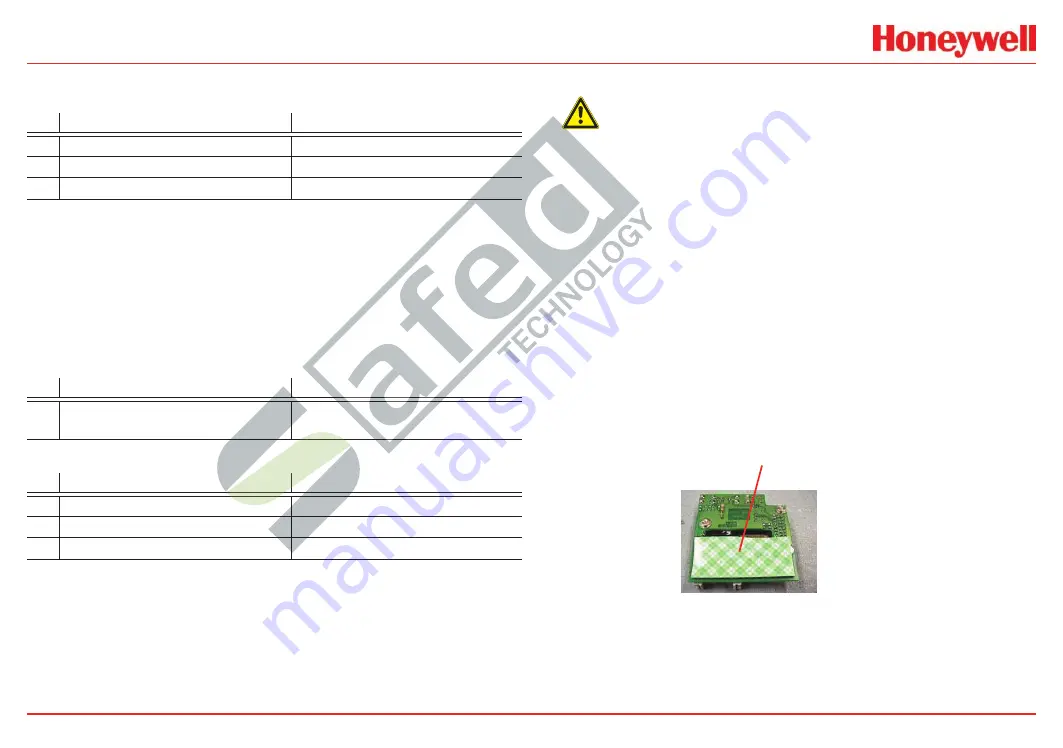
Remove the backing from one side of the foam insulator (Bag 1) and
attach it to the LonWorks interface (Bag 1) as shown in Figure 1.
Foam Insulator
Figure G-3. Installing Foam Insulator on LonWorks Interface Board
• Install the LonWorks interface PCB and secure using two
screws.
The insulator (white) from Bag 1 must be placed under the
LonWorks interface. Fold the leading tab downward before
珠海司福斯特科技有限公司
www.safedtech.com


