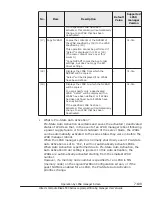
a
.
The LPAR for which a memory node number is specified in MN
(memory node) on the Logical Partition Configuration screen, and the
LPAR for which the guest NUMA is enabled and the method for
configuring logical processors for the guest NUMA is physical
processor binding
b
.
The LPAR for which the guest NUMA is enabled and the method for
configuring logical processors for the guest NUMA is physical NUMA
node binding
c
.
Other LPARs
After the LPARs in
a
are activated in the ascending order of the LPAR
numbers, the LPARs in
b
are activated in the ascending order of the LPAR
numbers, and finally the LPARs in
c
are activated in the ascending order
of the LPAR numbers.
If for any reason (such as a failure to obtain the allocated memory) the
Auto Activation of any LPAR fails, the subsequent LPARs will not be Auto
Activated.
For 15 seconds before the Auto Activation starts, the system will accept
cancellation of the processing. To cancel the Auto Activation, press Ctrl +
c. Once the Auto Activation has started, it cannot be canceled.
How to change Pre-State Auto Activation
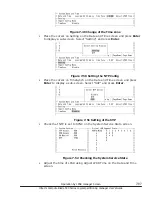
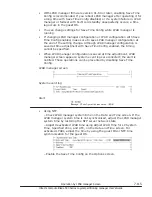
Place the cursor on Pre-State Auto Activation under System Control and press
Enter to display a sub-screen. Use the
↑
and
↓
keys to select Yes or No, and
press Enter.
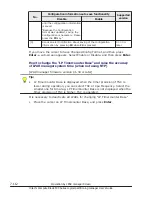
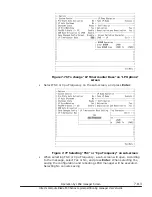
How to change LP Auto Shutdown
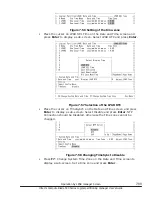
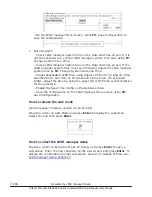
Place the cursor on LP Auto Shutdown under System Control and press Enter
to display a sub-screen. Use the
↑
and
↓
keys to move the cursor to select Yes
or No, and press Enter.
Note:
•
If using Power Off Function of UPS, set LP Auto Shutdown to Yes
•
When LPAR migration is performed, LP Auto Shutdown is disabled, the
same as when the value is No.
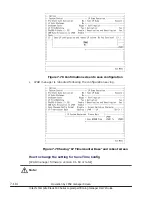
How to cancel shutdown processing due to the power control
schedule
When the LPAR manager system is shut down using the power control
schedule of ServerConductor / Blade Server Manager, the shutdown state
changes from Ready to In Progress when the shutdown time arrives, and
shutdown processing begins.
At this time, operations to activate LPARs are suppressed. To cancel this
shutdown processing, follow the steps below.
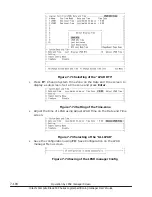
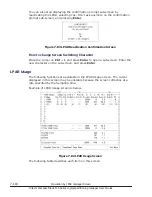
Place the cursor on Shutdown State under System Control and press Enter to
display a sub-screen. Use the
↑
and
↓
keys to select Yes, and press Enter.
7-110
Operation by LPAR manager Screen
Hitachi Compute Blade 500 Series Logical partitioning manager User's Guide
Содержание CB 520A A1
Страница 238: ...6 6 LPAR manager backup Hitachi Compute Blade 500 Series Logical partitioning manager User s Guide ...
Страница 376: ...8 6 LPAR manager Dump Collection Hitachi Compute Blade 500 Series Logical partitioning manager User s Guide ...
Страница 530: ...C 4 Console Types Hitachi Compute Blade 500 Series Logical partitioning manager User s Guide ...
Страница 536: ...D 6 LPAR manager use Port numbers Hitachi Compute Blade 500 Series Logical partitioning manager User s Guide ...
Страница 542: ...E 6 System Configuration Hitachi Compute Blade 500 Series Logical partitioning manager User s Guide ...
Страница 557: ...Hitachi Compute Blade 500 Series Logical partitioning manager User s Guide ...


